
It’s a dream as old as personal computers themselves — eradicating paper from our lives completely. Not only would it keep our homes and offices much tidier, it would help save the planet too.
Sadly, it seems that many of the world’s largest companies never got the memo and whether it’s letters from the bank, annual pension reports, or insurance companies trying to sell us stuff, paper is alive and well.
That doesn’t mean you can’t all but eradicate it from your life, however. Thanks to your device’s camera, digitizing every sheet of paper that lands on your doormat is the work of but a moment. Here’s how to use Apple’s Notes app to go paperless.
1. Open Notes
If you haven’t used the Notes app in a while, it’s come a long way in the last couple of iOS versions. Tap its icon on your Home screen to open it and have a look.
2. Create a new folder
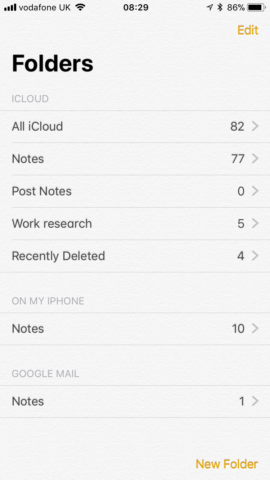
Notes’ home screen displays a list of folders in two sections: iCloud and On my iPhone. It’s a good idea to create a folder specifically for document scans. If you don’t immediately see this view, tap the back button in the top left.
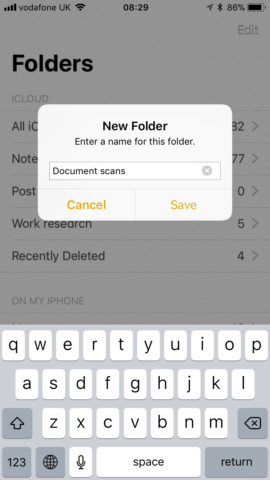
Choose New Folder, then either iCloud or On My iPhone, depending on whether you want to be able to access the note from another device. (Depending on your iCloud setup, you may not be given this option.) Give the folder a name and tap Save.
3. Create a new note
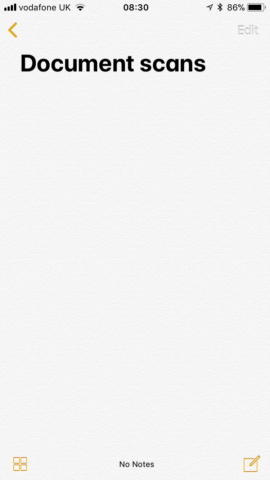
Tap the folder then tap the bottom right of the screen to create a new note. It will be named automatically.
4. Access its hidden features
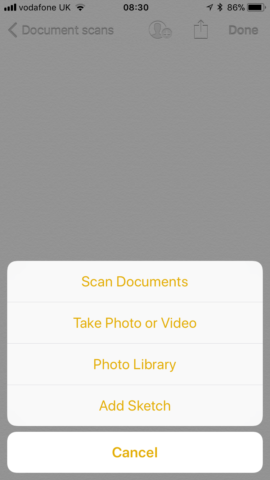
You wouldn’t know to look at the note screen, but there are a wealth of handy features here. Tap the + above the keyboard to find them. Then, from the menu that pops up on screen, tap Scan Documents.
5. Scan a document
Hold the iPhone directly over the document you want to scan, with the screen facing upwards. It’s helpful if the document is on a surface whose color contrasts with the paper, but not essential. You’ll see a yellow box appear over the document. Hold the phone steady until it grabs a photo of the document. If you want to scan another, move the first document out of the way and replace it with the second one and repeat. When you’re finished, press Save.

6. Edit the document
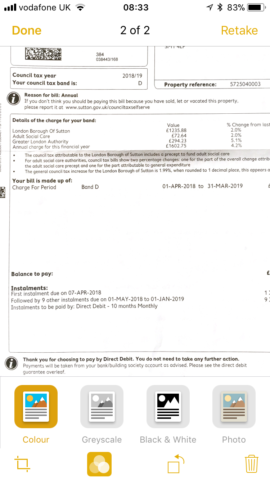
Choose whether to save the file as a color, greyscale or black and white PDF or as a photo by pressing the three circles icon at the bottom of the screen. You can also crop and rotate it. When you’re happy, press Done. Tap Save then Done again.
7. Rename and share the document
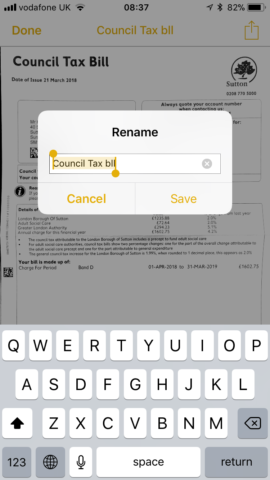
Tap the scanned Document in the Notes window and then tap Scanned Document at the top of the screen. Give your document a name and tap Save. Tap the Share Sheets button and choose how you want to save it — the Files app, or Dropbox, for example.
That’s it! You can use this technique to keep an archive of all those important but boring documents you’d rather stick in the recycling than keep cluttering up the house, safe in the knowledge they’ll always be a mere tap or two away.