- The Messages app has a new layout in iOS 17
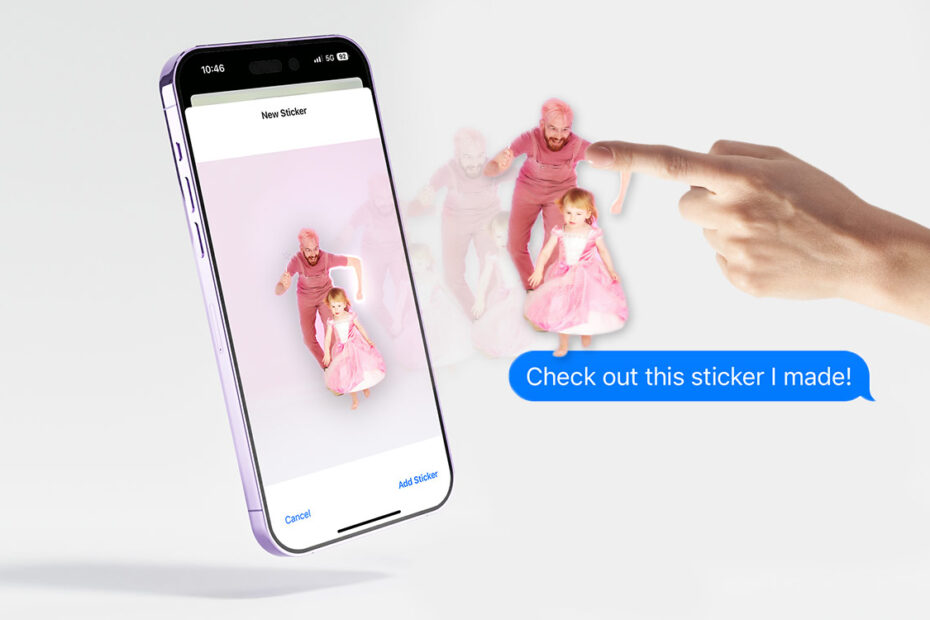
- You can make custom live stickers directly from photos
- Every single emoji is now available as a sticker
iOS 17 is currently available in beta ahead of a full public launch this September.
Messages reimagined
iOS 17 ditches the ‘app drawer’ for iMessage extensions in favor of an expandable side menu, making space for a vastly improved stickers experience. Apple has added stickers for every single emoji, plus the ability to instantly create your own Live Stickers.
Remember how iOS 16 brought the ability to lift a subject from its background just by long-pressing it? Now, that same intelligence can be used to quickly make stickers from your camera roll. You can even make animated ones from Live Photos.
Creating Live Stickers
Open any conversation in Messages to get started. (If you just want to make and test some stickers without actually sending them to someone, try opening a conversation with yourself.)
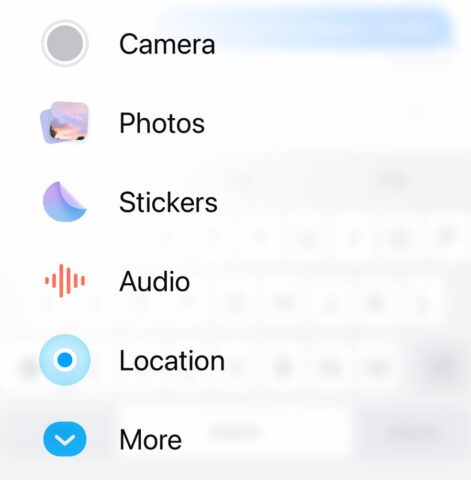
Tap the + button to the left of the text field to open the new Messages side menu. Choose Stickers.
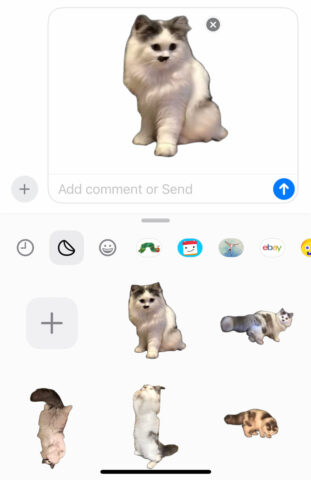
Here, you get access to any sticker packs you’ve purchased, plus all the stickers that come free with any apps you have installed. But the most important icons are the first three in the list. From left to right: the Clock icon gives quick access to recently used stickers, the Sticker icon stores all your custom-made stickers, and the Smiley icon displays stickers for every single emoji.
For now, let’s focus on the middle of those options, the Sticker icon. Tap it and then press the + button to create a new sticker.
You’ll be presented with the photo picker, which automatically shows photos with a clear subject, ripe for sticker-ifying. Use the Live filter if you want something that moves.
Choose anything listed here to see a preview of how it looks cut out from the background. Notice the Live button in the top left, which allows you to toggle animation on or off. If you’re happy, hit Add Sticker to add it to your library.
Another way…
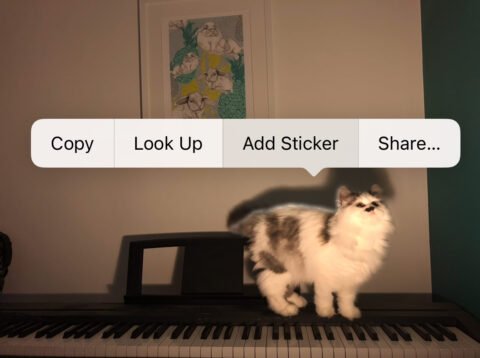
That’s not the only way to make stickers. You can also open the Photos app, find something suitable and long-press it as if you were using the Select Subject feature. Then simply press Add Sticker from the context menu that appears, and you’re done!
Using your stickers
Once added, these custom sticker can now be used just like any other: tap it to add to the chat, or press-and-drag to place it over an existing message bubble.
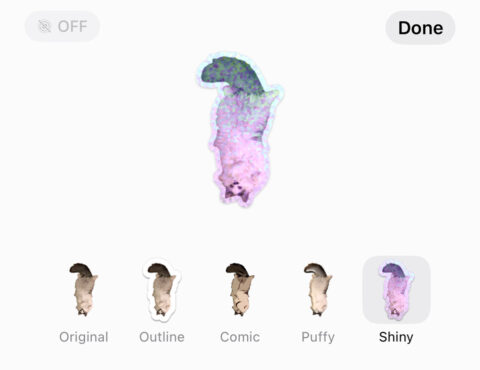
Long-pressing any sticker shows a pop-up menu with a few options. Tap Add Effect to choose from visual filters such as Comic and Shiny. From this same menu, you can also Rearrange or Delete stickers.
Finally, stickers aren’t just for the Messages app. They’re available system-wide in other contexts too, like Mail and even screenshot editing. Many third-party apps also allow sticker usage.
