
3There’s no doubt Apple has a soft spot for musicians, with its own powerful (and free!) GarageBand app joined by a huge array of fantastic music-making apps for iPhone and iPad. The challenge arises in getting all these diverse audio apps to talk to each other effectively. Enter Audiobus, a tool that seamlessly connects your favorite musical apps together.
Audiobus essentially acts as the digital equivalent of the audio cables you’d use in a real music studio. It allows you to route sound between synthesizers, effects, compressors, and digital audio workstations (DAWs), all neatly contained within your iPhone or iPad. For pro or hobbyist musicians, it’s almost an essential download as it simplifies your workflow and expands your creative possibilities.
To illustrate just how simple this is, we’ll walk you through a beginner-friendly scenario: playing music in one app and recording it directly into GarageBand for further editing. When you’re comfortabnle with that, you can experiment with more complex setups!
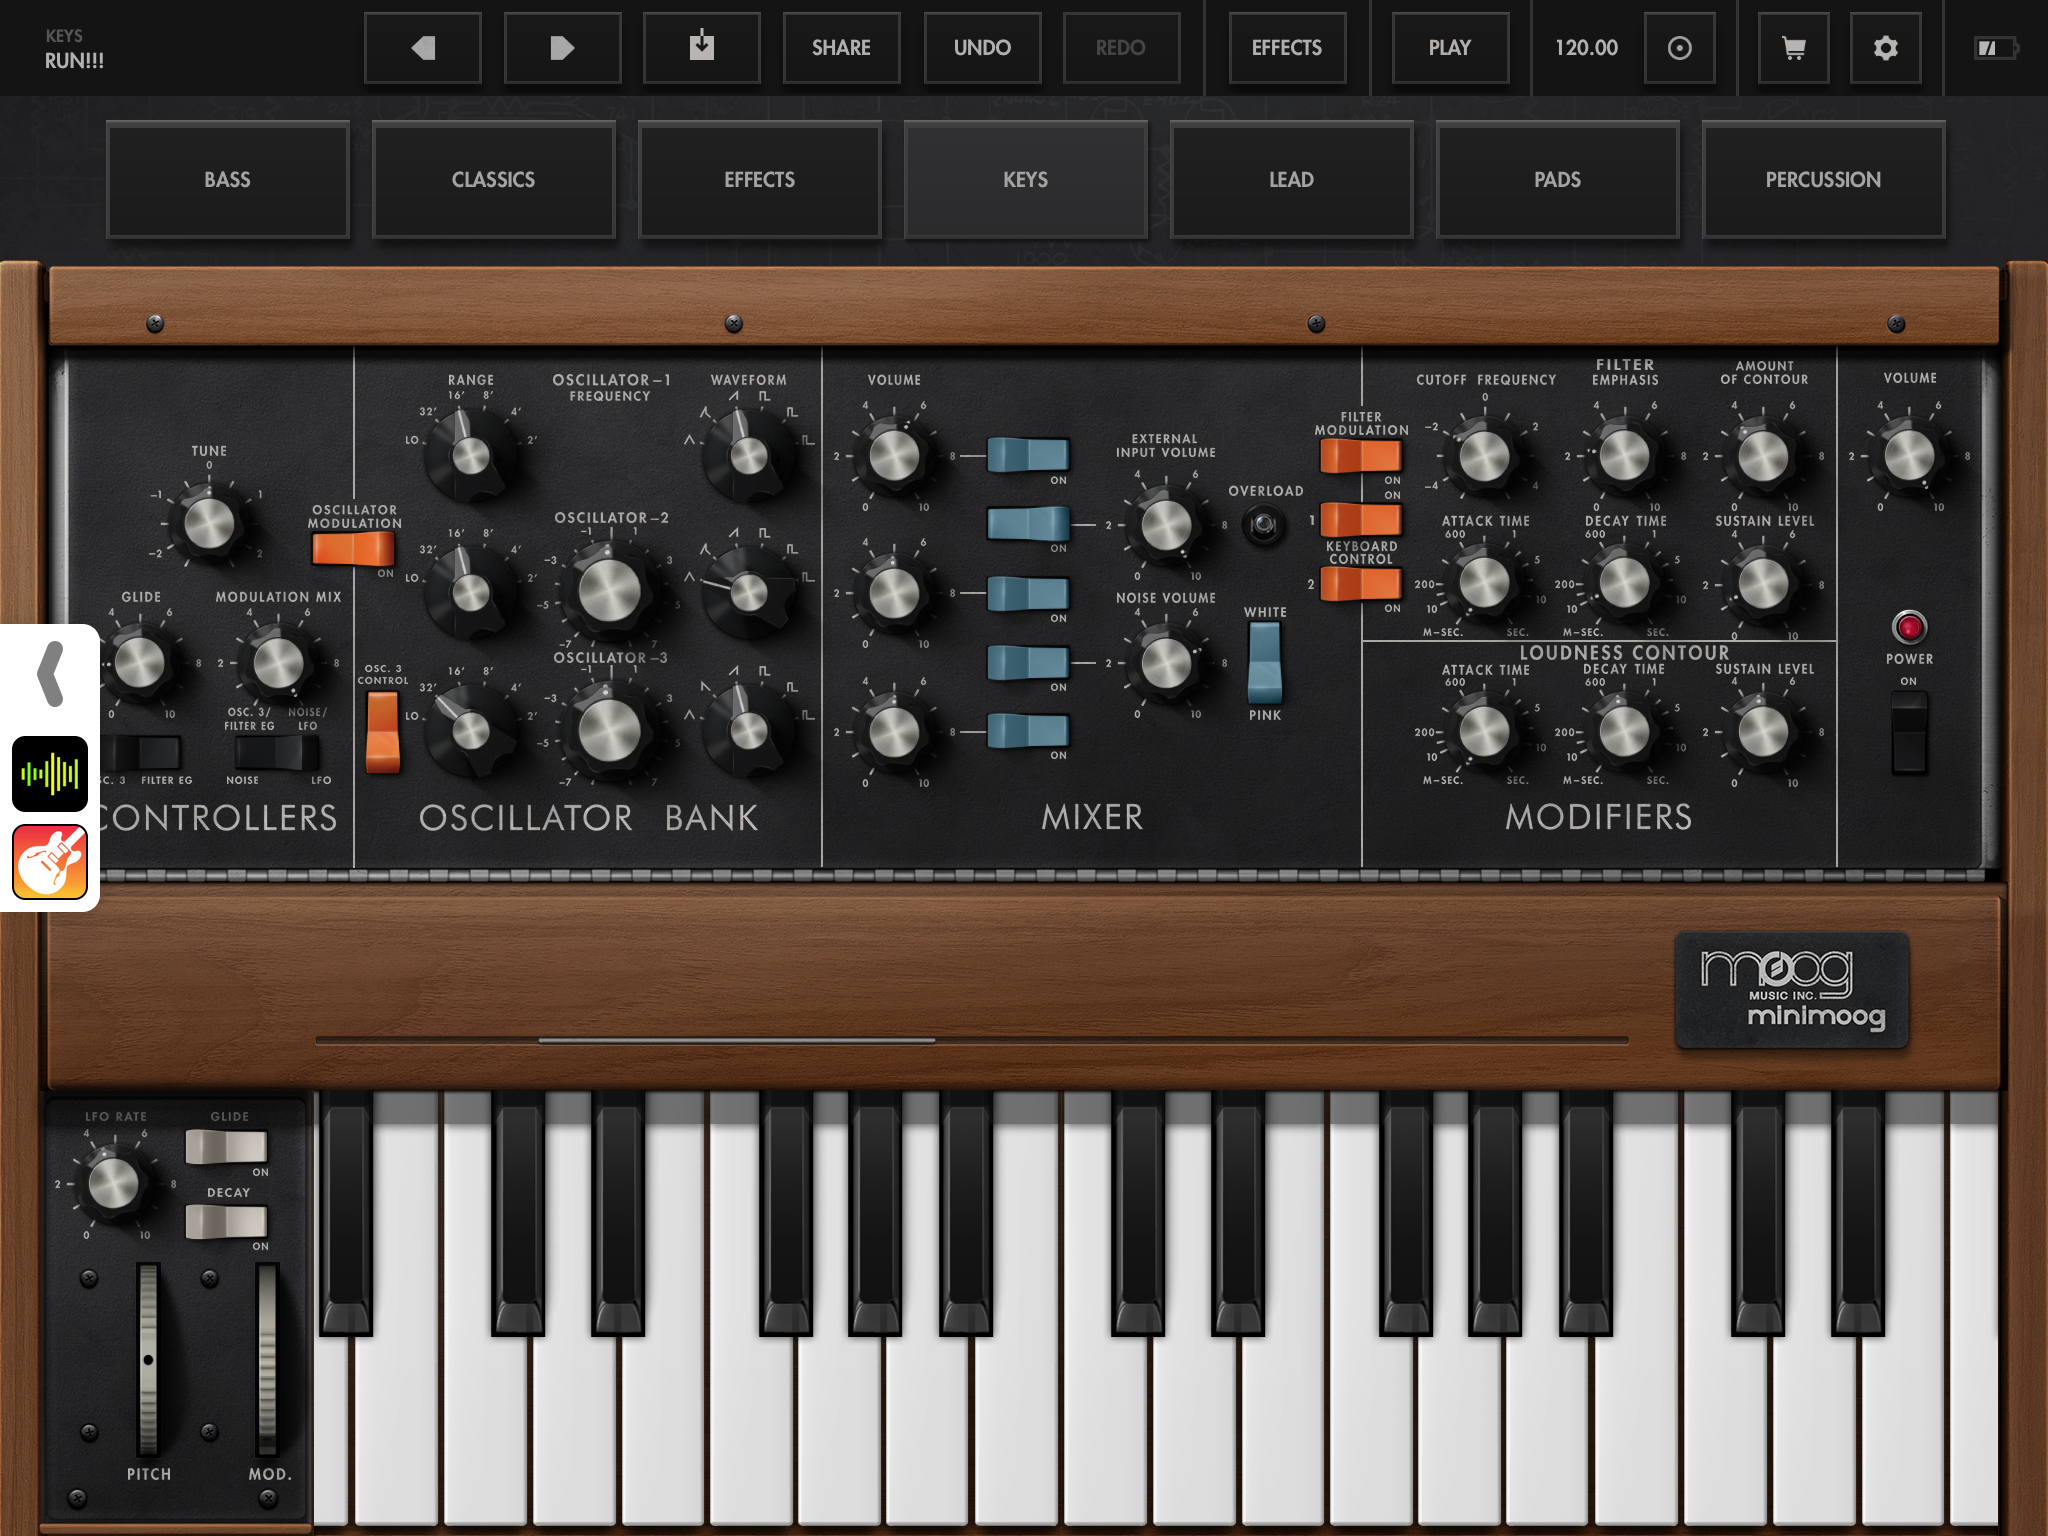
To follow along, make sure you have Audiobus and Garageband, and a synthesizer app installed on your device. For this tutorial, we’ll use Minimoog Model D, a faithful recreation of the iconic analog synthesizer that offers classic electronic sounds perfect for experimentation.
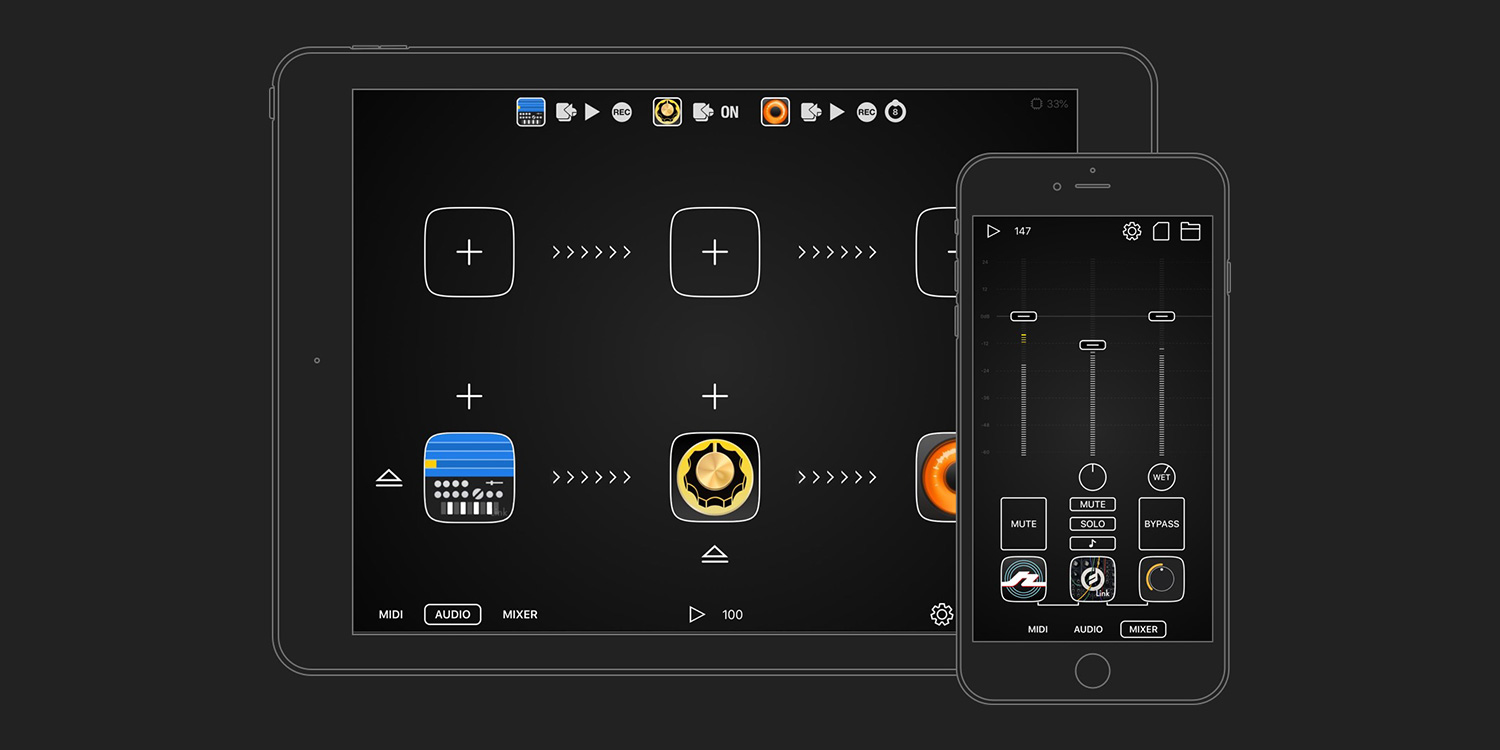
Open up Audiobus to get started. You’ll immediately see the main interface with sections for input, effects, and output. For now, let’s keep it straightforward by just selecting an input and an output. Tap the Input area to bring up a selection menu of all compatible apps installed on your device, and select Minimoog Model D. Audiobus will smoothly launch the Minimoog app in the background, then bring you right back.
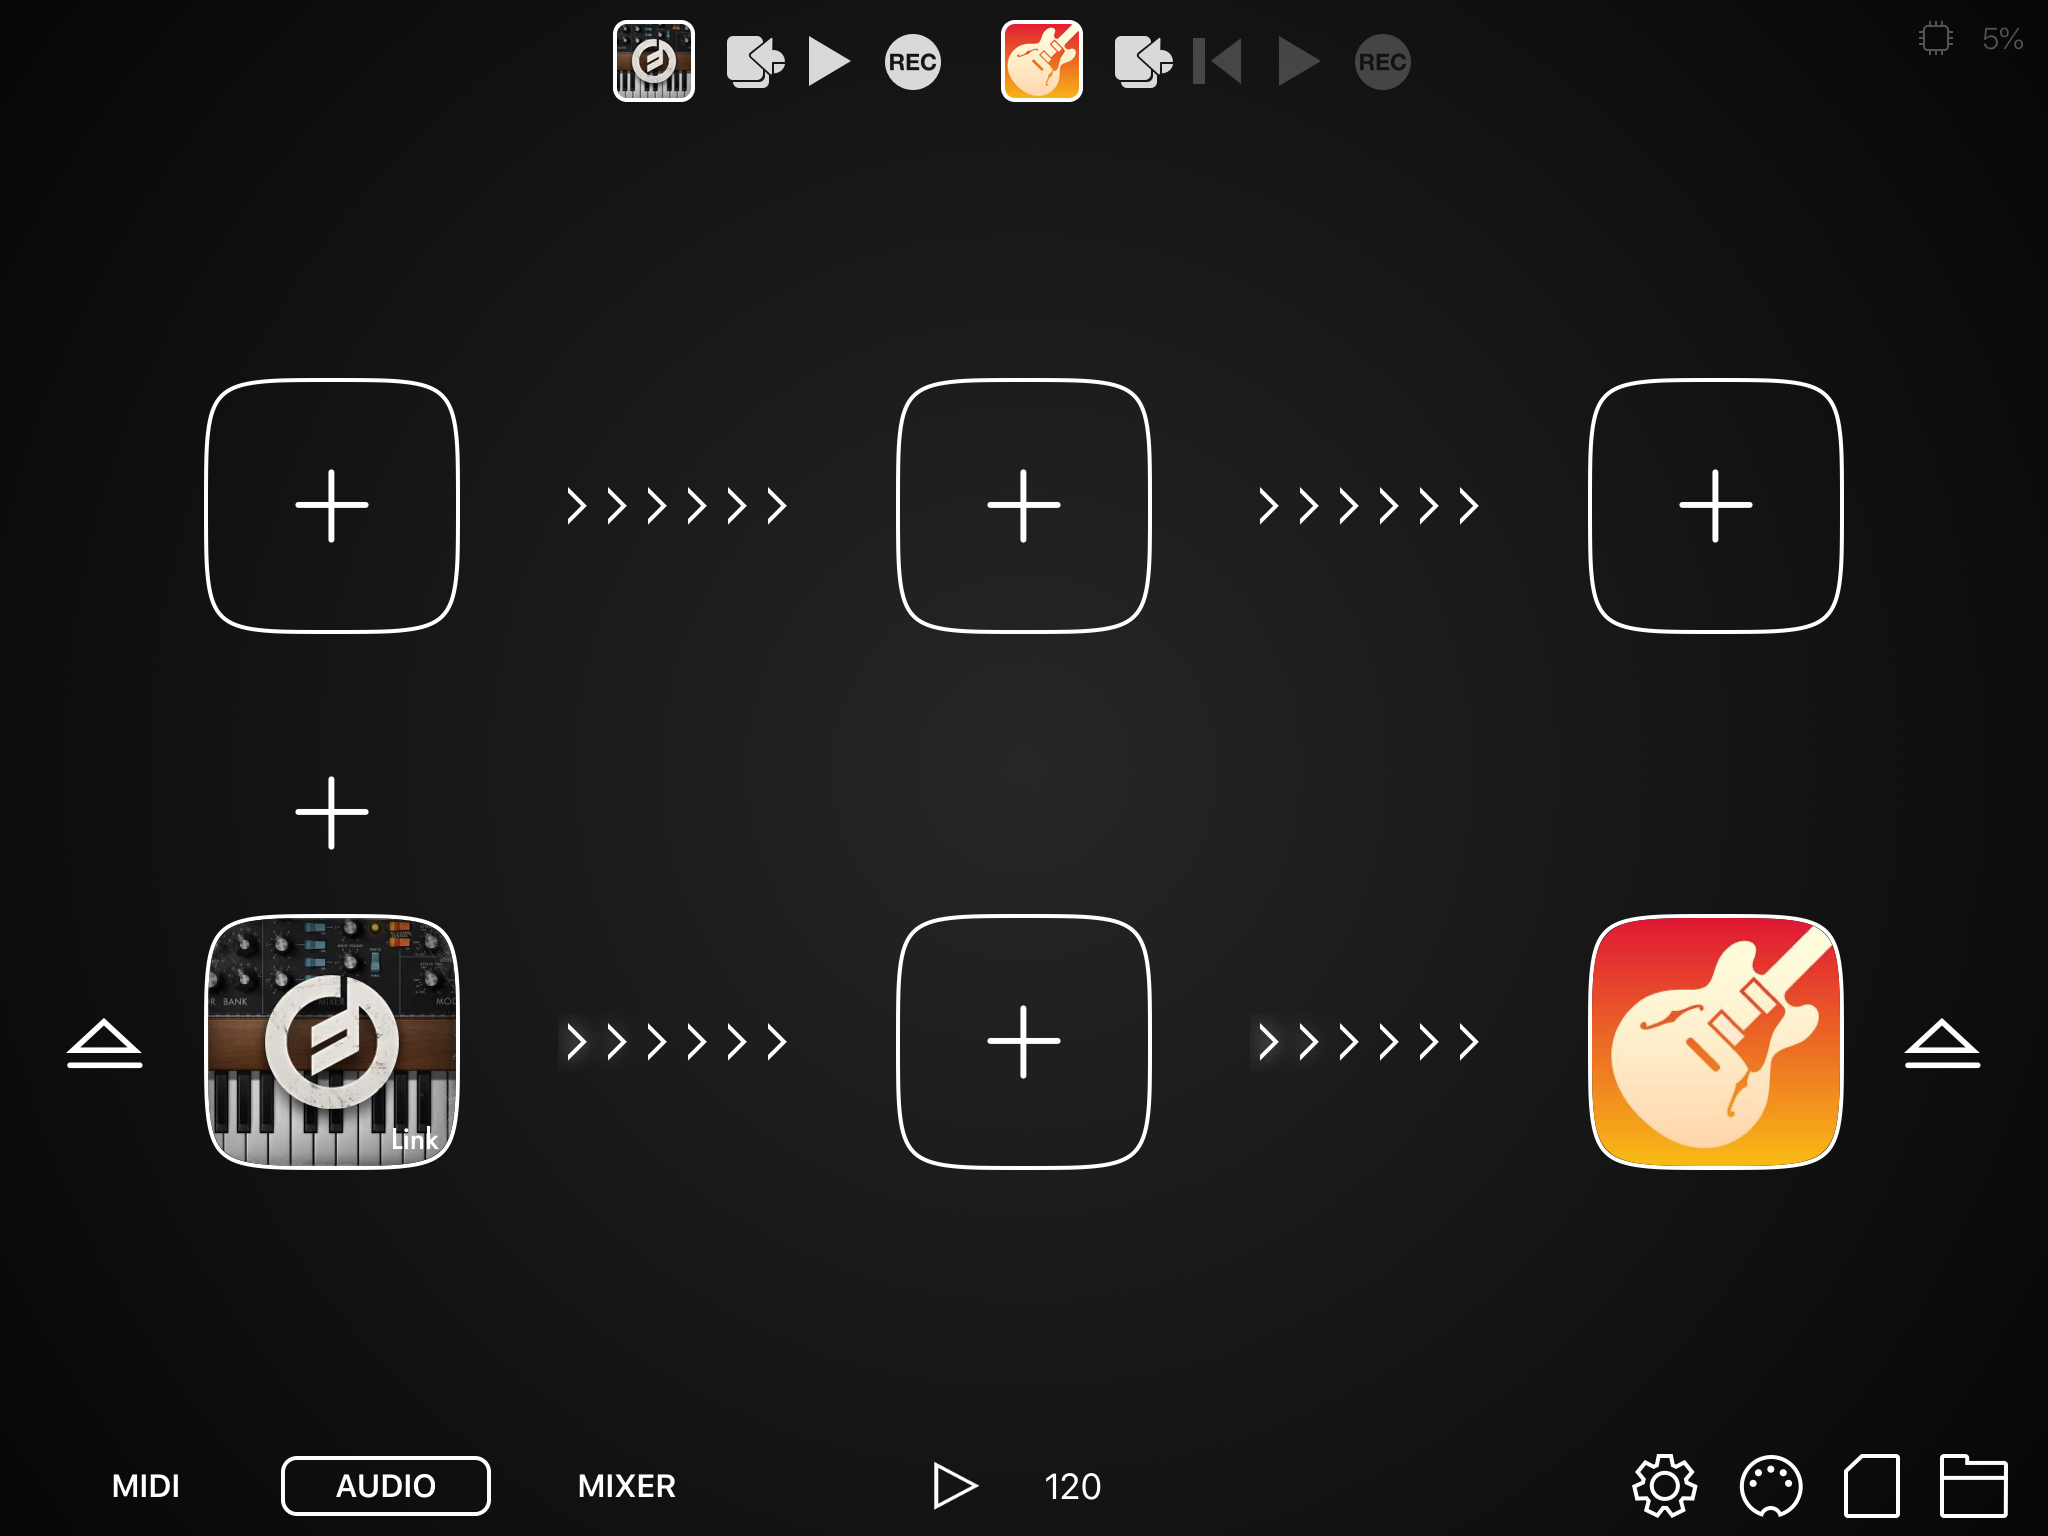
Next, tap the Output section. Here, choose GarageBand, which will serve as your recorder and editing platform. Audiobus will seamlessly handle launching GarageBand, leaving you with a clear visual of your audio pathway: Minimoog directly feeding into GarageBand.
Get recording
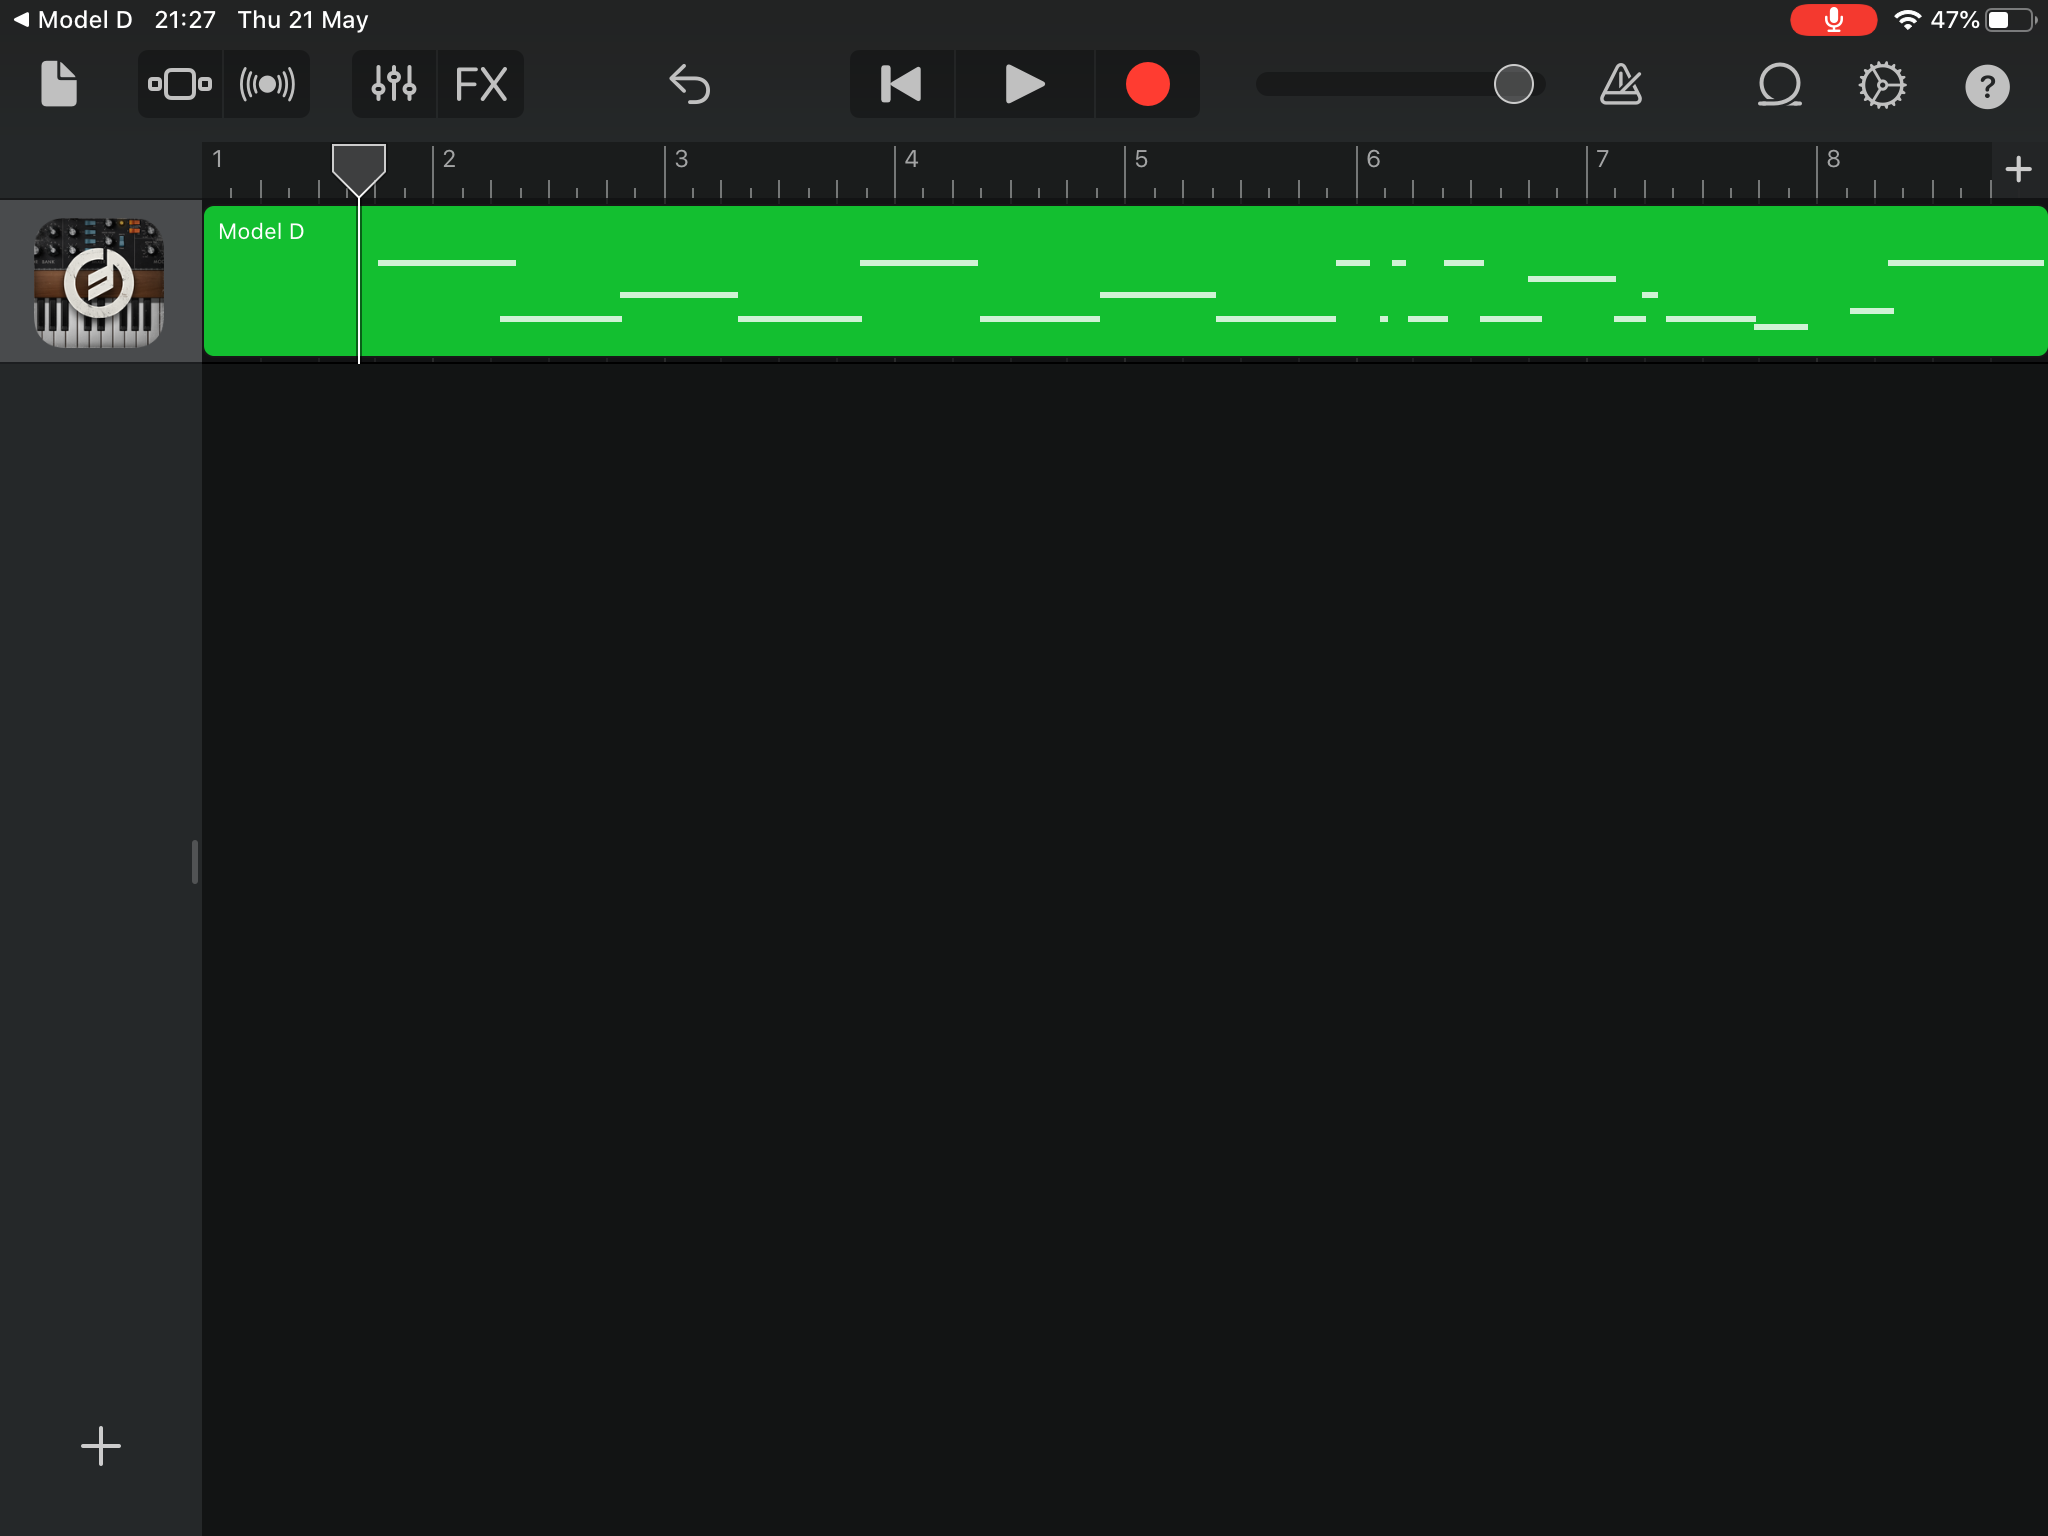
With your apps connected, tap the Minimoog icon from Audiobus to start experimenting with sounds. You’ll notice a helpful sidebar menu that makes switching between your linked apps effortless. Once you’ve crafted a synth line you’re happy with, simply switch over to GarageBand via Audiobus. Hit record, and GarageBand will automatically bring you back to Minimoog so you can capture your performance live.
When you finish recording, stop the track, and your performance will appear in GarageBand, ready for editing, layering, and fine-tuning. From there, you’re free to build out your song with additional tracks or effects, all seamlessly connected through Audiobus.
This is just the beginning – Audiobus can manage complex chains of effects and instruments, perfectly emulating professional analog studio setups. Dive in, experiment, and enjoy the creative freedom Audiobus brings to your music-making.