
Technology is amazing. It wasn’t long ago you’d need an eye-wateringly expensive rig of high-end cameras to scan a physical object and turn it into a 3D computer model. These days, you can do so in a matter of seconds with a phone that fits in your pocket. The proliferation of 3D printers and accessible design software means it’s getting easier for hobbyists to put those 3D models to good use, too.
Let’s take a look at how the process works using the CAPTUR3 app, from the creators of Matterport.
That connection means you can scan your entire home layout with Matterport and then use CAPTUR3 to add realistic versions of notable decor to a virtual tour. Just one of many fun use cases for this kind of thing!
Getting started
Download the free app, register for an account (or Sign in with Apple), and allow access to your device camera.
The basics of capturing an object are simple: slowly move the camera all the way around it in a circle to capture all sides. But the app suggests a few tips to ensure high-quality results.
Firstly, make sure you have bright, even lighting surrounding the object. This sounds obvious, but if there’s a large shadow or highlight over one side of the object, that’s how the 3D model will appear too. So use an indirect light source if possible, or a sheet to dampen anything with too much shine.
Beyond that, it’s important to place the object somewhere sturdy so it won’t move while you capture its shape. Also, ensure there’s space for you to stand on all sides, so you don’t crash into anything when performing the scan.
Finally, it’s worth noting that transparent objects, like glasses, won’t capture well.
Start capturing
Once you’ve got everything nicely set up, you can start capturing. Step one is simply to take a static photo of the object from three sides, to help the app understand the boundaries of the object you’re trying to capture. A wireframe ‘floor plane’ will appear, and you’ll need to confirm that it lines up with the plane the object is resting on – or adjust it until it looks right. Then, pinch to shrink or expand the scale of the object until the sphere fits completely around it. This ensures nothing gets left out of the final scan.
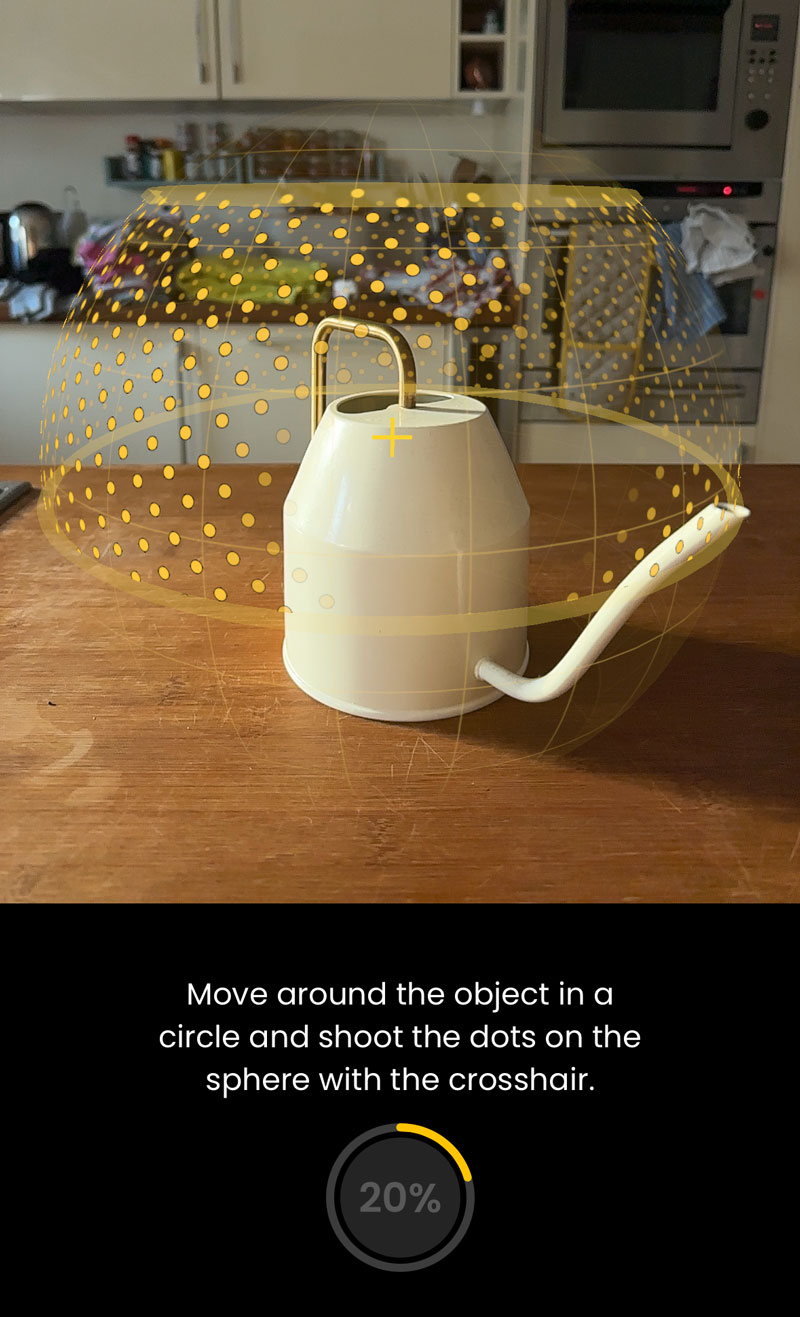
Now for the actual scanning part. Cleverly, CAPTUR3 has a neat system to ensure you get every angle. You’ll see a grid of yellow dots surrounds the object on all sides. Slowly rotate around the camera, keeping the object centered at all times. You can use the crosshair in the middle of the screen to “shoot” the dots, which give off a satisfying ping of haptic feedback and then disappear. Your goal is to remove all the dots before continuing. In reality, we found hitting about 95% of the dots was usually enough for good results – though you may end up with a small ‘hole’ in your 3D model.
Then we play the waiting game. Your scans are uploaded to CAPTUR3’s servers for processing, which can take 10-20 minutes to complete. Allow notifications so the app can ping you when the scan’s ready to view.
View and save your model
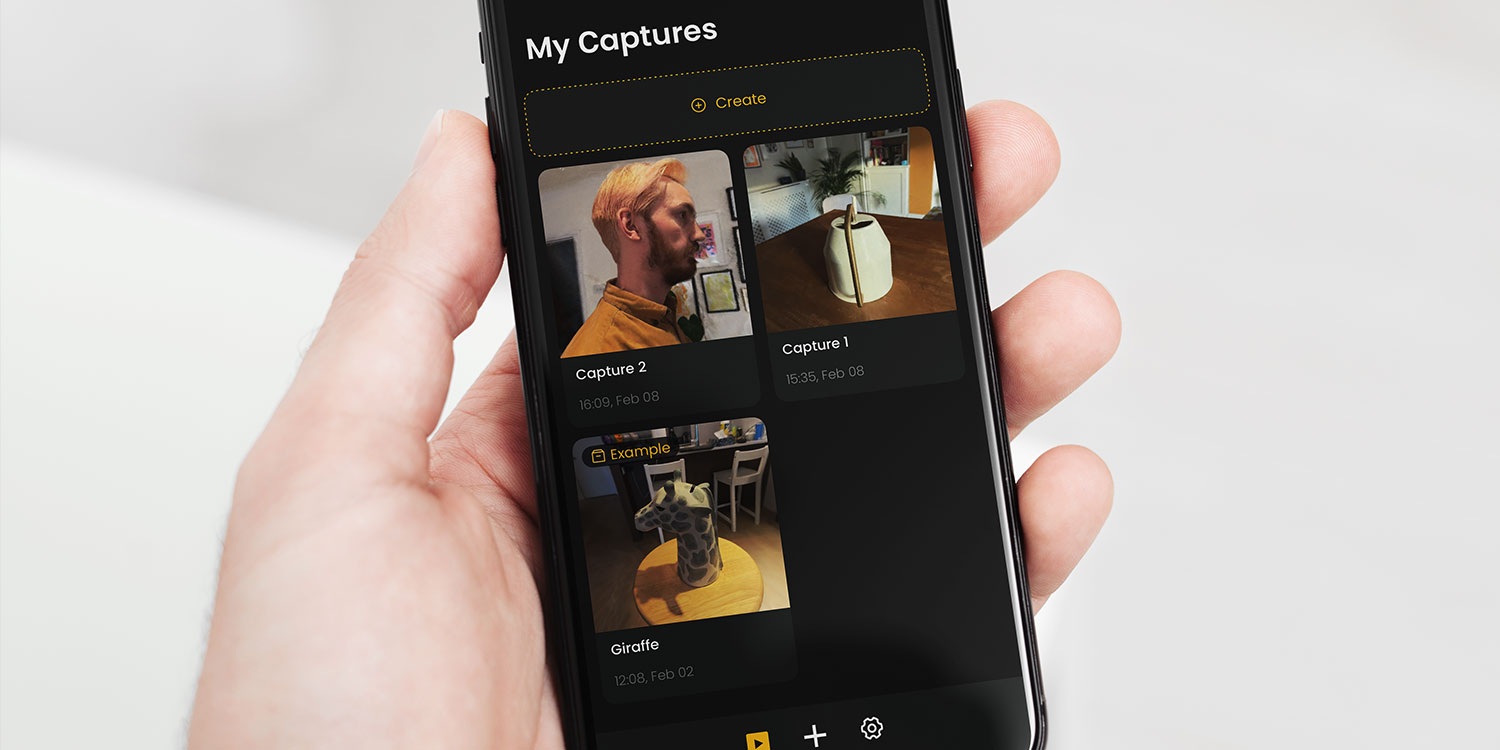
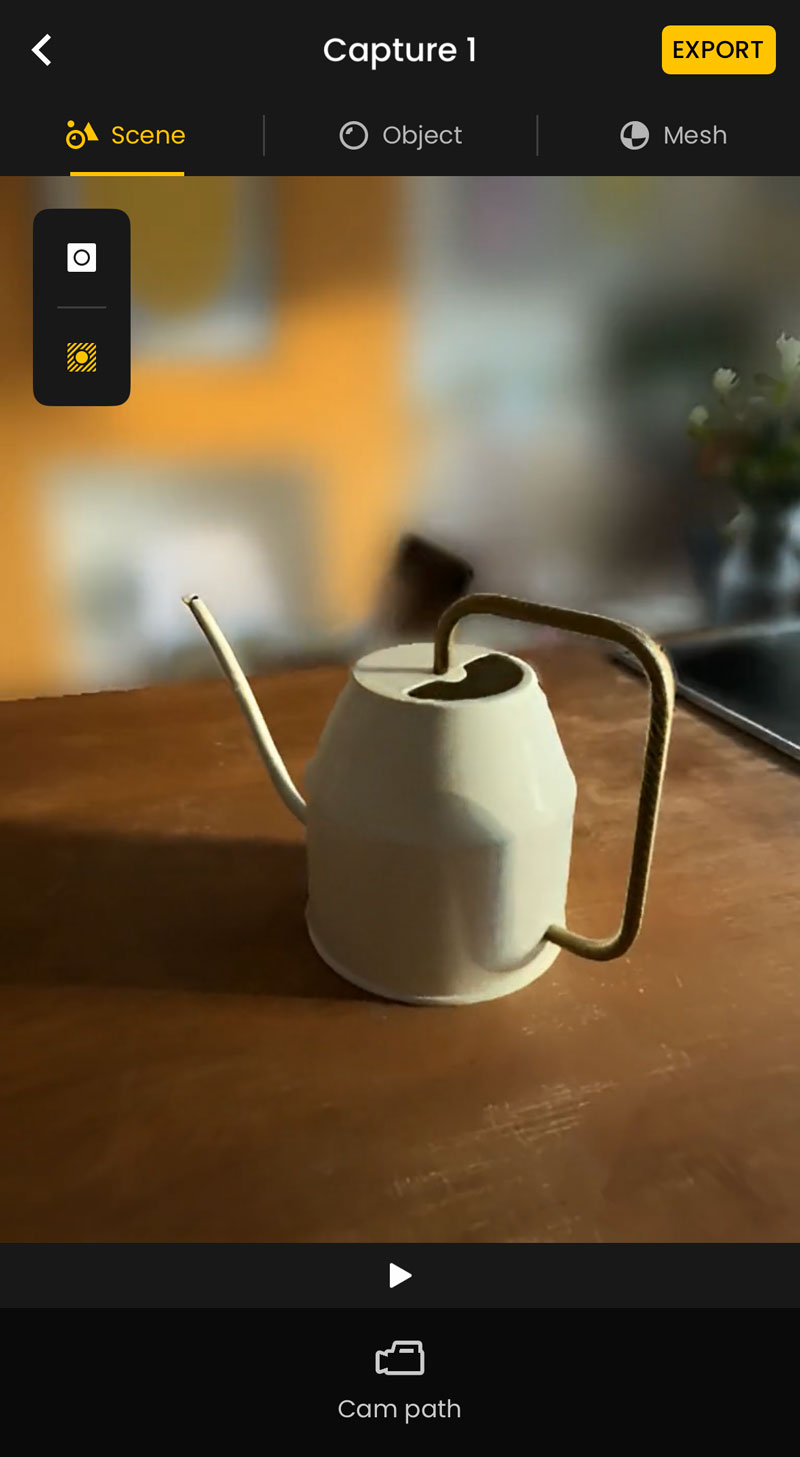
When your scan’s finished processing, tap it from the app’s main screen to check it out. You have three modes here: Scene, Object, and Mesh. The model can be saved with the Export button, but note that the output is different depending on which mode is active.
Scene displays a 360-degree rotation around the object, with the background environment intact. Use the on-screen buttons to blur/unblur the background, or change the path the camera takes as it rotates. Exporting from this mode will save a video to your camera roll.
Object works just the same as Scene, but with the background removed. It’s nice seeing your scan in isolation, but it has a tendency to amplify any imperfections. If there are too many shadows and rough edges, try scanning again with better lighting. Exporting from this mode will save a video to your camera roll.
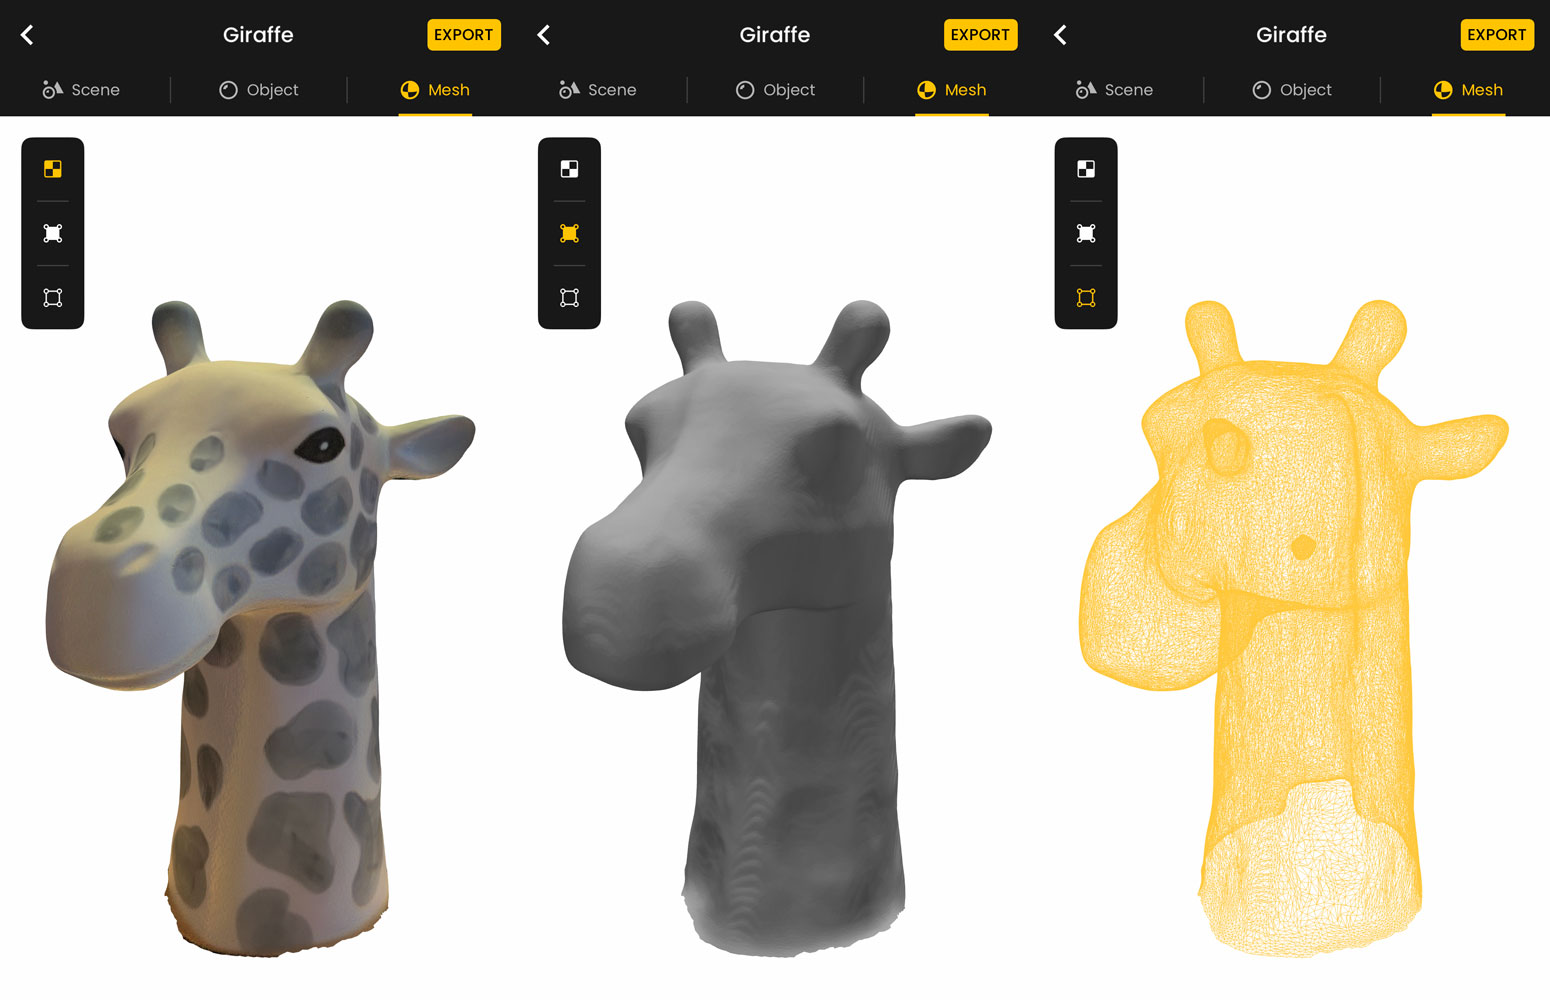
Mesh displays a cleaned-up look at the 3D model itself, with options to change the view mode to see the object with no textures, or as a wireframe model. Exporting from this mode will save the 3D model in either USDZ or OBJ format, commonly used in 3D design software. That means you can edit the model further.
Whether you plan to use it as a videogame asset, CGI for a video, a physical print, or just for fun – CAPTUR3 can help you do it.