
It’s hip to be square
The 1:1 ratio photo – or square, if you want to get fancy – was given a new identity when Instagram launched in 2010. Now, more than a decade later, it’s still the default approach for the major social media platform.
But despite Instagram confirming that it would be branching out into new formats, that iconic square photo is not going away. As such, you’ll need to learn how to edit all your shareable content to fit this ratio. We’ve got just the app for you: Square Fit.
Here are some of the most common use cases to help you execute the perfect edit.
Basic crops
Whether you want to quickly crop a new photo for Instagram, create a professional-looking profile pic for LinkedIn, or create a better focal point for a video you’d like to share, the app’s basic crop tool is easy to use.
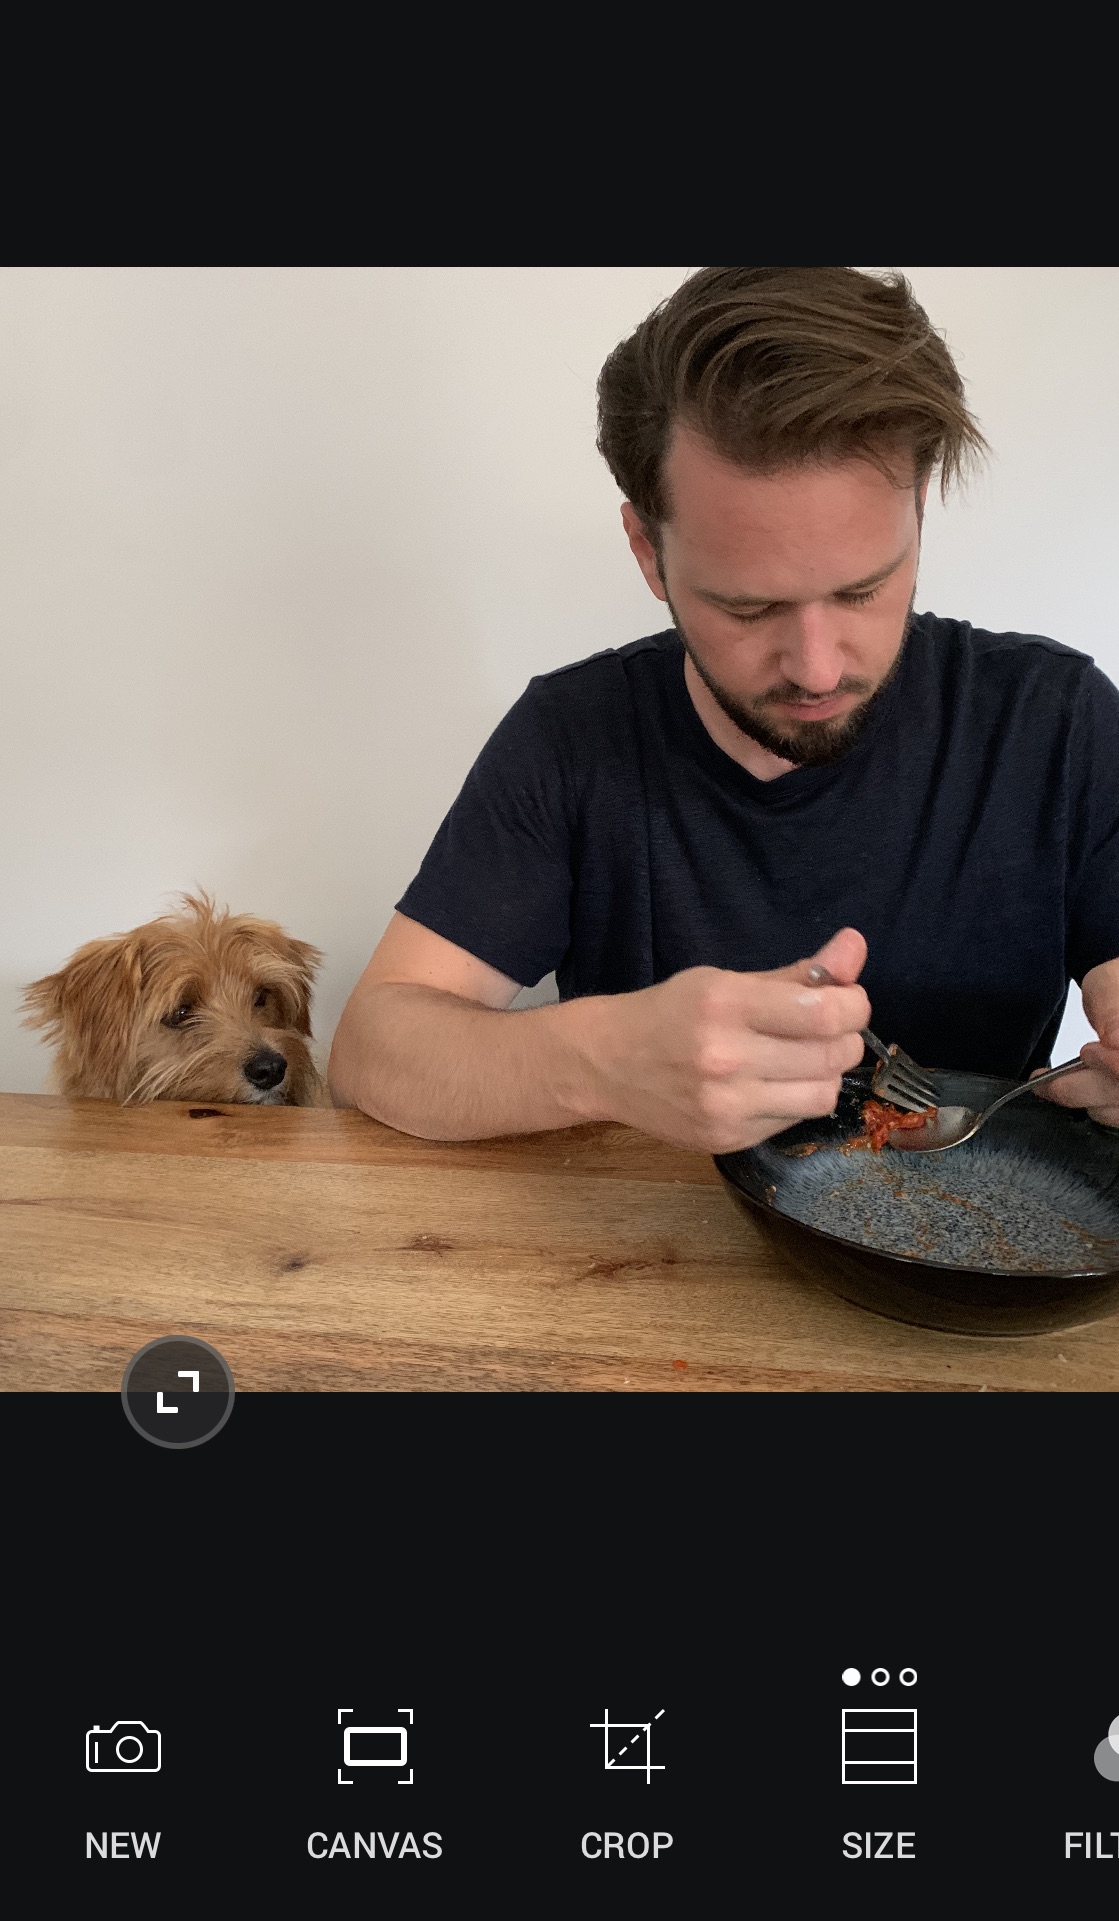
First, open the app and tap New in the bottom menu. Then choose between video or photo and select the one you want to crop from the library that pops up.
Once selected, the photo will sit within its original ratio within a square frame.

To make sure the photo fits the frame, use two fingers to pinch and zoom until the image fits the square frame. So far you might be wondering whether we need yet another app to achieve this, considering Photos and Instagram are quite capable of basic square crops already.
But sometimes you have a distinctly non-square photo that you have to fit into a square hole. If you don’t want to lose the original aspect ratio of your photo, you’ll want to fit the entire photo or video within the frame, adding a border or background to pad out the rest of the square.
Advanced crops
Technically, this isn’t cropping – it’s almost the opposite. The point of this type of layout editing is to not lose any of the original image.
As you’ll have noticed, the app automatically keeps your image’s aspect ratio when you first open it within a square frame. If you’re happy with white edges, job done! Simply export your media and get sharing.
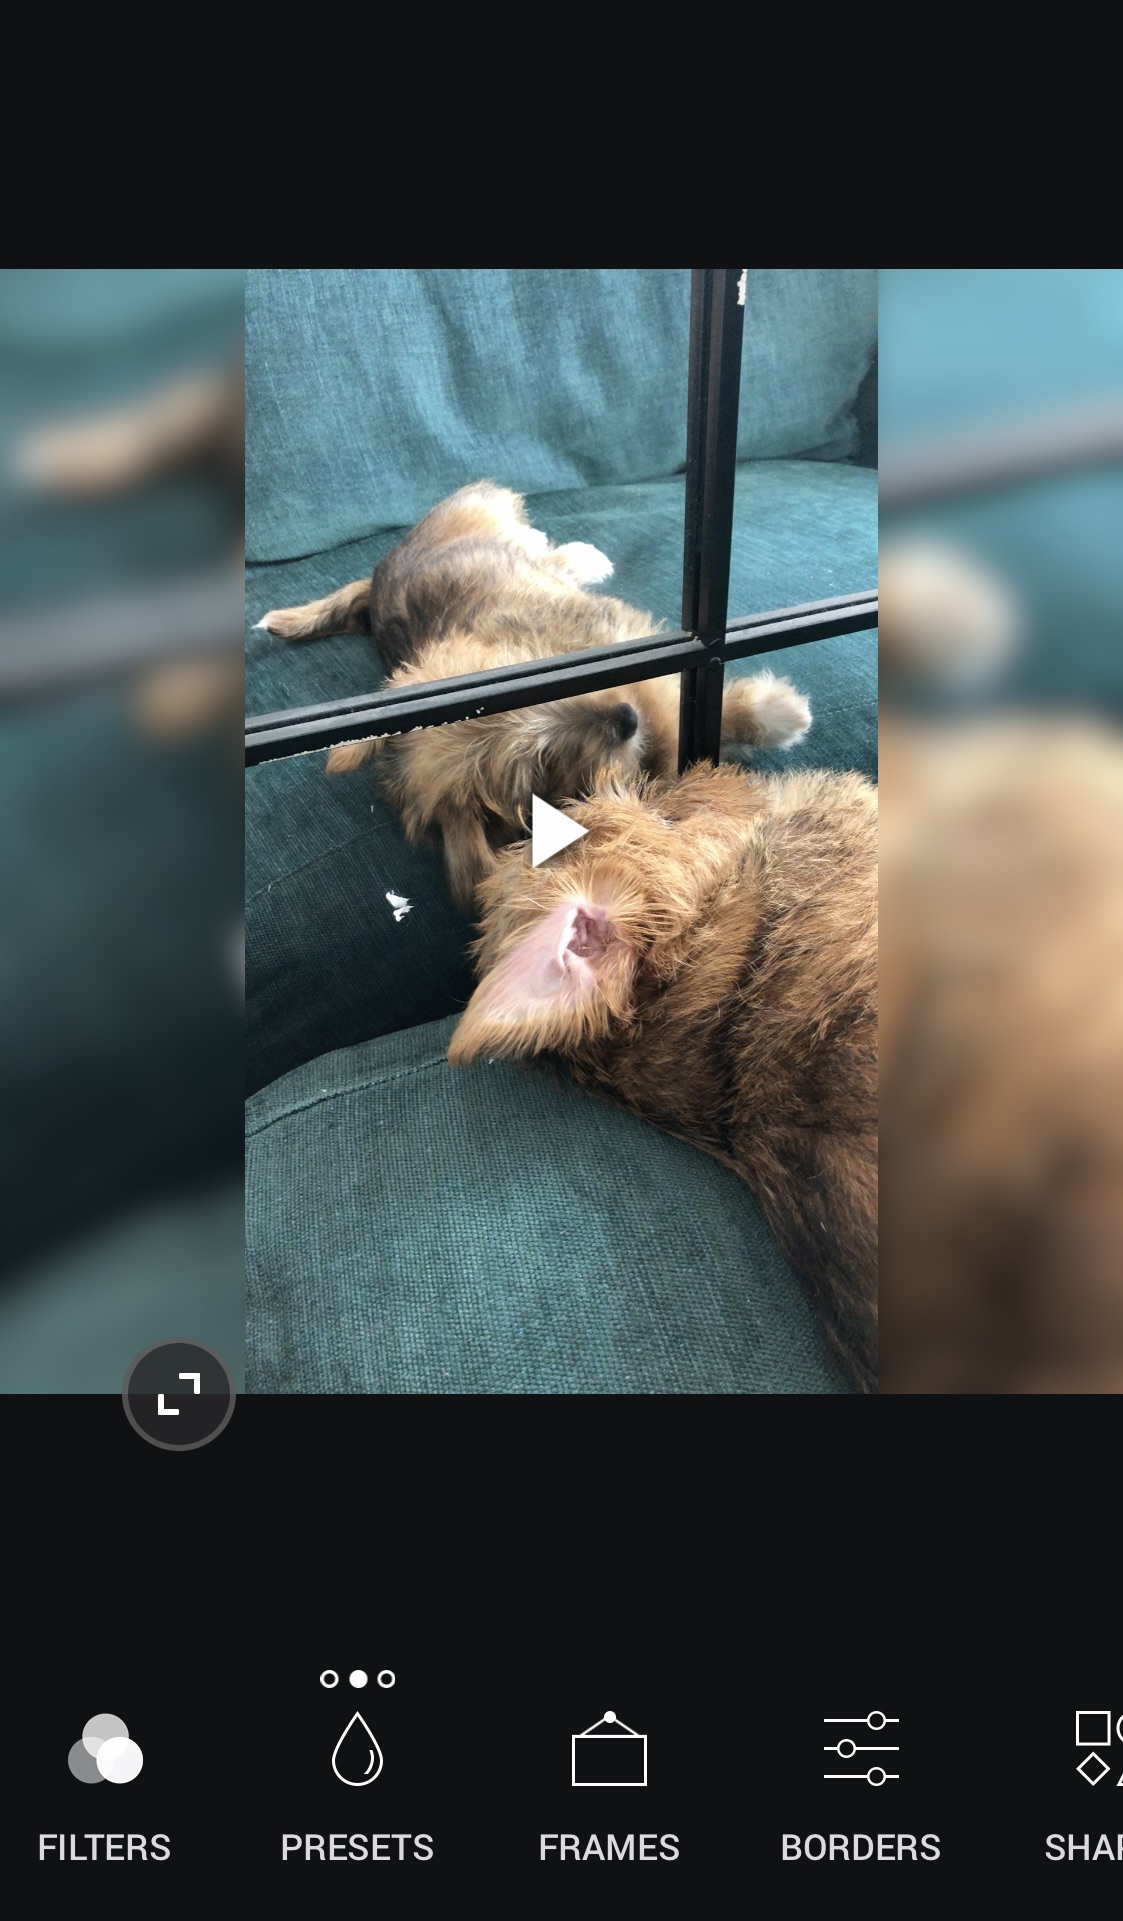
But, wait, what about those cool social vids where a blurred version of the image fills the rest of the screen? That’ll be gaussian blur you’re thinking of, and it’s super easy to use with Square Fit.
Once you’ve opened your image, swipe left on the bottom menu until you see Presets. Tap this once and you’ll achieve this effect. Tap it again and you’ll get the same thing without the blurred elements.
Vertical video format
But hold on one second, what about those Instagram and Facebook “stories” that aren’t even square? No problem.
Open up an image, then tap Canvas. Now tap the 9:16 option, and tap the tick to confirm. Now, back on the main menu along the bottom, tap Size until it fits the screen. You may need to use your fingers to position it correctly, but it really is as simple as that!
Once you’ve mastered this layout technique, play around with the other functions of the app – you’ll find fancy backgrounds, borders, effects, filters, stickers, and more.