

- Turn your handwriting into a working font using Calligraphr
- Fill out the template by hand or digitally
- Install your finished font on iPhone and iPad
Your handwriting deserves better than staying on paper. With a free web tool and a bit of patience, you can turn it into a fully working font and use it anywhere on your iPhone or iPad – messages, social posts, digital artwork, you name it.
The process is simpler than it sounds: draw each letter onto a template, upload it, and let a service called Calligraphr do the rest. You can fill out the template with an iPad and Apple Pencil or good old-fashioned pen and paper. Here’s how to do it.
Make a template
We’ll be using font-creation service Calligraphr, which lets users make simple fonts for free or complex ones for a small fee. We’ll stick to the free version for now, which allows a maximum of 75 glyphs: enough for upper case, lower case, numbers, and the most common punctuation marks.

Head to the Calligraphr website and register for an account. Log in and navigate to the Templates section. Here, you can add various glyphs you want to include in your font. From the Basics menu, tap Minimal English and Minimal Numbers to add them to your template. If you make a mistake, tap Remove all and start again. When you’re done, hit Download Template and use the default settings to create a PDF file.
Once the template is generated, it will open in a new tab. Now, you have two choices: if you’re planning to draw your font with the Apple Pencil, tap the Share button and Save to Files. If you’d rather do it with paper and pen, instead press Share and then Print.
Get drawing
The next step is to fill out the template, using the guides to draw each glyph in the appropriate box. Use the image below as reference for how to place your letters in relation to the lines.
By hand, use your favorite pencil or pen and take it slow! When you’re finished, scan the paper back in using the Camera app or the scan function in Notes.
If you’re going digital, you’ll need to import the template into your favorite drawing app. We like Procreate, which has great drawing tools and handles PDF files really well. Tayasui Sketches is an excellent free alternative, but you’d have to download the template as a PNG file in order to import it there. Whatever app you’re familiar with is probably the best bet.

Use an Apple Pencil if you have one for finer control, and be sure to tweak your brush settings to something that feels right before starting. You’ll want to use pure black, as fonts don’t contain transparency or color data.
When you’ve done, share the completed template back to Files or save it to your camera roll; whatever’s easiest. You’ll likely have two pages.
Create the font
Head back to the Calligraphr website and press My Fonts, then Upload Template. Choose both pages from Files or your Photo Library and hit Upload Template. Note that if you filled it out digitally, you should untick Automatically Clean Templates, which is designed for removing artifacts from scans and photos.
You’ll see a preview of the scanned glyphs. If all looks ok, press Add Characters to your Font. If anything’s missing, you might need to upload the second page separately. Next, press Edit Font Details and give it a name.
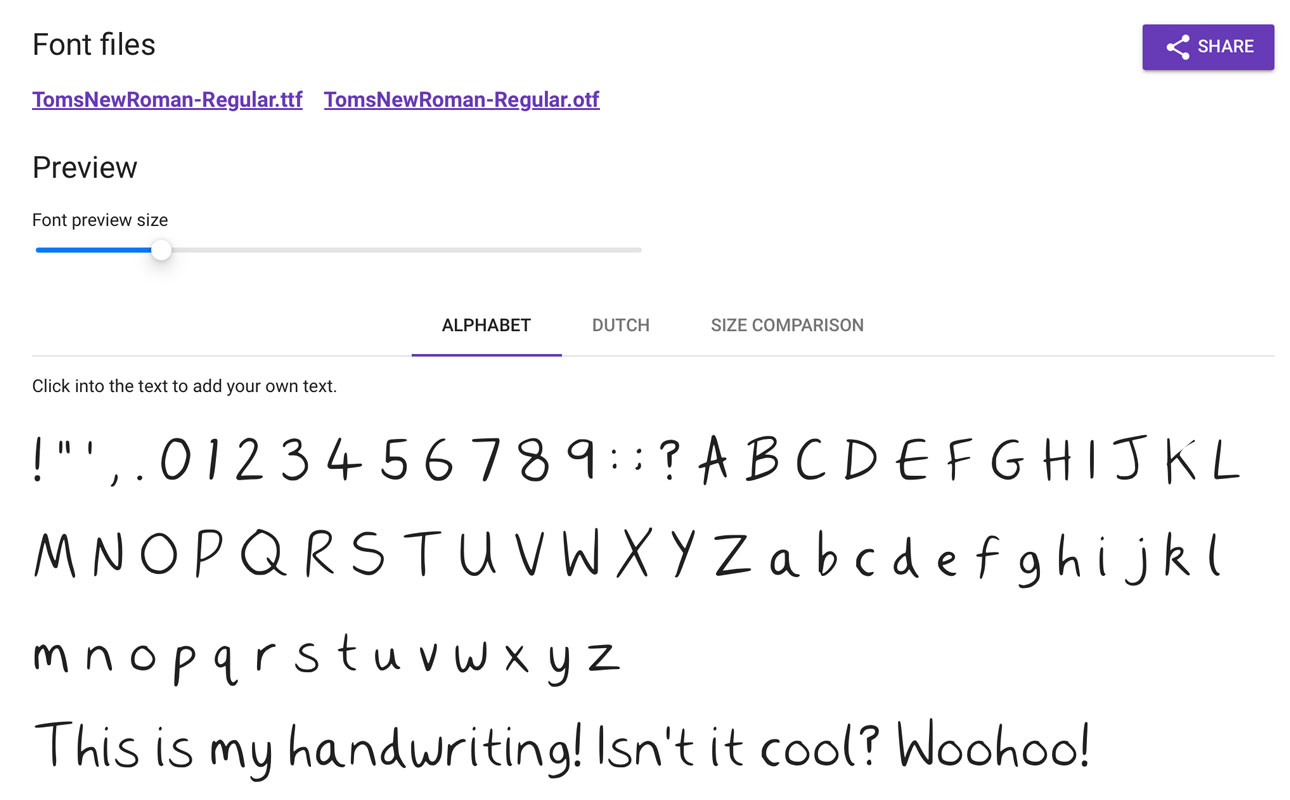
Finally, tap Build Font to see a preview of your font in action! The Size Comparison tab allows you to see your characters alongside other standard fonts. If the size or spacing looks off, head back to Edit Font Details and make some adjustments. You can also use the Adjust Baseline tools from the … menu if needed to tidy things up further.
Installing your fonts
Under the Font Files heading, you can tap to download your finished font in TTF or OTF format. Either should work fine, but OTF is the modern standard.
Share these to a computer and you can easily add them to your font library by simply opening the file and choosing Install.
To use them on iPhone and iPad is a little more complicated, as Apple doesn’t include the capability by default.. You’ll need a third-party app to help you install a font profile in Settings – Fonts Art and iFont worked well for us when testing these out, and we’ve even written a guide to the former.
Taking it further
If you want to make more involved fonts, you’ll need to subscribe to Caligraphr’s paid plan at $8/month for access to the full suite of features. Note that you can keep any fonts you create forever, so a single month’s outlay should be all you need unless font-making becomes a regular hobby. Have fun!