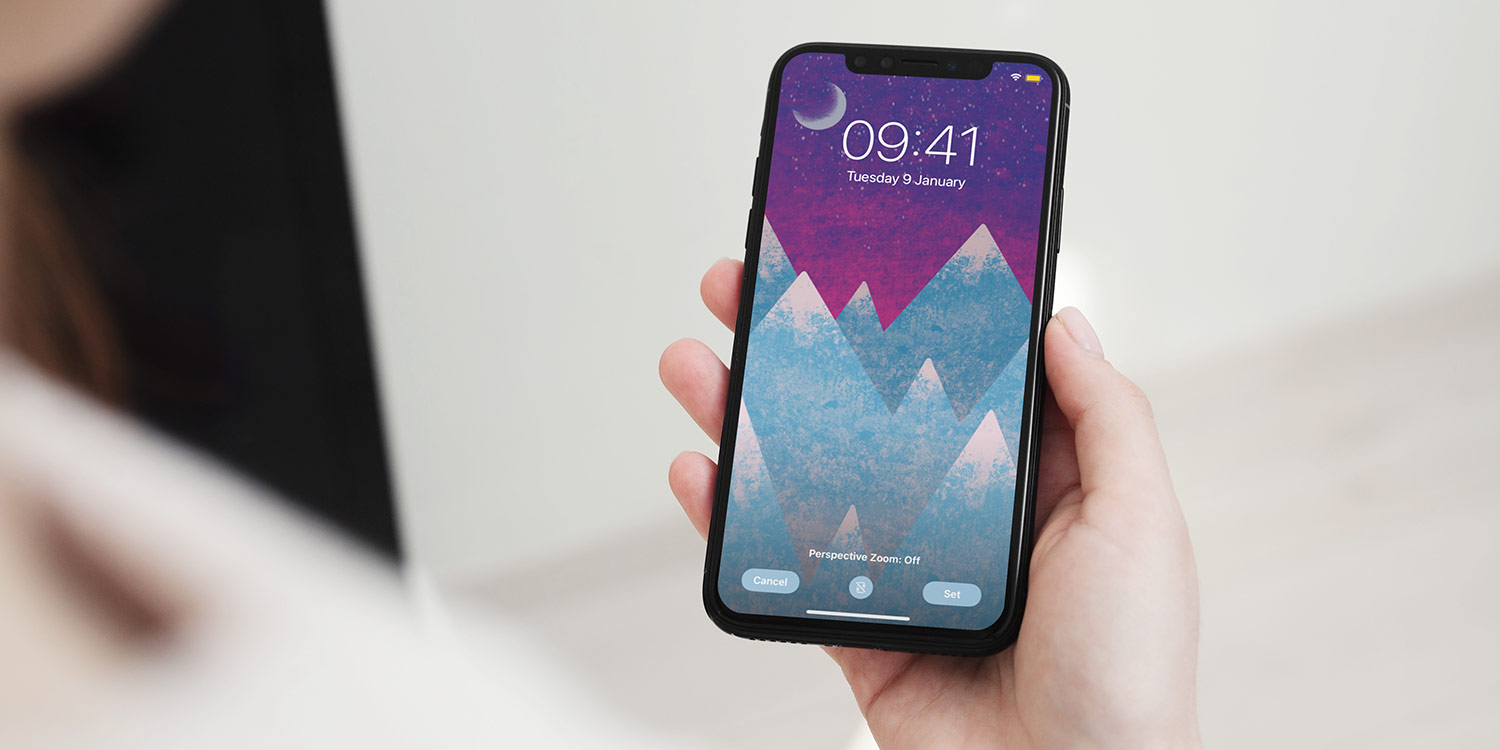

Ever wanted to create the lock screen art of your dreams, or even just something a little more personal than what’s available online? With Procreate Pocket ($4.99/£4.49) for iPhone you can – using your finger as your brush!
Note: if you have an iPad and Apple Pencil, you can still follow along but you’ll need the original Procreate ($9.99/£8.99) instead.
Getting started
Open Procreate Pocket and tap the + in the top right corner to create a new canvas. You’ll have the handy option to select Screen Size at the top of the menu, which will ensure your wallpaper has the right resolution to look nice and crisp, combined with the perfect crop to fit your display.
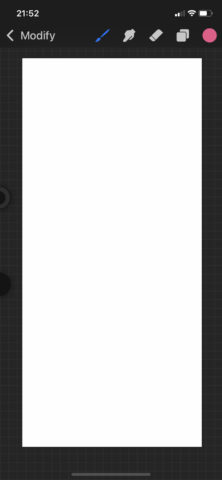
Your on screen workspace has a toolbar at the top, with the following tools from left to right: brush, smudge, erase, layers, color. Tapping Modify, to the left of the toolbar, will open up some additional features we’ll be using. Pinch with two fingers to zoom in, zoom out, and rotate.
Laying the foundations
Firstly, to pick a background color, tap on the layers icon, then tap the layer background color. Once you’re happy with your chosen color, tap Done in the top right corner – you can always change this later if you’re not happy with it! To select a color to draw with, tap the color icon in the corner. You don’t need to be a color theorist – tap palettes in the bottom right to open some fun default palettes that may spark inspiration.
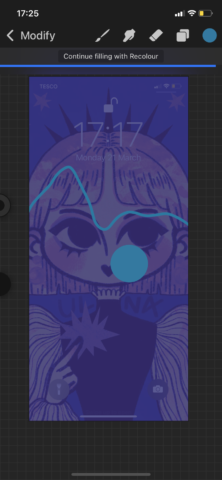
Pro tip: import a screenshot (Modify > Spanner > Add > Import a photo) of your current lock screen to make sure the composition works with the placement of the time & date. To toggle a layer’s visibility, tap the checkbox next to it.
Let’s make some art
Tap the brush icon to select your drawing tool. We recommend starting with something smooth like the Monoline brush from the Calligraphy category. Slide the half dot on the left side to change brush size. Start by blocking out some large shapes – like hills or mountains – and filling them in by dragging and dropping the color icon to the area you wish to fill.
Create a new layer each time you make a new element, that way you’ll be able to edit them without affecting the entire artwork.
Pro tip: create a new layer above a chosen element, tap it and select ‘clipping mask’ to add texture. Choose a fun brush and contrasting color – anything painted on this layer will only color the shapes on the layer below!
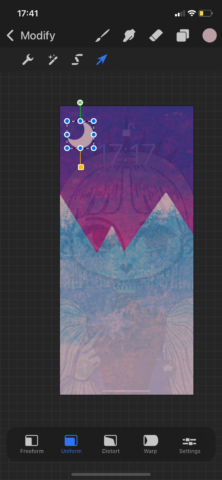
If you’re not happy with the placement of something, select the layer it’s on and then tap Modify > Arrow (icon). This will bring up a selection box, allowing you to move it around or drag it larger/smaller. Tapping Settings gives the option to flip and mirror and image. To duplicate an element, slide left on the chosen layer and tap duplicate.

Finishing touches
Multiple rows of mountains, or rolling hills, can add some depth to your composition. Try lightening the rows as they get closer to us by tapping Modify > Magic Wand > Color Adjustment > Hue, Saturation, Brightness and sliding the brightness bar up a little until it looks right. Easy, right?
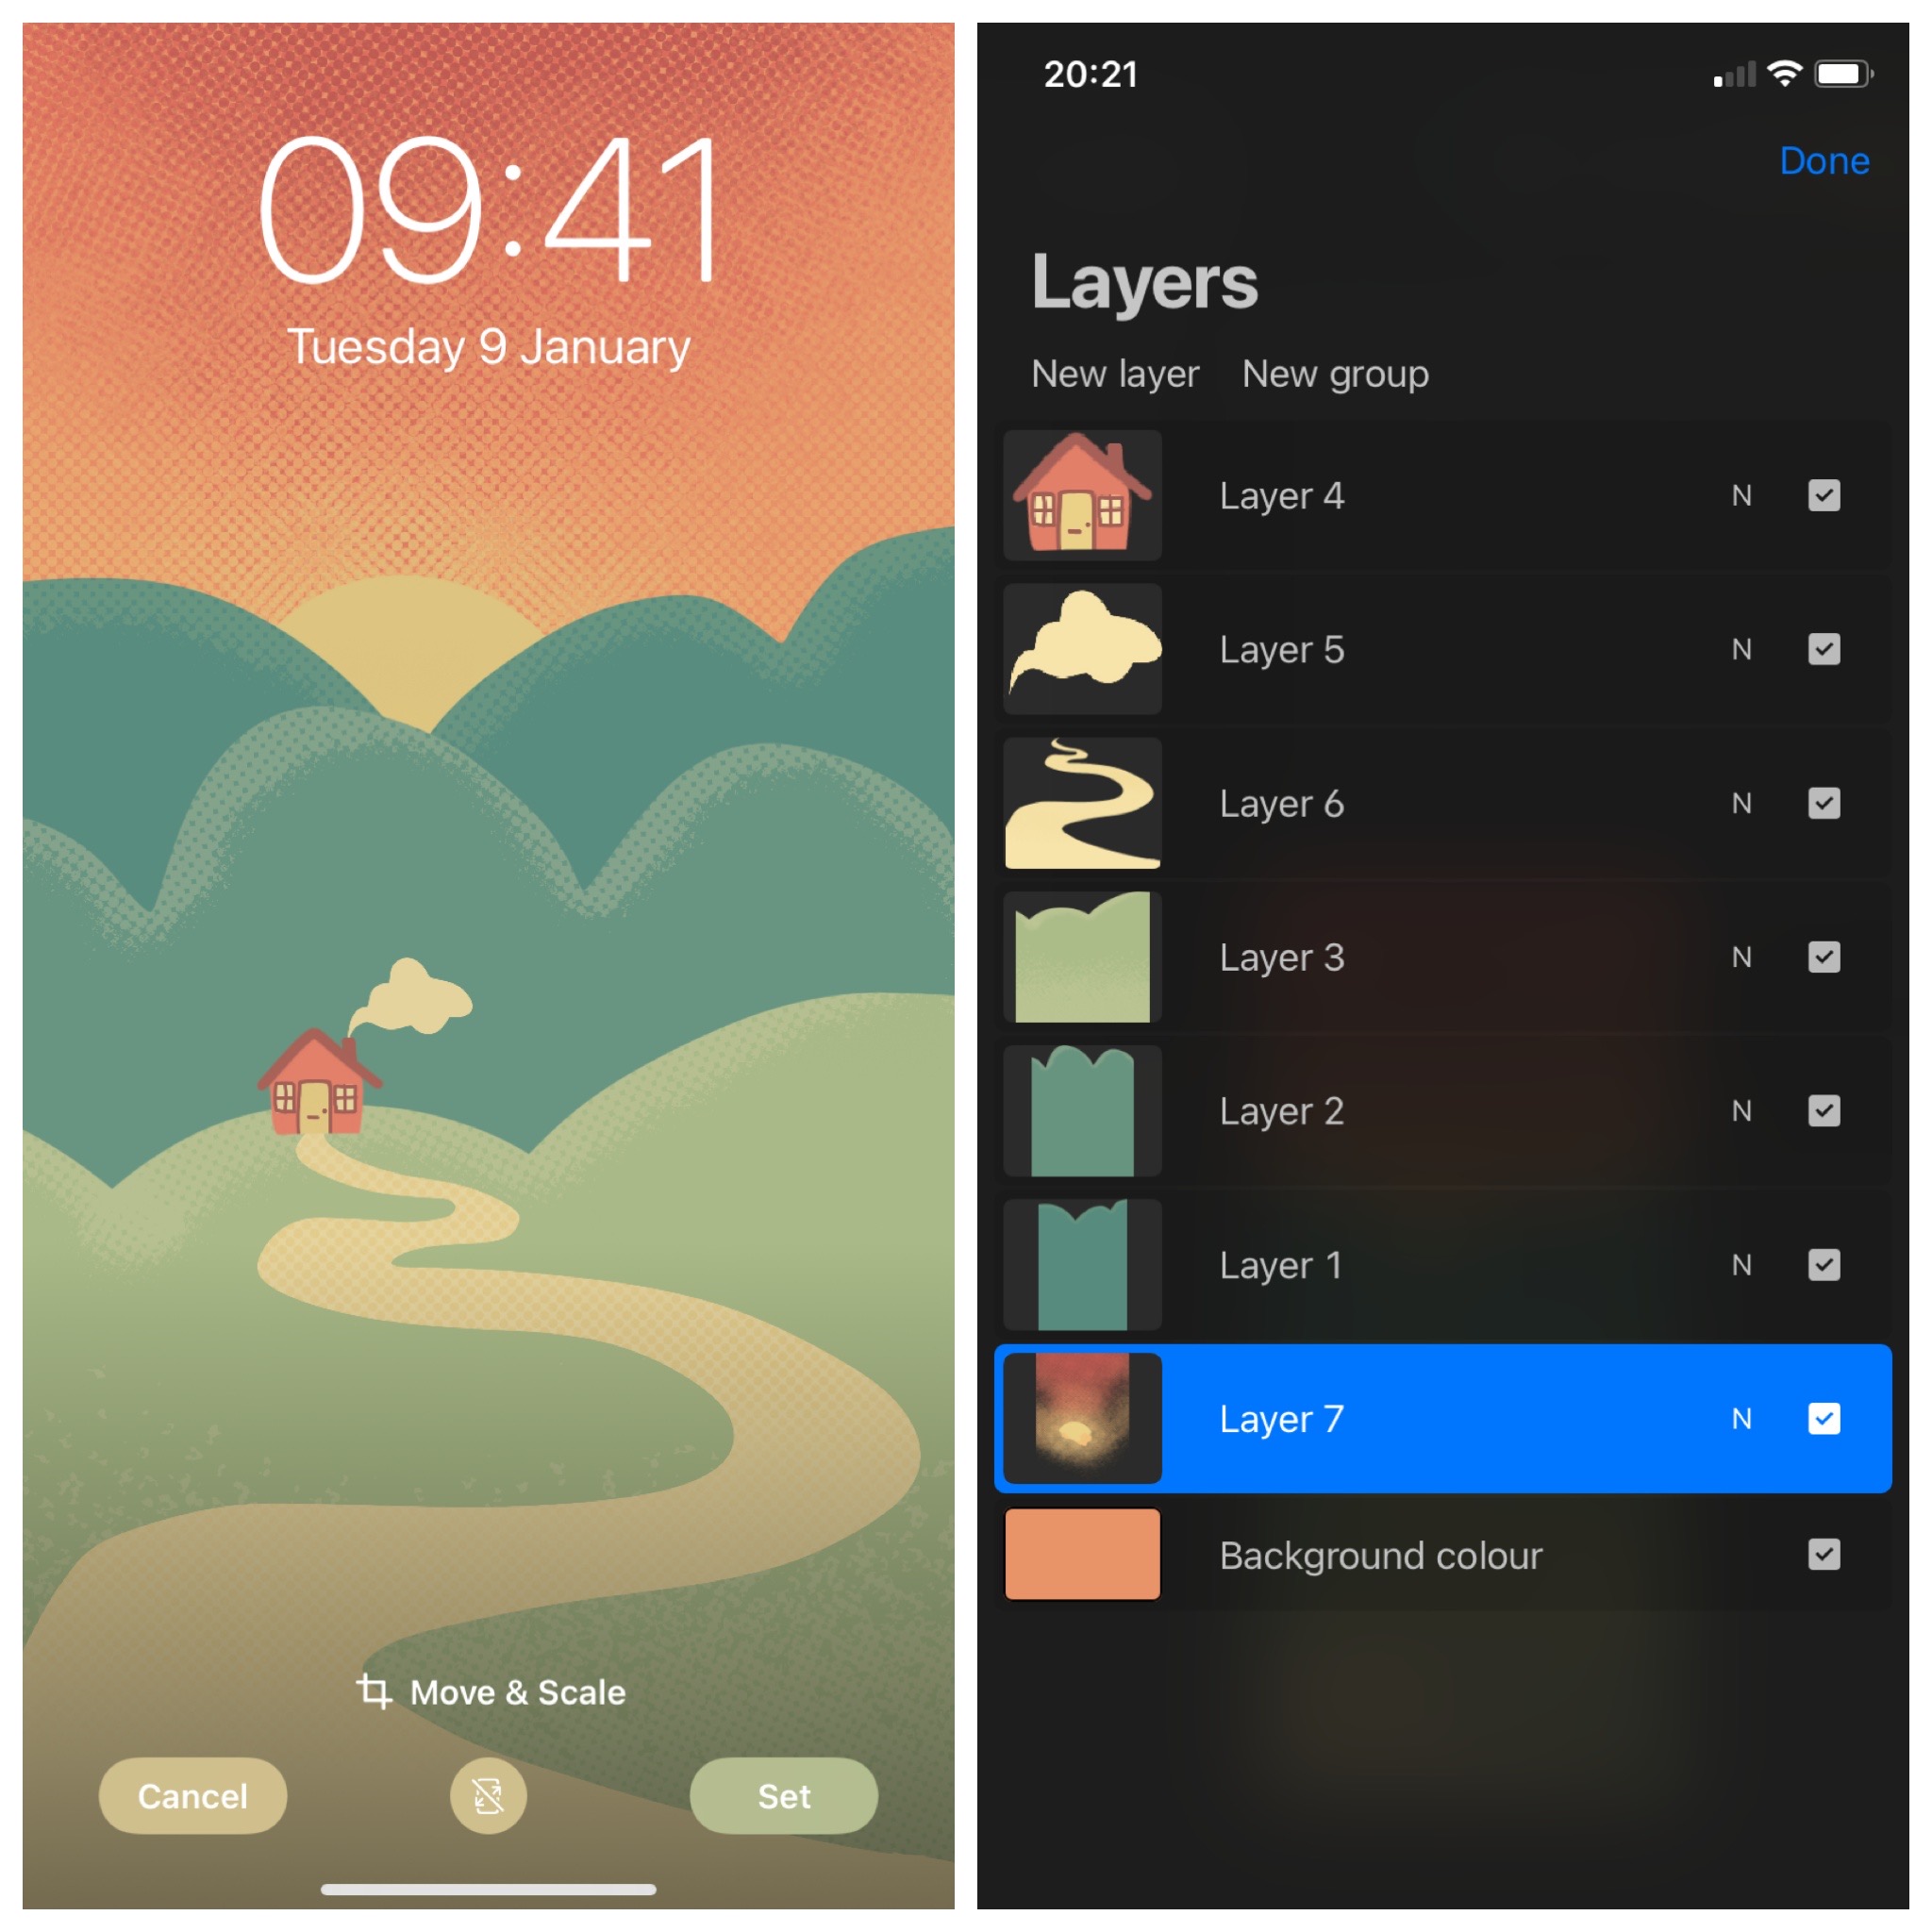
How to organize your layers
To export your finished artwork, tap Modify > Spanner > Share > Share image > PNG, and select save to device. If you’re not sure how to set your new masterpiece as your lockscreen, here’s how. Play around with composition, brushes, tools and subjects to make as many phone backgrounds as you like. Experiment and have fun with it. Happy drawing!