
So, Apple has released a new app. The introduction of iOS 10.3 saw the arrival of Clips, and those that have updated the app can now start using the app, which is geared towards social media video users.
Firstly, what is the app? Clips allows you to take videos – either selfies, or of your environment – combine various clips, and then allow a bit of post work. This can include filters, text, and more.
But what sets it apart from Snapchat and the multiple other apps geared towards creating fun videos of this style? That would be the live titles – a tool that uses voice recognition and essentially closed captions whatever you say. We’ll start by showing you how this works, and then guide you through your first video. Here’s how to get started:
Firstly, if you don’t have the app yet, download it free from the App Store.
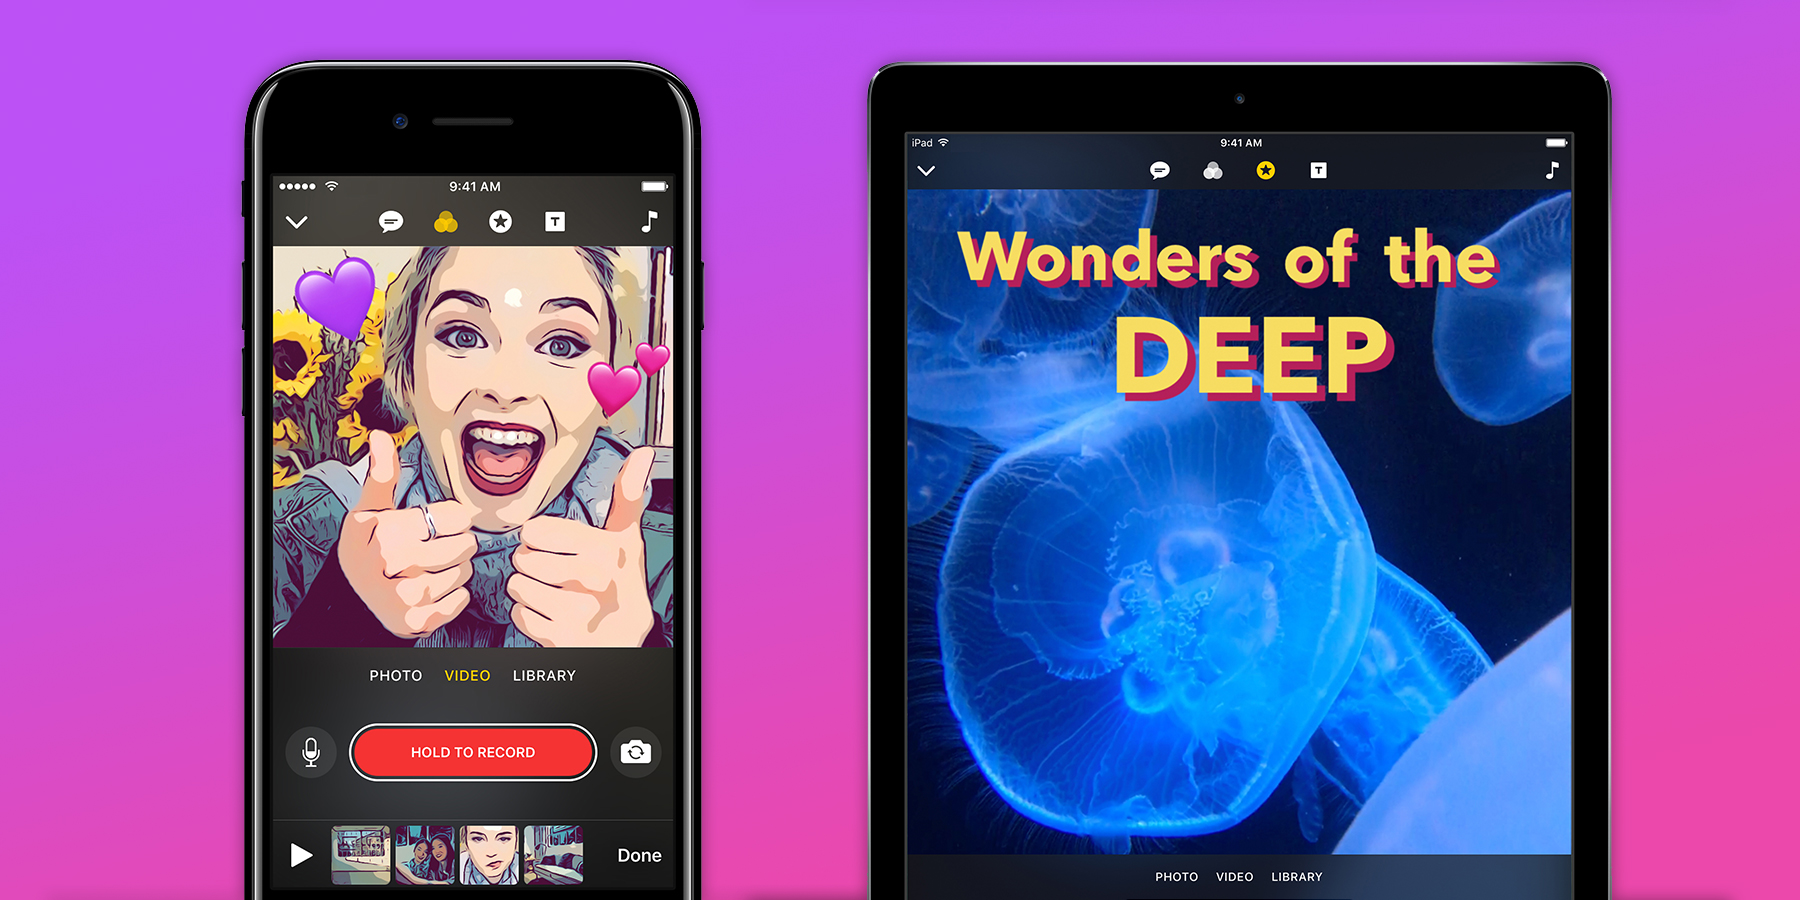
Open the app and tap the big + icon to start a video. This will open the main screen where you can capture a clip.
There are options to either take a photo, a video, or take a shot from your photo library.
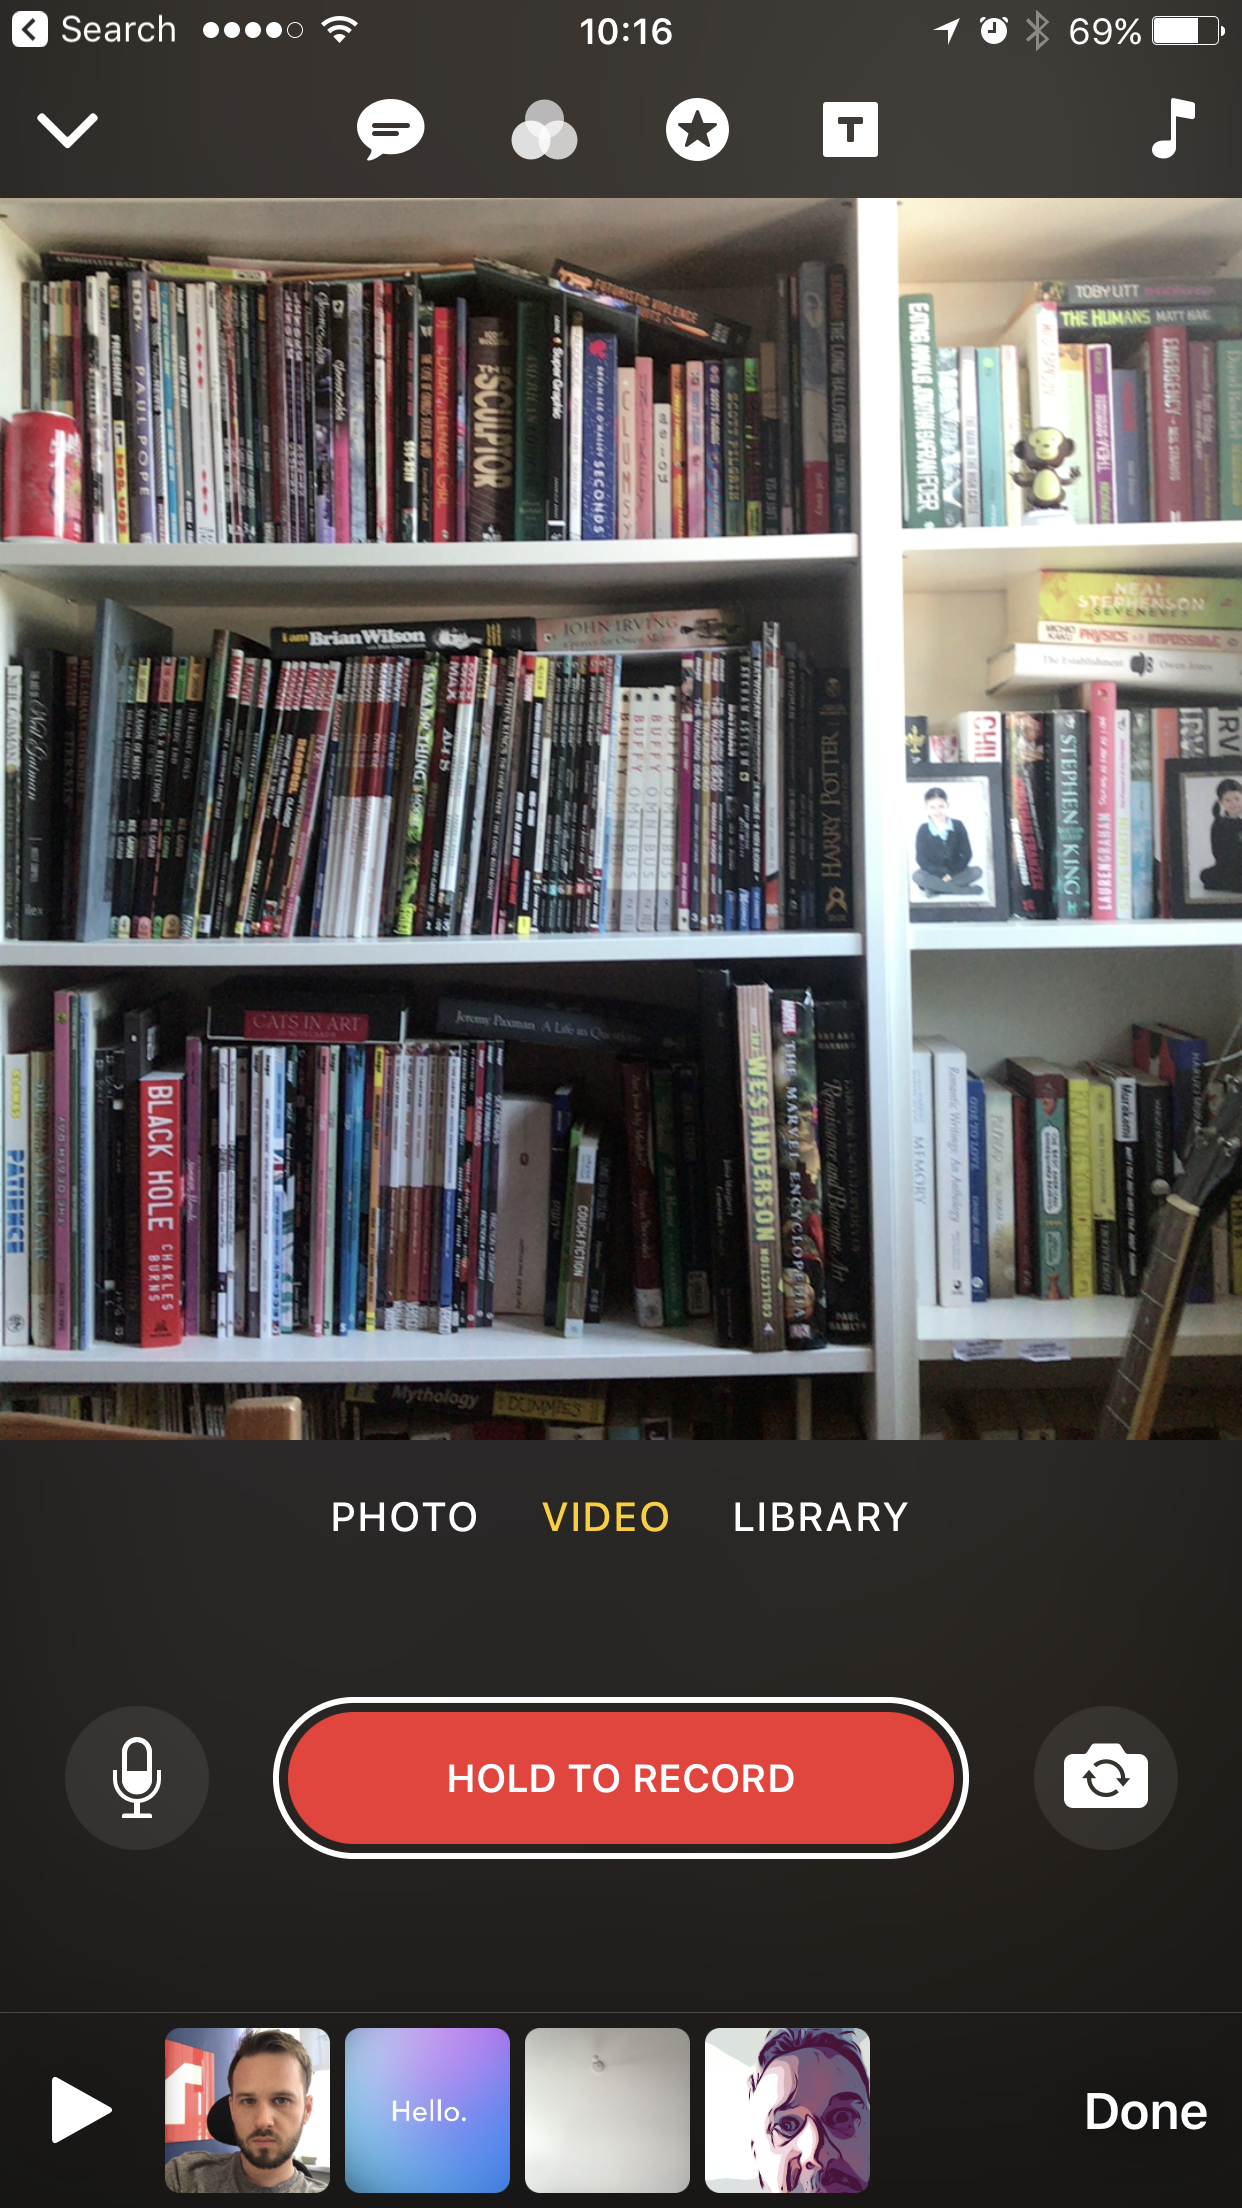
The main screen with viewfinder when you start a new ‘Clip’
Let’s start by turning the camera on ourselves using the icon to the right of the ‘hold to record’ button so we can shoot a video using Live Titles.
Now tap the speech bubble with lines within it from the menu above the viewfinder. This is the Live Titles icon. The app will show you multiple previews of different text styles – tap on the one you’d like to use.
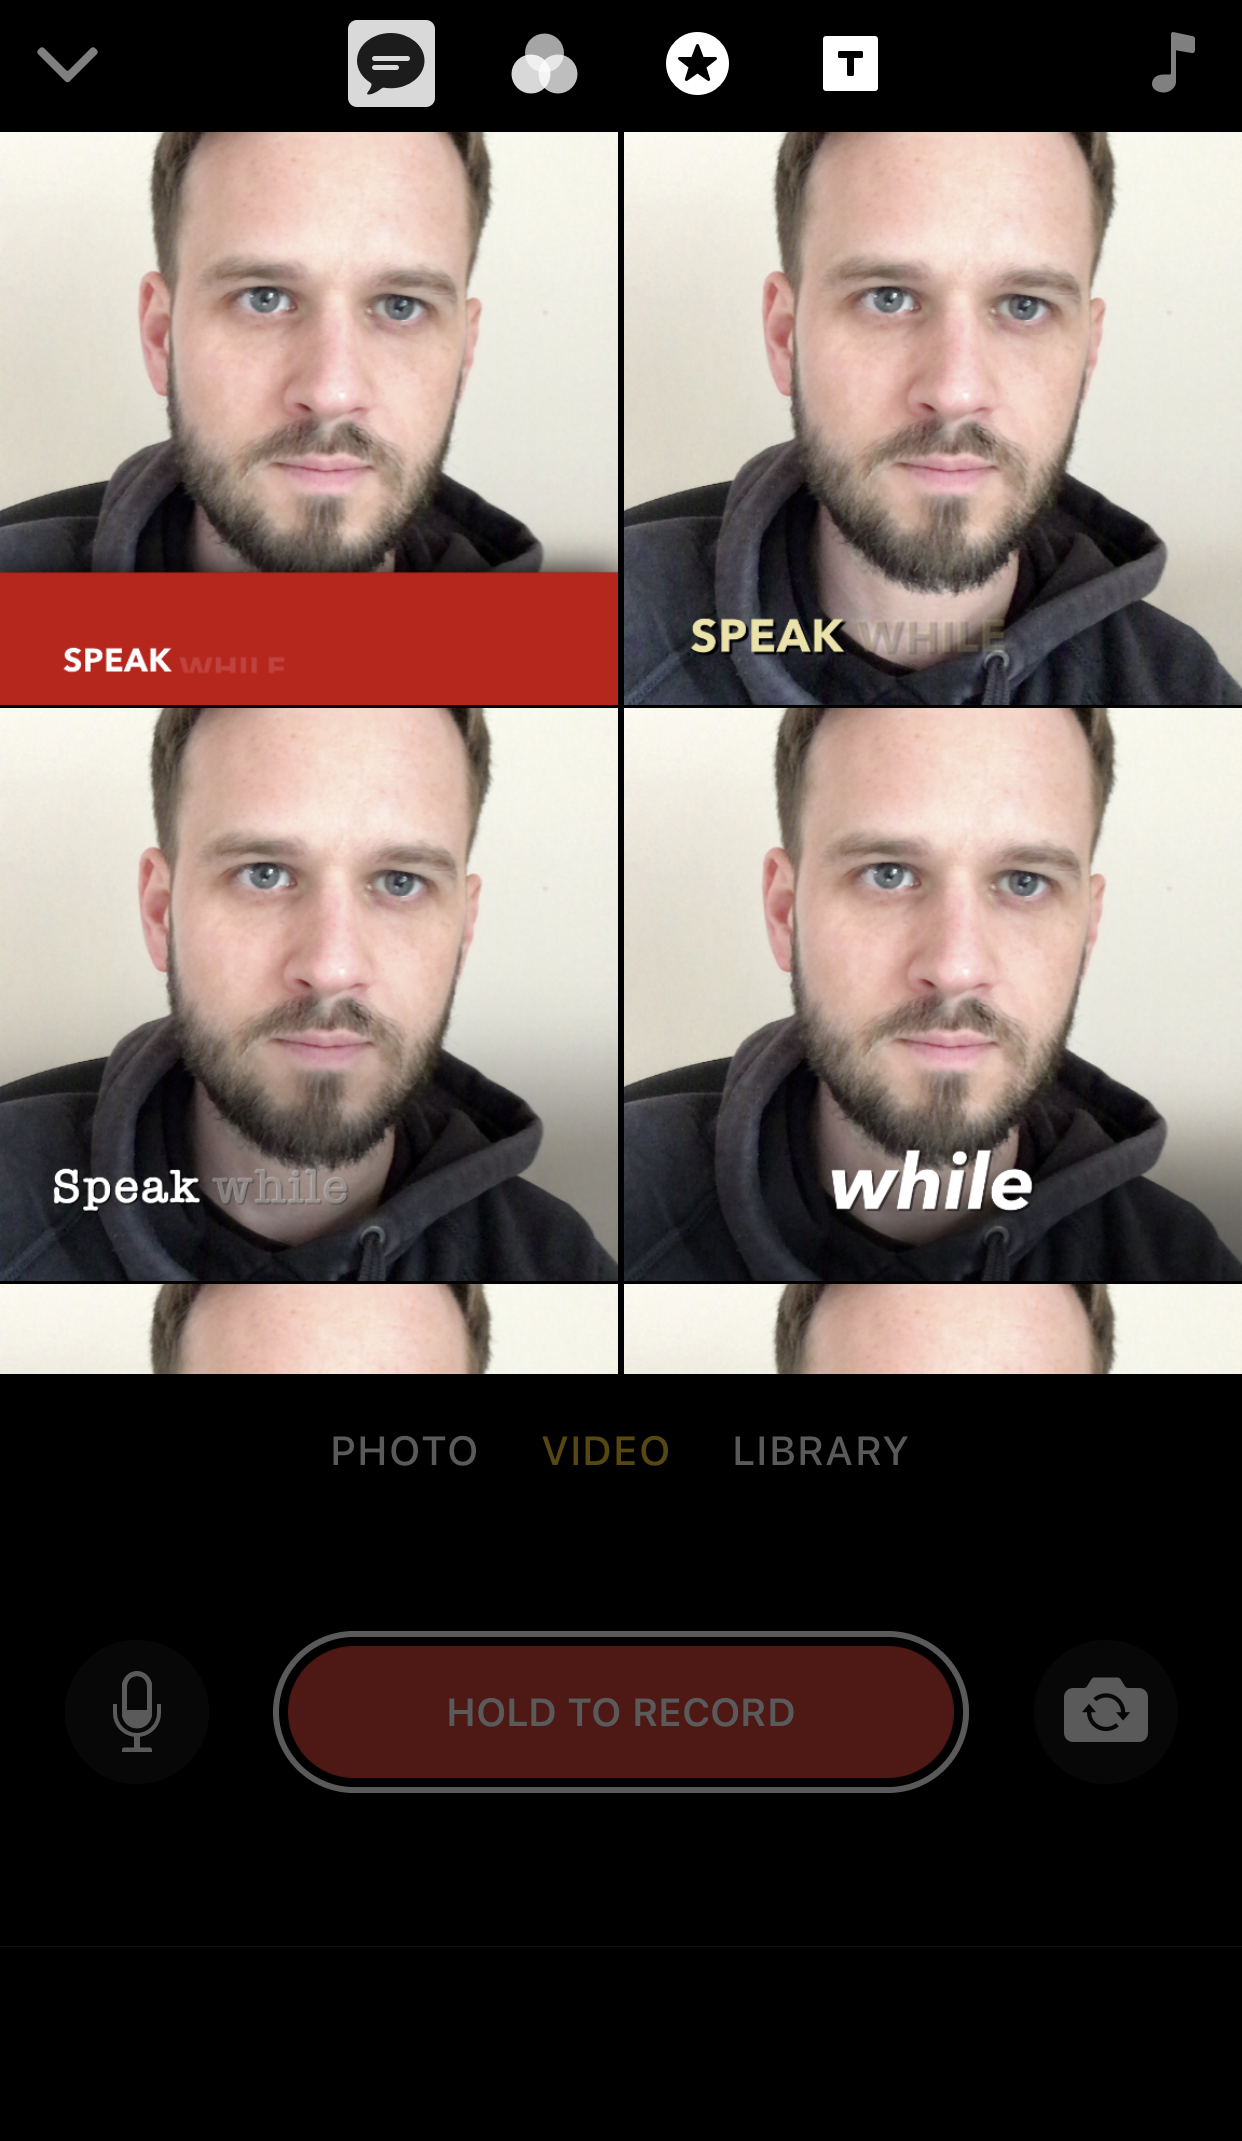
Pick an option for your title design
Now frame yourself in the shot and hold down the record button – say whatever you feel like saying and the app will show what you are saying in real time.
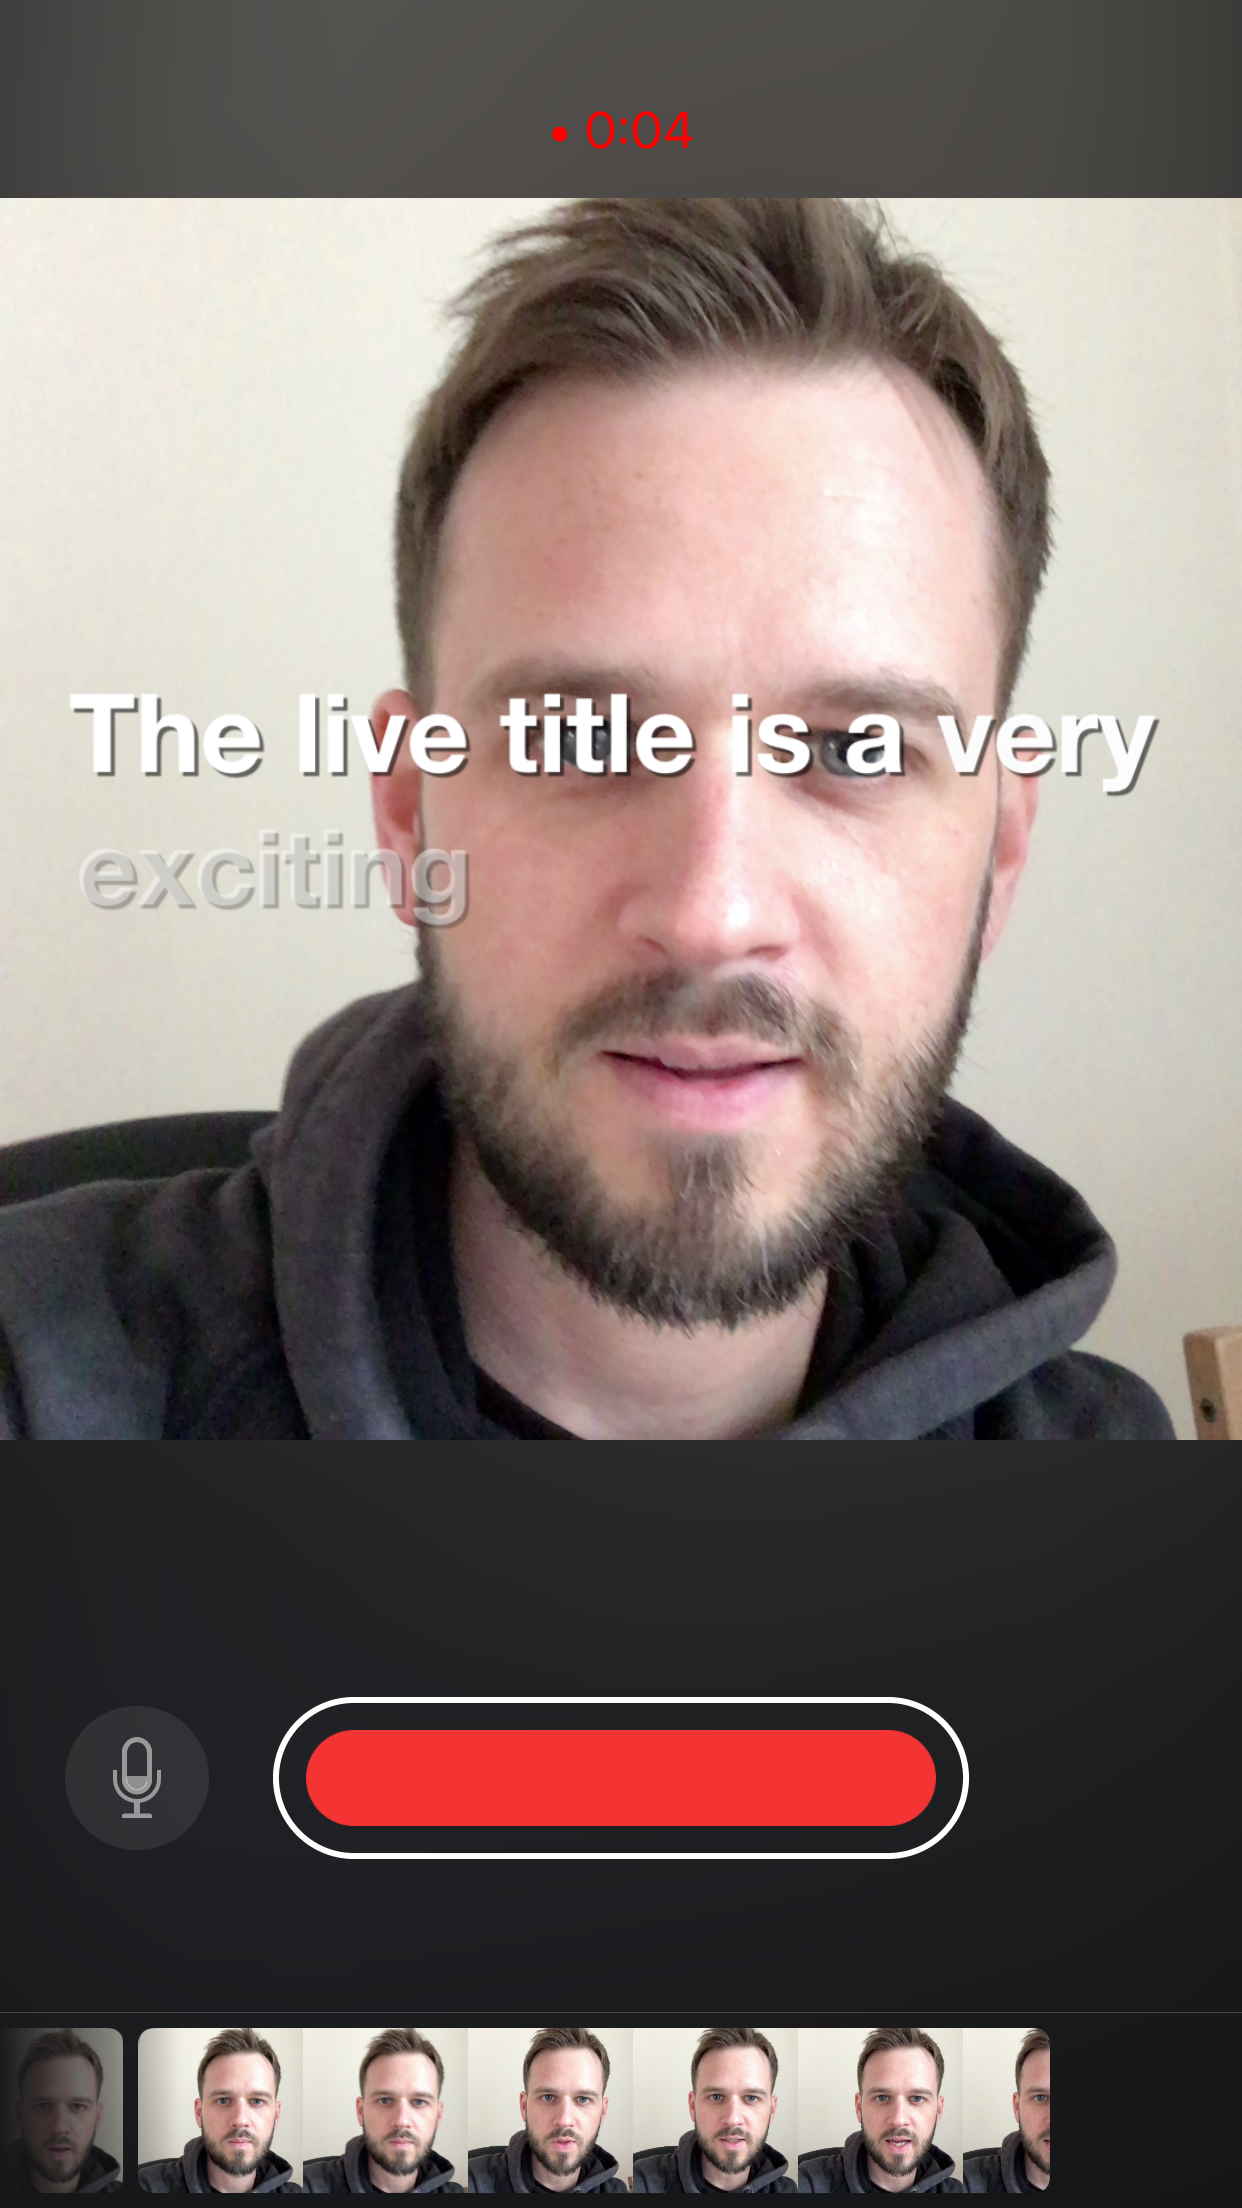
It works!
Let go of the record button and the app will save this as your first clip!
Next on the top menu are filters. Line up either a subject, or yourself again, and tap the second icon. Here, you can apply some cool filters including black and white options, comic book styles, and old instant camera style filters.
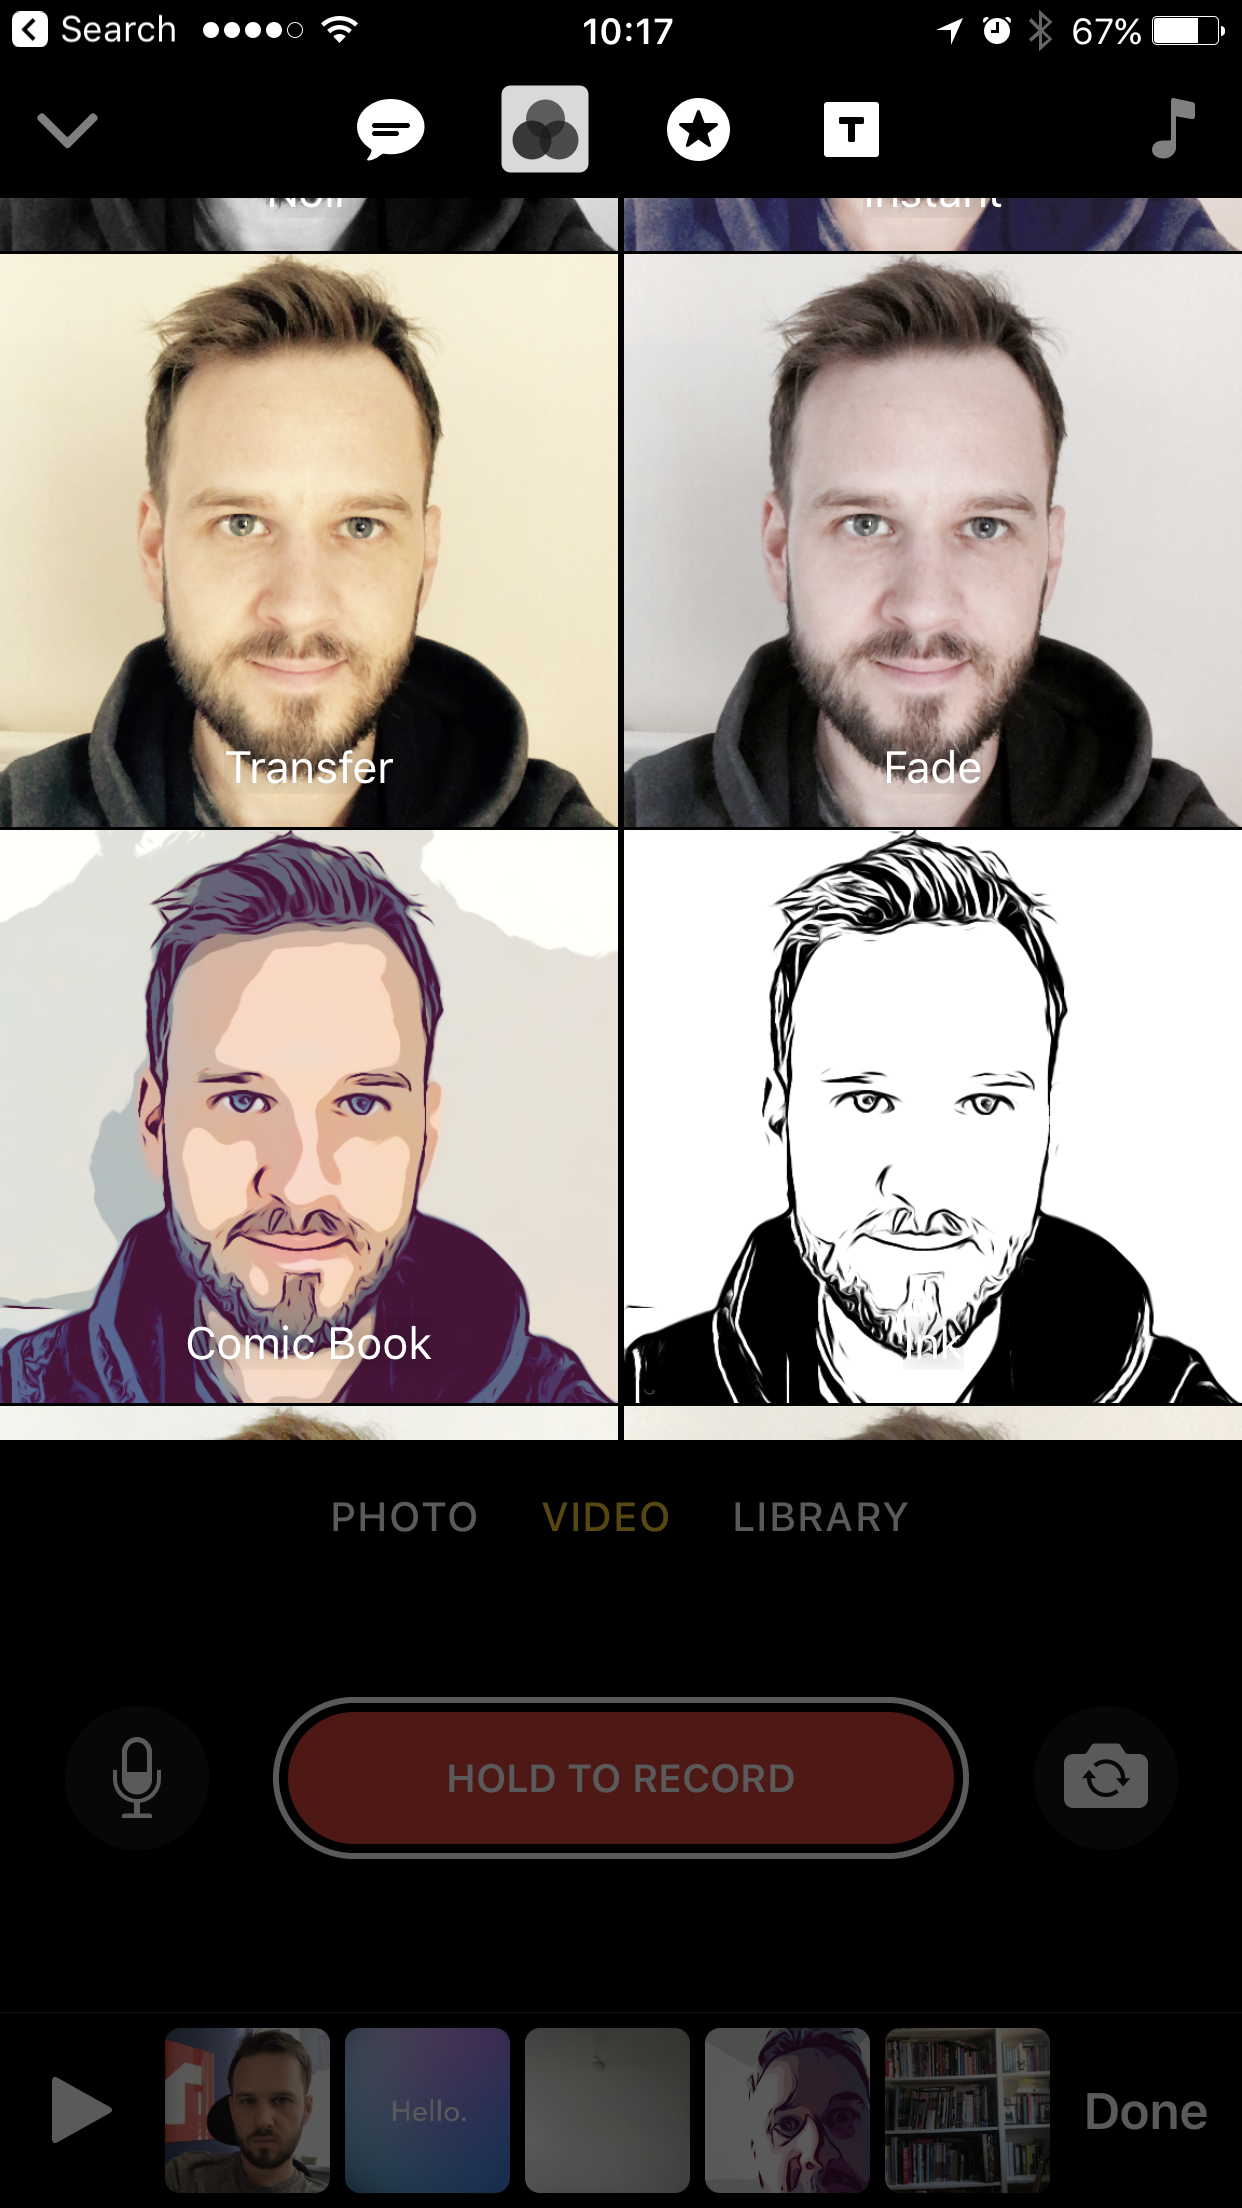
There are a handful of filters to choose from
Again, either hold to record or tap photo to take a still. It’s also possible to apply a filter, then tap the Live Titles icon, and use both at the same time.
That’s one of the app’s strong points – the ability to easily combine effects, or apply them after. Take the third ‘Star’ icon. Tapping this gives us various options for applying icons. We’ve now added a filter, Live Titles and the date. Text or icons from the latter can be resized and moved around as well.
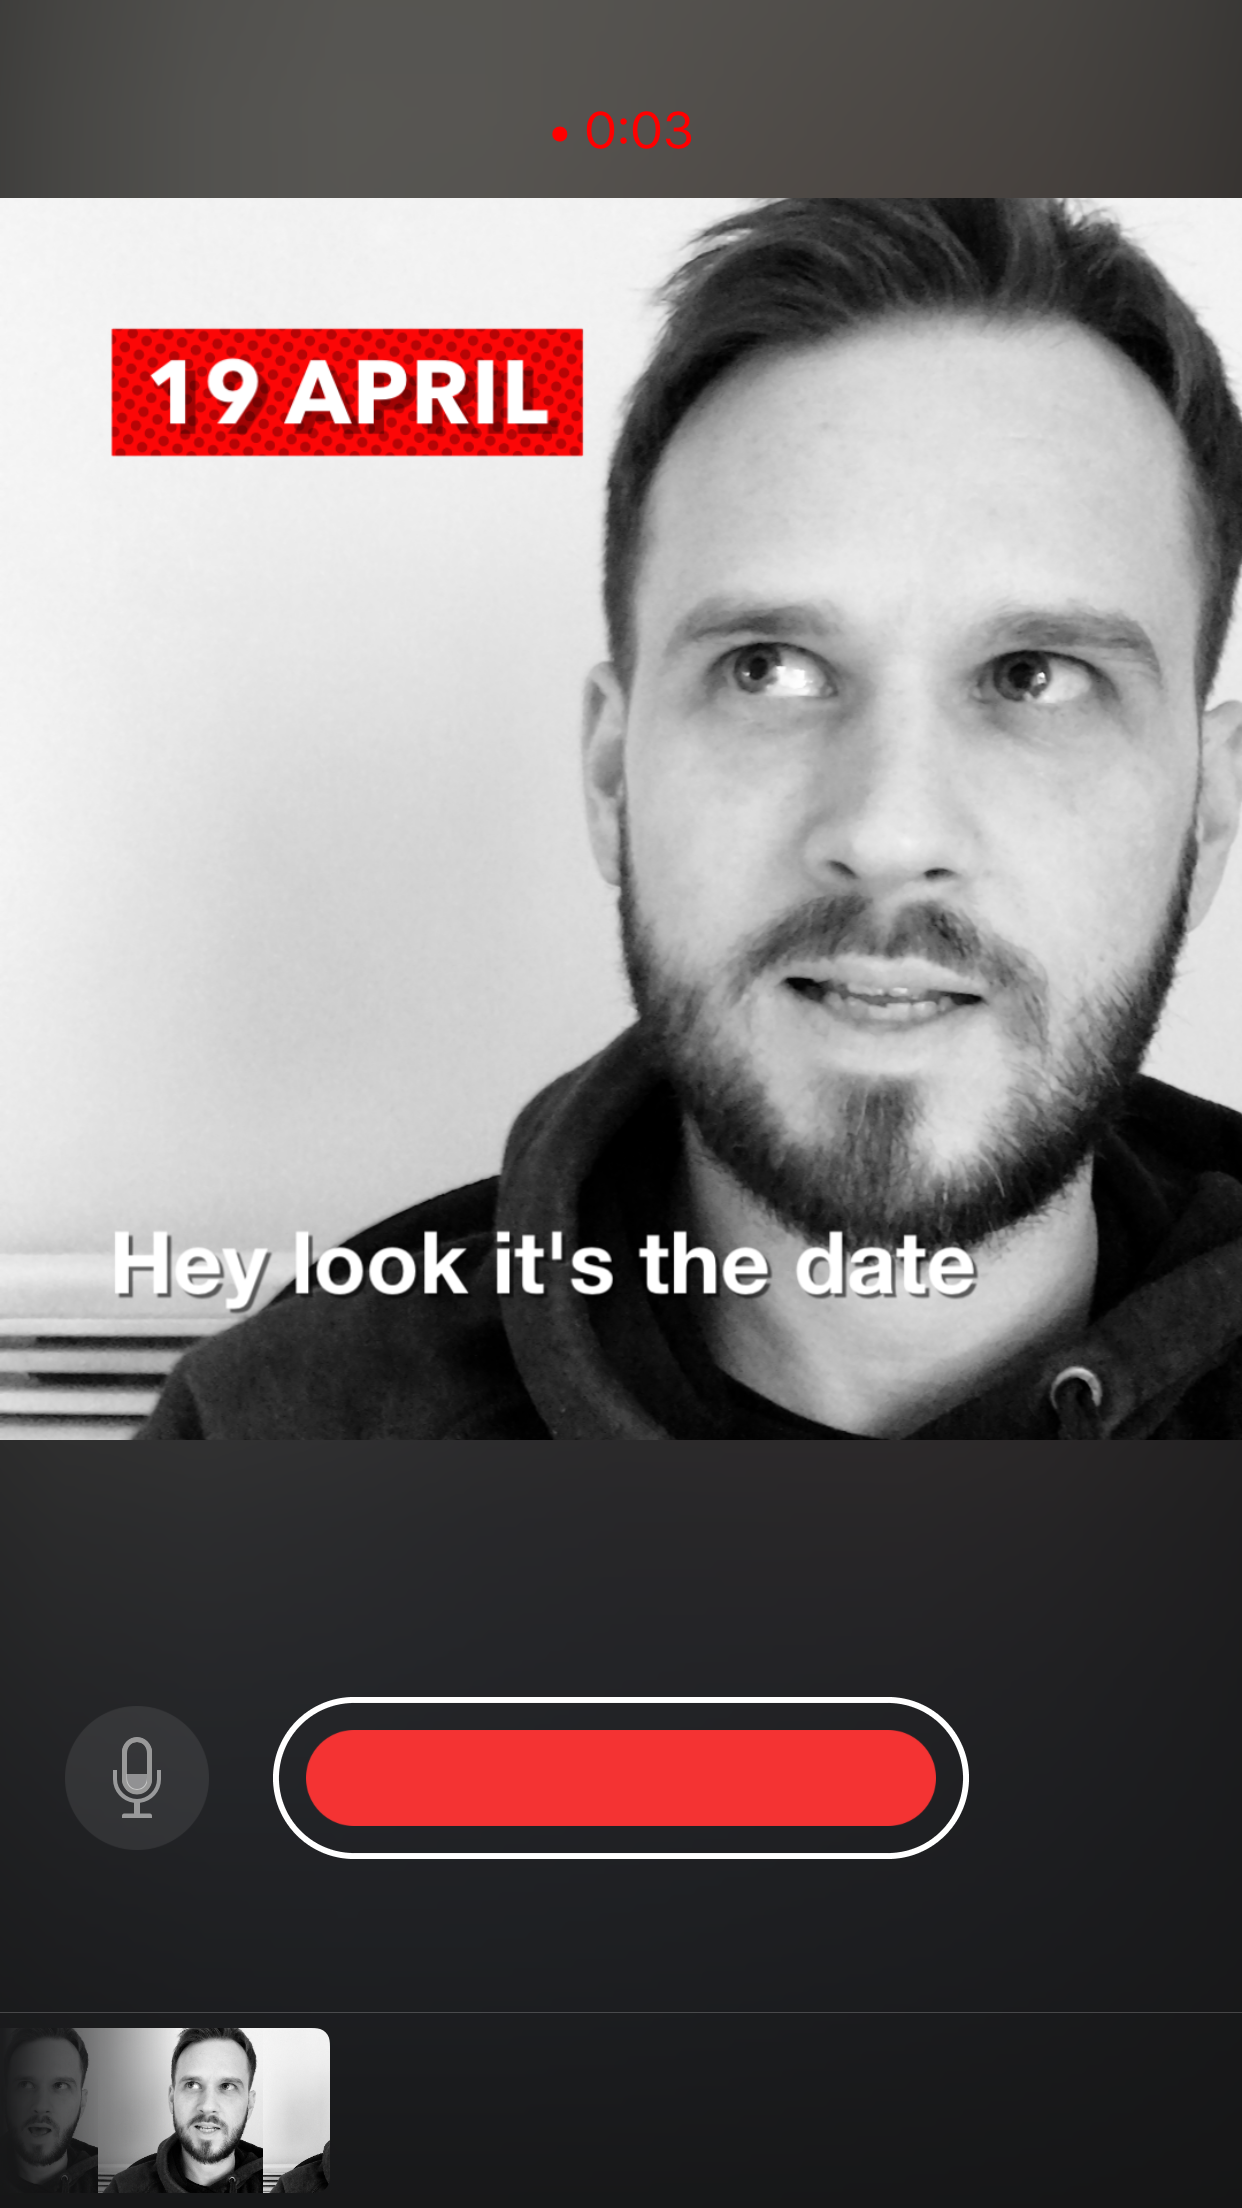
Mix and match filters, Live Titles and icons
Finally, you can add a still screen with a colorful background and text. There are plenty of suggestions, but tapping on the text on any of these lets you rewrite it.

There are also editable text slides you can insert in between video clips
Each time you create something new, you can hold down on the record button to record it – it’ll add it to your timeline at the bottom of the app. Don’t worry too much about getting a perfect shot, each clip can be trimmed later, and you can also edit each individual clip afterwards; adding text and other things after the fact.
Let’s move on to the music icon in the top right. Tapping this will give you access to the music library on your device, or a fairly large stock music library so you can add some music to your video.

Add some music to your Clip
Once you’ve got a decent series of videos, images and perhaps even a couple of text stills, you’re almost ready to save or share your video. First, you may want to make a few edits. A simple one you may wish to do is swap some of the clips around. To do so tap and hold on any thumbnail, and move it to a different place in the order.
To go further, tap on any of the thumbnails below to open up the individual clips. Doing so provides options to mute the sound on a video, which might be useful if you just want music, another for trimming a clip, which can be done just like you would in the Photos app, and another icon that lets you trash that particular clip.
Once you’re done, either tap the arrow in the top left, or Done in the bottom right. This takes you to where all your Clips are stored – the collections you’ve put together. Here, you can either play them, open them again for further additions or more editing, or use the share icon in the bottom right to unleash them on the world!
There are options to send them directly to others via text, but also the usual share sheet subjects like Mail, Facebook, Messenger, Instagram, Twitter etc. You can also simply save the video to you Camera Roll for later, or upload to iCloud Drive.
That’s pretty much it! Clips is a very flexible app that lets you swap things around and edit at any point. You can even capture clips over a number of days, weeks or months. See what works for you!
Download Clips from the App Store.