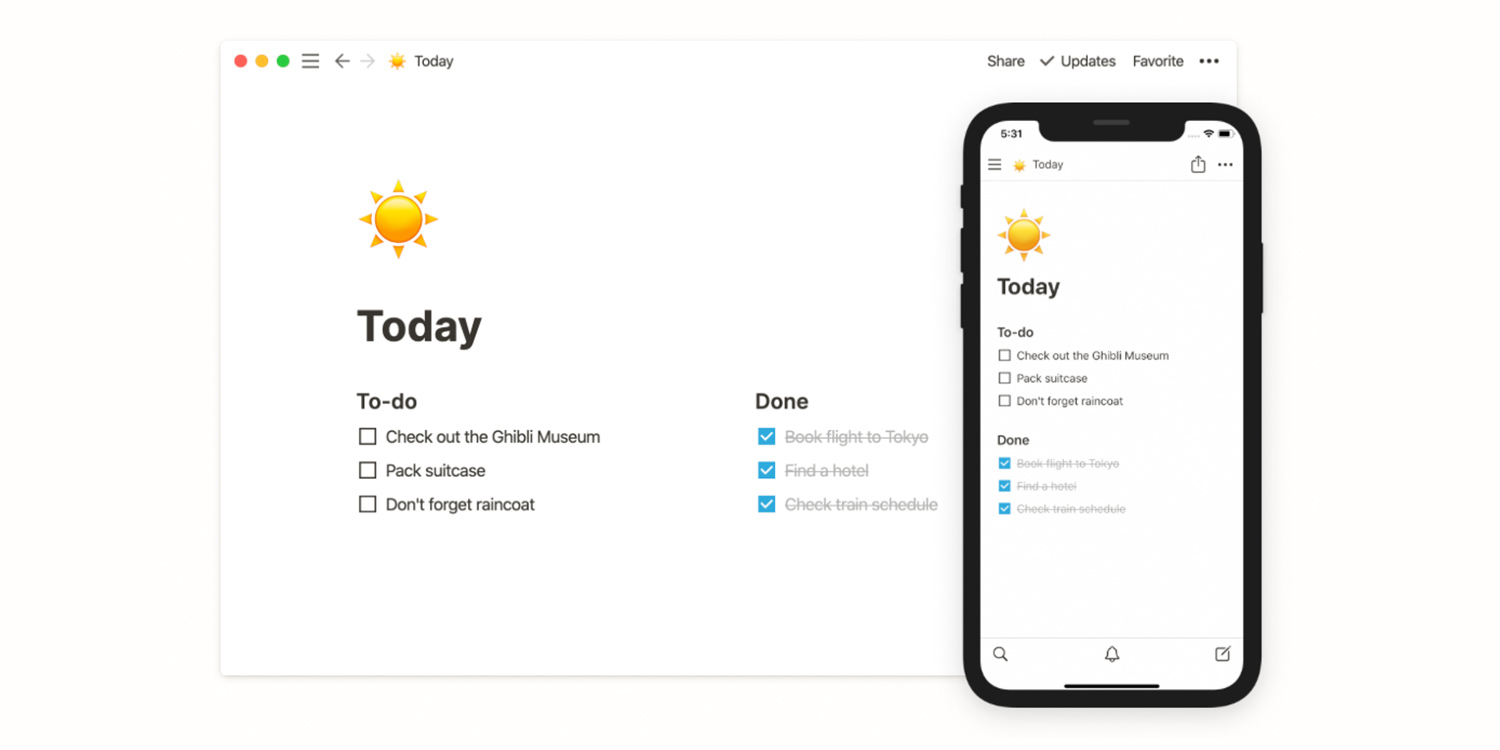

Notion is one of the most comprehensive note-taking apps we’ve ever used, allowing you to write, plan, and get yourself organized, all from within the same app.
It could conceivably become your go-to app for any time you want to write something down, whether that’s a quick to-do list, a detailed planning document, a hasty note, or a fully-fledged article.
While we admitted to being big fans of the app in our review, however, we did note that it was somewhat intimidating to the first-timer. Some guidance might be in order if you’re to make the most of this powerful writing tool.
Starting out
First things first, let’s download the app and get set up. Notion is completely free to download and use in its basic form.
Once you’ve logged in with Google or Apple, you can give Notion some guidance about what you want to do with it. Let the app know whether you’re using it as a productivity tool in a team, a personal organization tool, or as a research tool for school.
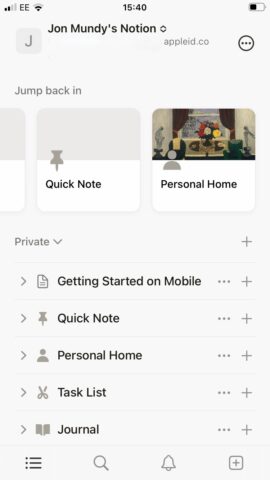
When you first enter your Notion homepage you’ll be confronted with a whole bunch or pre-existing lists, which can seem overwhelming. Don’t worry, these are all just examples of what can be achieved.
You can tap on any of these templates to receive practical examples of what’s possible within the app, from movie lists to journal entries to task lists. Alternatively, you can ignore these examples and jump right in.
Just start writing
Our recommendation when jumping into Notion for the first time: just start writing. The possibilities will present themselves to you as you spend more time with the app.
Tap the + button in the bottom right corner to open a blank page, then tap anywhere to start writing, just like any other note-taking app.
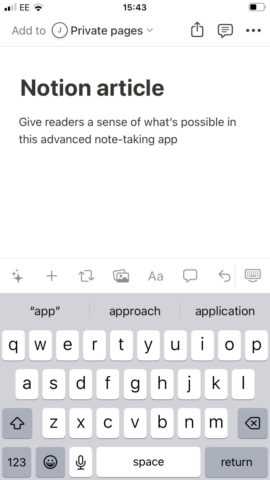
Want to try something more involved? Open a new note, but tap the Choose a template field just above the keyboard instead. Now select from a list of templates, including Table, Board, Calendar, and Gallery.
Each template is pre-formatted for a different kind of text entry, with blank date fields, lists and the like inserted as appropriate.
The + button is everything
Within one of Notion’s pages, the + key just above the keyboard (NOT the main one on the navigation bar) will be your most-used tool.
It’s the means for adding everything to your note, such as headers, tables, links, and videos. Use this to add buttons, code, web bookmarks, and more.
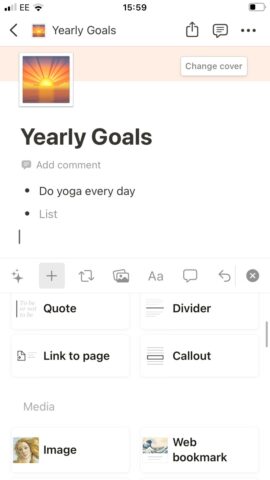
This is also where you can bring in content from third-party sources, such as Trello, Slack, Zoom, or Dropbox. Essentially, if you’re wondering whether you can do something in Notion, the + menu should be your first port of call.
Why go Pro?
All of this so far is part of Notion’s free tier, so you don’t need to splash out. However, there is a Pro tier, and it’s specifically targeted at those who want to collaborate on work projects.
The Pro tier offers unlimited uploads, and you’ll be able to invite unlimited guests to collaborate on individual pages. It’ll also save all your edits for the past seven days, so you can restore your progress should any mistakes be made.
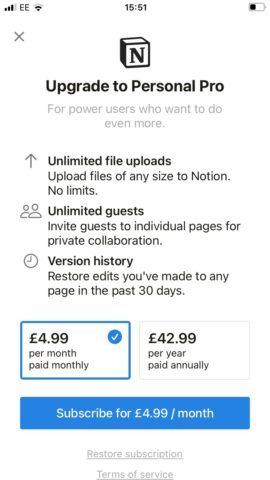
From the home page, tap the three-dot ‘More’ icon in the top right corner, then hit Upgrade to Pro. You’ll be able to select from a monthly ($4.99/£4.99 per month) or yearly ($47.99/£42.99 per year) subscription plan.
For the vast majority of people, though, Notion’s default free tier will be enough.