
So you got a brand new iPhone, and now it’s out of the box. Here’s what you should do next…
You’ve unboxed your device, gone through the set-up screens, and are now staring at a grid of icons. Now what?
In this feature, we run through our twenty top tips for what to do first when you’re clutching a new iPhone, to make it secure, more useful, more usable, and properly yours.
Though the focus here is on new iPhones, these tips are worth following with older devices too, and many of them also relate to the iPad. Take a look through and see how many of these you’ve already done!
Secure your iPhone
Get a case and a stand
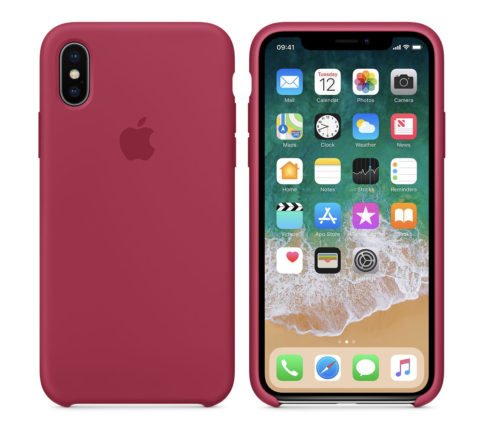
A case adds extra heft, but you’ll wish you’d bought one when your iPhone slips out of a pocket and hits the floor with a sickening crack. At the very least, use one when out of the house – and a stand when in the home, so your iPhone is always safely perched somewhere.
Activate passcode and ID tech
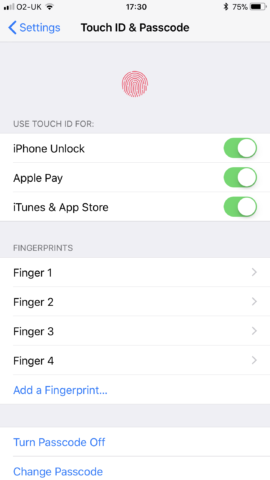
Chances are, you already set up Touch ID (or Face ID) when going through Apple’s introductory screens. If not, do so now – and add multiple fingerprints to Touch ID, so you’re not restricted to a single thumb. For added security, set up a six-digit passcode in Settings.
Start backing up
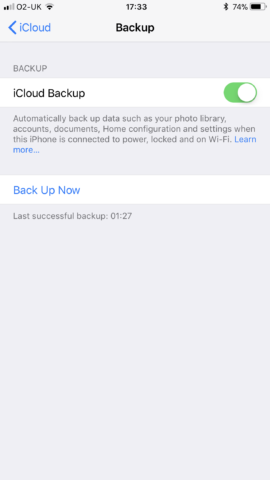
Safeguard your data by backing it up to iCloud. Get started in Settings > [your name]. Tap the device, and then iCloud Backup. Note: you may need a paid iCloud storage plan to house larger back-ups. Also consider making regular local back-ups to a Mac or PC running iTunes.
Turn on Find My iPhone
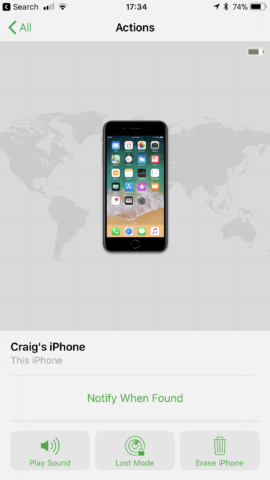
In the aforementioned section of Settings, ensure iCloud > Find My iPhone is on. You can then track your iPhone in Apple’s Find My iPhone app. If it’s missing and nearby, the app can make your iPhone beep. If it’s remote, you can lock the device and place return information on the lock screen.
Improve your wellbeing
Set up Medical ID
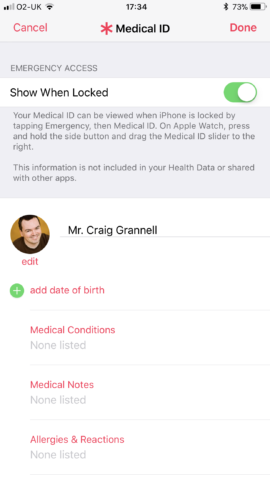
Even if you’ve no burning desire to use the Health app, open it, tap Medical ID, tap Edit, and input key details, such as next of kin and any allergies you have. This information can then be accessed from your iPhone’s lock screen, by tapping Emergency and then Medical ID.
Turn on Do Not Disturb
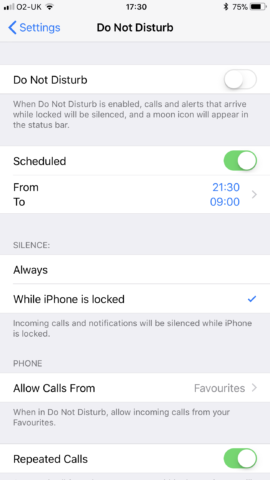
There are two types of iPhone owner – those who swear by notifications, and those who swear at them. Regardless, you need some peace, and so in Settings > Do Not Disturb, define a schedule for when your phone shouldn’t bug you.
Activate Do Not Disturb While Driving
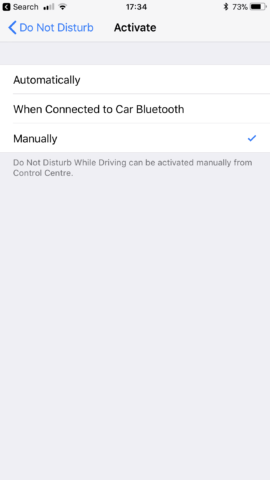
Do Not Disturb also has a version designed for when you are driving. This can be set to activate automatically, although your iPhone may erroneously do this when you’re a passenger. Alternatively, trigger the feature manually. The best way is via Control Centre. (See later for how.)
Make use of Siri
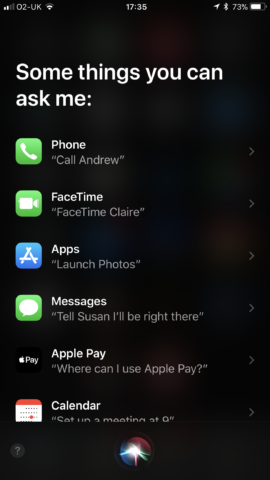
Activate Siri by saying “Hey, Siri”, or holding the Side/Home button. Siri’s also baked into the iPhone search that’s accessed by dragging downwards on any Home screen. Use these features often, because Siri gets smarter the more your iPhone understands your usage patterns.
Discover useful settings
Turn off Wi-Fi Assist
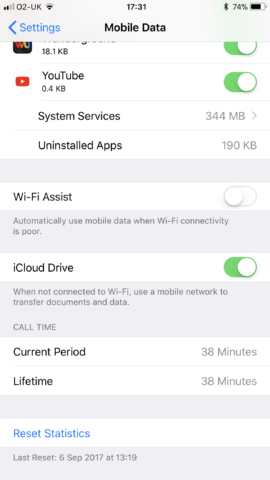
If you have a totally reliable Wi-Fi signal in your home, you might ignore this tip. If not, go to Settings, then Mobile Data, scroll down and turn off Wi-Fi Assist. This stops your iPhone using cellular data when the Wi-Fi signal is poor (which may chew through your data allowance if the iPhone updates overnight).
Change the ringtone
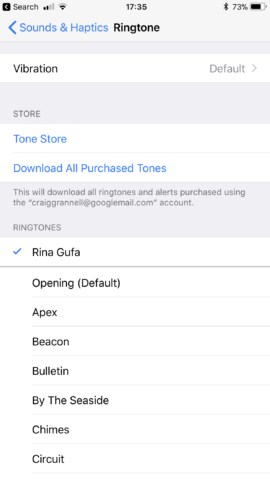
In Settings, go to Sounds & Haptics, tap Ringtone, and select something different. Congratulations – you’ve made it far less likely you’ll fish out your iPhone when someone else’s rings. (Even better: create a unique jingle in GarageBand, and use that instead.)
Explore accessibility settings
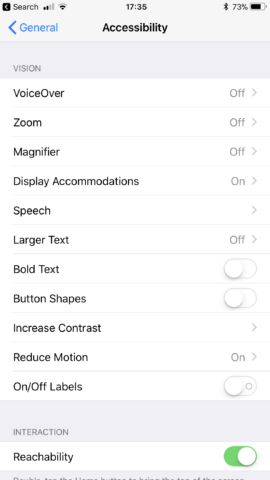
Go to General > Accessibility in Settings. This is designed to house assistive technology, but many options are widely beneficial, such as Display Accommodations > Auto-Brightness (to turn that feature off when it’s not working well for you), Bold Text (requires a restart) and Reduce Motion (replaces zoom animations with crossfades, which are less likely to trigger motion sickness).
Master gestures
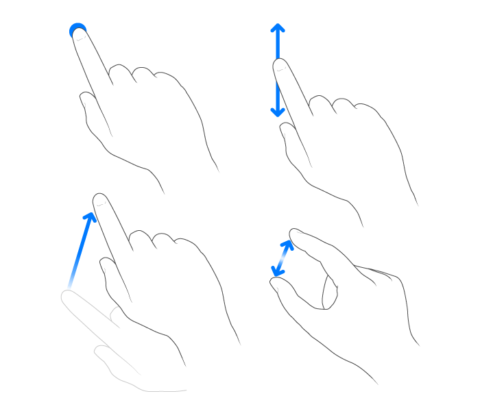
Crack how gestures work and your iPhone will be easier – and more fun – to use. Tap to select, drag or swipe to navigate, pinch to zoom. When viewing webpages or photos, try double-tapping to auto-zoom. If you have a newer X-style iPhone, there are a few more gestures you’ll need to become familiar with, which we’ve written about in more detail right here.
Make your iPhone appy
Learn to use Apple’s apps
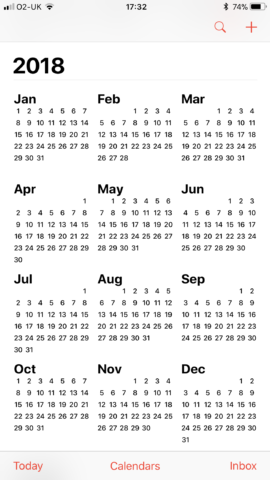
You might be used to certain apps and services if you’ve experience with other platforms, but – initially at least – try Apple’s built-in apps for key tasks. The likes of Mail, Calendar, and Safari are baked deep into the iPhone, and iCloud syncs user data across multiple devices.
Install Google Maps

We’ll make an exception regarding the ‘use default apps’ argument for Google Maps, which should be installed on every iPhone. Although Apple’s Maps is good enough for driving, Google’s app is essential for a range of reasons, such as offline maps (including turn-by-turn directions), local points of interest, and Street View.
Use the Files app
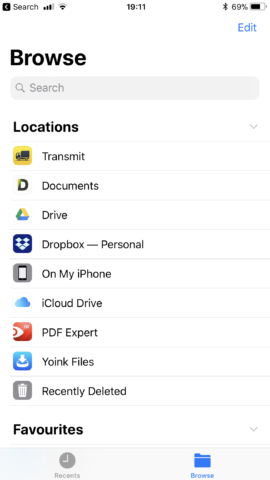
Get used to working with Files. The app integrates with third-party storage services (like Dropbox and Google Drive), and provides a central place to store and preview documents. Note: if you make heavy use of iCloud Drive, you may need to upgrade your iCloud storage plan.
Delve into the App Store

Your iPhone is a tiny computer; the ‘phone’ bit is almost an anachronism. To really feel the benefits of owning such a device, install apps to boost your productivity and enable you to do more of the things you enjoy, such as drawing, writing, getting fit, or, well, pretty much anything else.
For further recommendations, see our pick of 14 essential apps to install on a new iPhone.
Customize your iPhone
Tweak Control Center
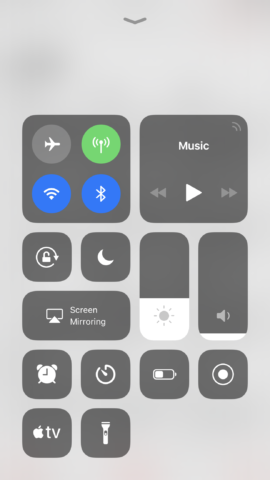
Control Center provides fast access to useful controls for network connectivity, media playback, and more. But some of the displayed icons can be configured by you for a more personal touch – in Settings, go to Control Center > Customize Controls to do so.
Rearrange your Home screen
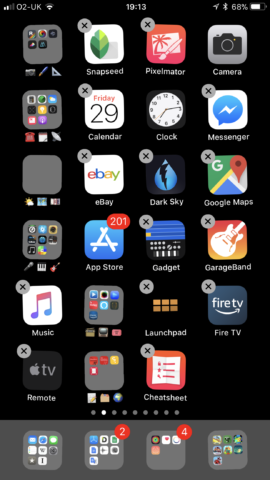
Hold a Home screen icon until they wiggle. You can now drag to reorder them. Drag one on top of another to make a folder. Place new apps – or even folders – in the Dock, for fast access to your favorites.
Set up some widgets
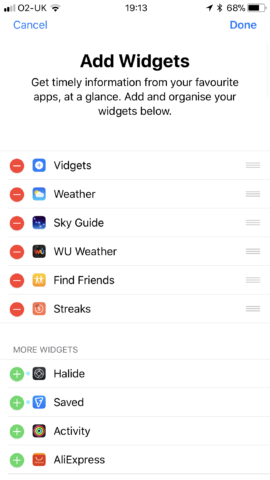
Long-press a blank space on any Home Screen to enter edit mode. Swipe to access the page you’d like to add a widget to. Tap the + at the top-left and you’ll see a selection of recommended widgets. Use the search field to filter the list, or scroll down to see everything you have installed. Choose an app and you’ll see a widget preview. If more than one option exists, you can swipe between them. Tap Add Widget to add it to your Home Screen. You can add multiple widgets from a single app, and they can be moved around Home Screens much like apps can. Tap-hold any widget and select Edit Widget to update its settings (if it has any) or use Remove Widget to delete it.
Need inspiration for which widgets to set up? Read our roundup of 30 of the very best widgets for your Home Screen.
Personalize Contacts

In your Contacts app, keep everyone’s details up to date. Tap Edit and use the Notes field for bespoke additional information about someone (such as their children’s names). Use add photo and load a high-resolution photo; you then get a full-screen mug-shot when they call.