
Ensure your night photos are more than a shot in the dark
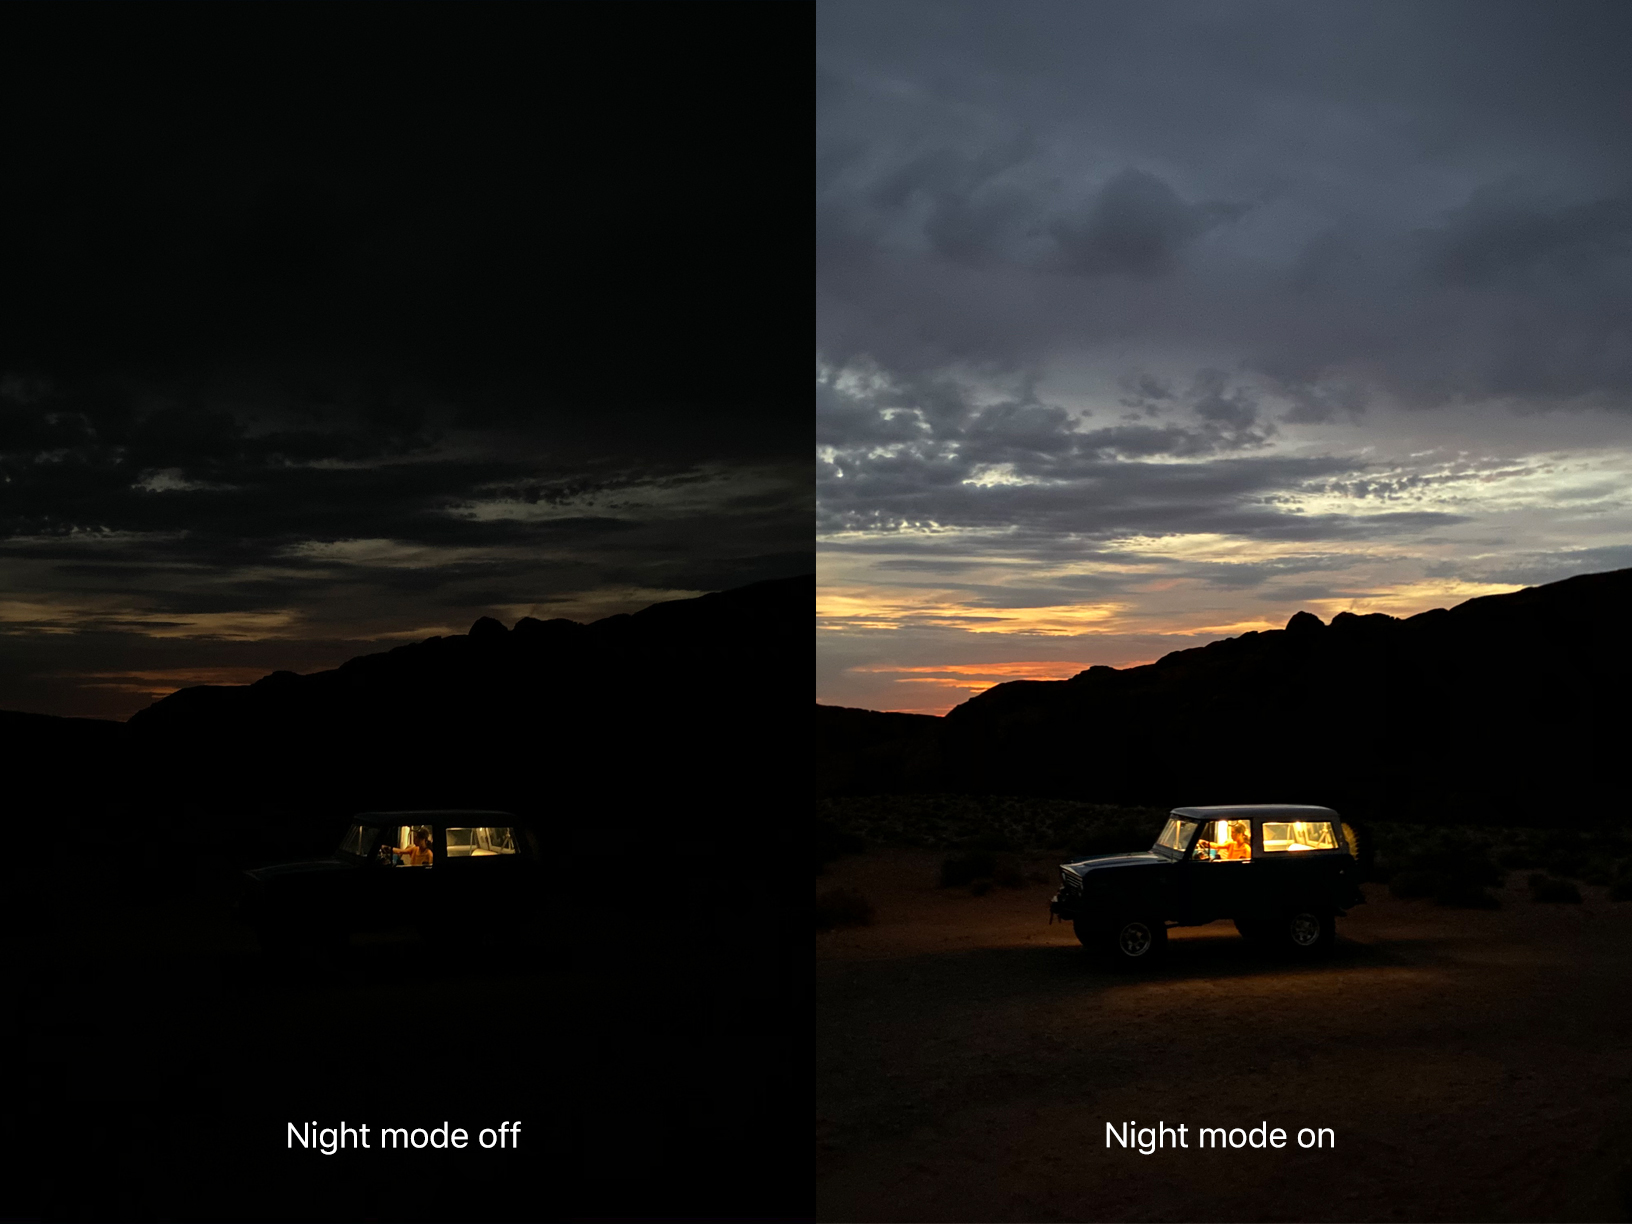
Apple really upped its low-light photography game in 2019 with the addition of a dedicated Night Mode to the Camera app on iPhone 11, iPhone 11 Pro, and iPhone 11 Pro Max. If you have one of those devices, you’ll be able to capture better photos than ever before in poor shooting environments. (If you have an older device, you can get similar results using third-party apps.)
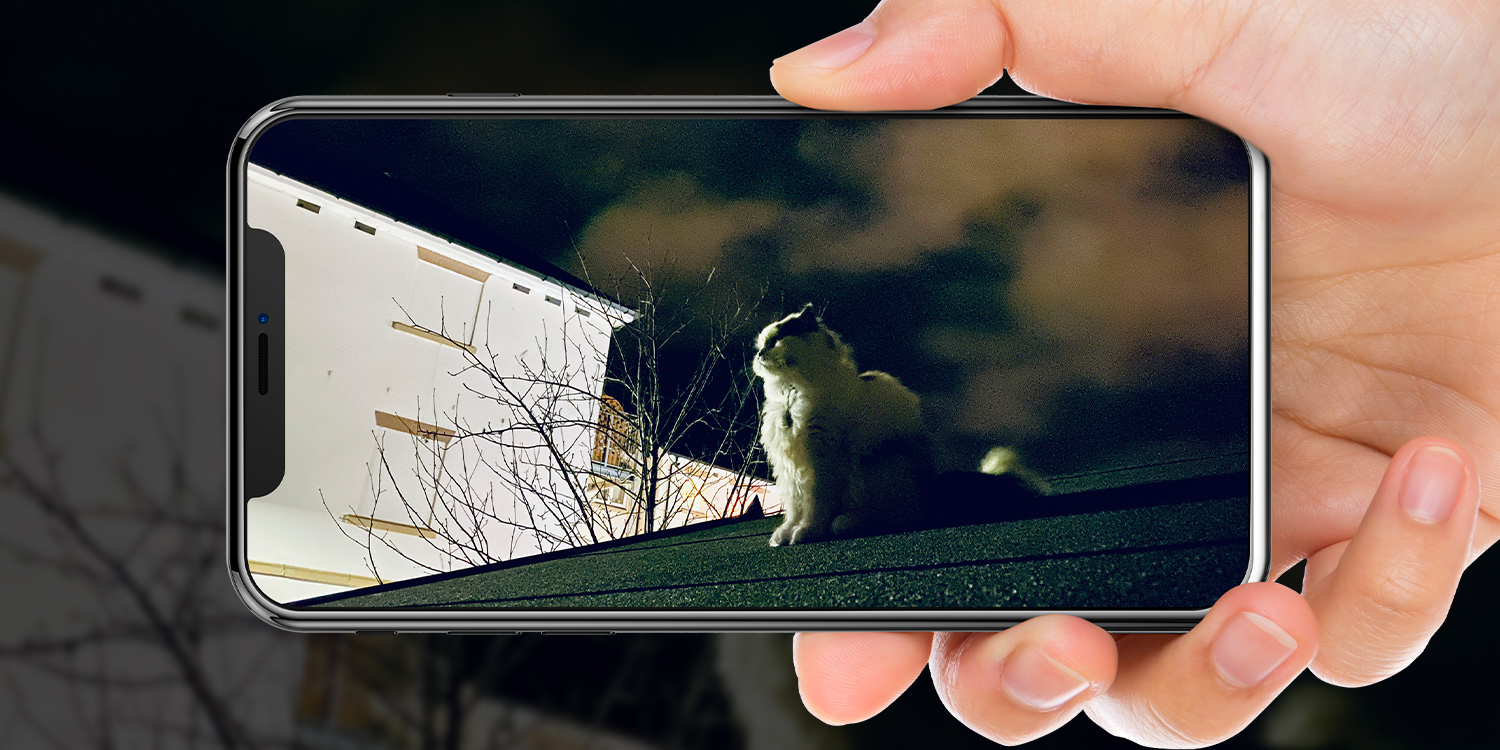
Apple’s press shots show off what Night Mode can do in the right hands
Night Mode works automatically, keeping the shutter open longer than usual to drink in light before using advanced computational voodoo to stitch together a relatively bright photo with minimal noise. It’s automatic, but it’s not idiot-proof – there are a few important things to know to ensure you’re getting the most out of your night shoots.
Check Night Mode is active
Night Mode automatically activates when the device senses sufficient darkness, but the indicator is easy to miss. Check for a yellow icon in the top left that looks like a crescent moon casting a shadow.
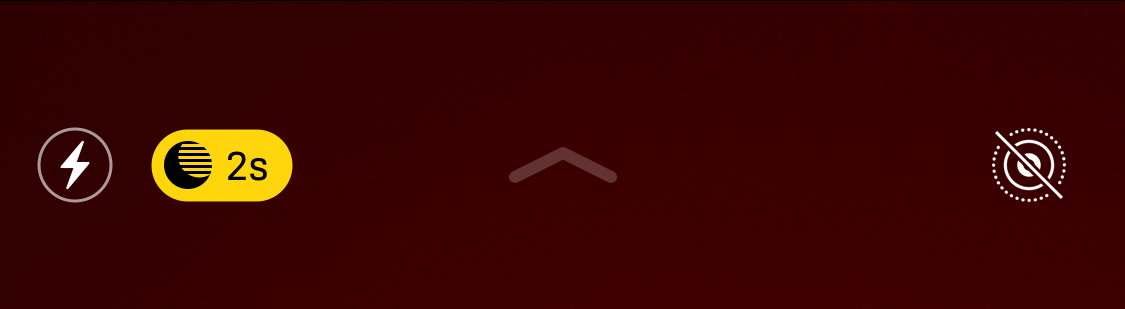
If it’s too light, this icon won’t show up at all
There will be a number next to the icon that represents the exposure time in seconds. You’ll notice this number change on-the-fly depending on the levels of light detected.
There’s no way to manually trigger Night Mode if the Camera app thinks it’s too light to be any use, but if the environment is on the borderline you might notice the crescent moon icon appear in white. If this happens, you can tap it once to manually activate Night Mode, or leave it alone to shoot normally.
Manually tweak the exposure time
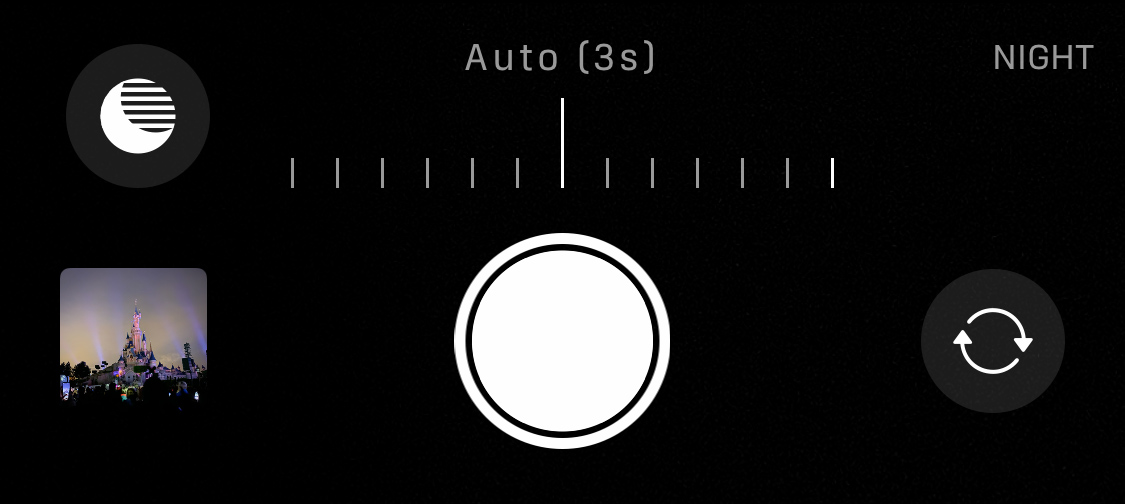
What if you want to change the amount of time the shutter stays open? Once you start shooting in Night Mode you’ll see a slider appear above the shutter button. (You can also tap the yellow Night Mode icon at the top of the app to summon this slider.)
By default, the exposure time changes by itself, but swipe left or right on the slider to take manual control and adjust the timer. Move the slider down to the off position to disable the mode completely.
iOS only grants limited control over these settings
The longer you leave the shutter open, the brighter your image will be – but you’ll also increase the likelihood of ending up with a blurry or grainy photo. The ideal exposure time will be different in every situation, so experiment and look for the sweet spot to get the best pictures!
Don’t forget to keep still!
You might notice that, in many environments, the exposure slider won’t go beyond a few seconds. That’s because its maximum value is dictated by two things: how dark the environment is and how steady your hand is. You don’t have much control over the former but you can certainly affect the latter.
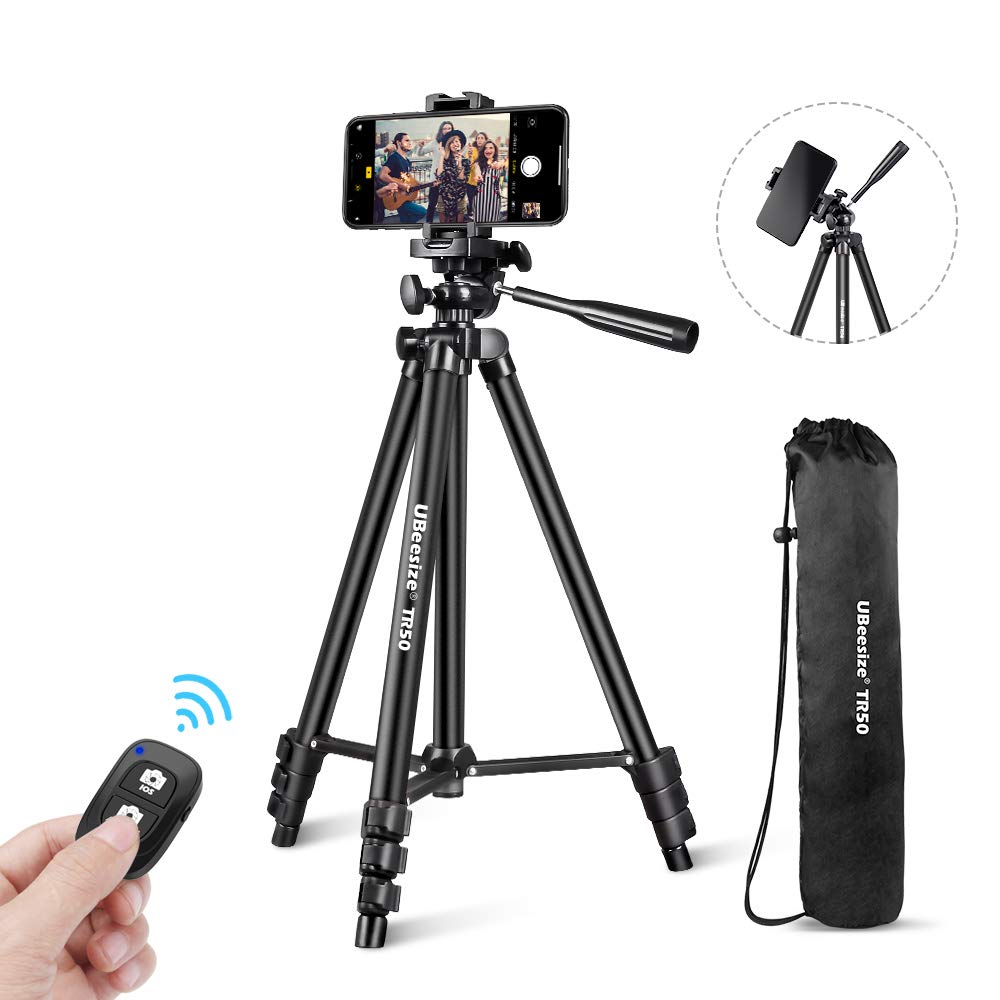
You can get a decent iPhone-compatible tripod for around $20
Though Night Mode does its best to account for camera shake, you’ll still get much better results if you can keep your iPhone as still as possible. Prop your device perfectly still against a flat surface (or use a tripod) and you’ll see the maximum exposure time rocket up to 30 seconds!
Know your subject
Once you crack the stillness thing, you can use those crazy-long exposure times to your advantage. 30 seconds might be too much for a photo of a human subject, but it can make for amazing results when used to capture a busy highway at night – the headlights will leave trails behind them as they whoosh through your scene. Grab a friend with a torch and you can have a lot of fun experimenting with long exposure imagery like this!

This shot by Jude Allen shows a nice light leak effect from a longer exposure time
But you can’t use the same tactic for every situation. If you’re shooting a fast-moving subject like an animal or a band playing a concert, you’ll want to experiment with relatively short exposure times to find the best compromise between sharpness and brightness.
Use the right camera
iPhone 11 has two cameras. iPhone 11 Pro has three. But Night Mode is only optimized for use with one: the standard wide (1x) camera. It’ll still work when your app shows 2x in the viewfinder – just know that it will be using digital zoom and not the actual telephoto camera system as you might expect.
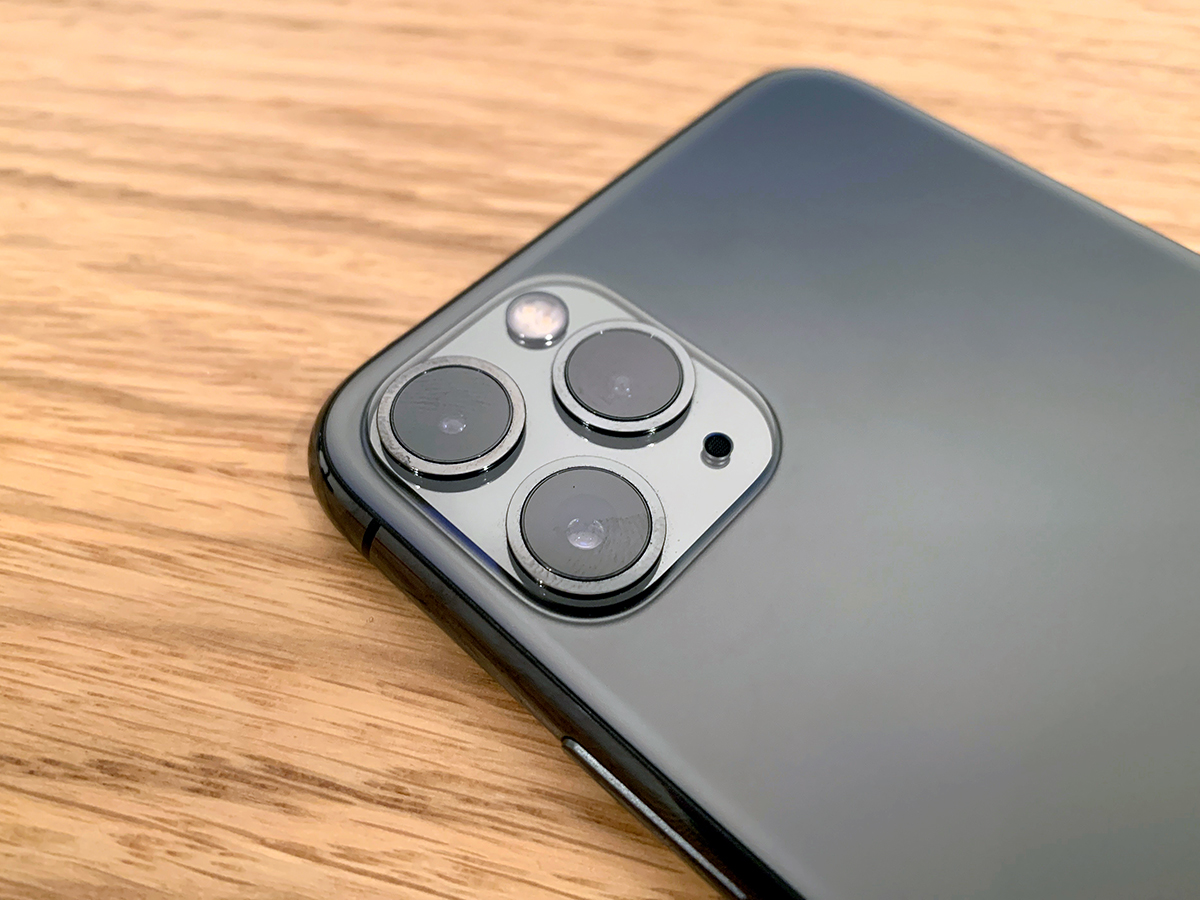
Only one of these cameras works with Night Mode
And be wary that Night Mode doesn’t work at all with the ultrawide camera, so you won’t ever see the option appear at 0.5x zoom. Your best bet for optimal quality is to shoot using the wide camera, get as close as possible to your subject, and crop down afterward if necessary.