


Apple introduced Photographic Styles with the iPhone 16 range, expanding the feature in time for iPhone 17. Thanks to the heavy lifting required, older devices don’t support it – you’ll need one of these recent models to take advantage.
Unlike standard filters that apply a blanket adjustment to the entire photo, Photographic Styles are computational presets powered by machine learning. They intelligently tweak colors and tones in different areas of the image, depending on the subject. This means you can push for a bolder look without turning skies neon or making skin tones look unnatural. In short, it’s a way to make your iPhone’s photos look uniquely yours without reaching for the editing sliders every time.
Choosing a style
When you first set up your iPhone, you may have been prompted to pick a default style. To revisit this choice, head to Settings > Camera > Photographic Styles.
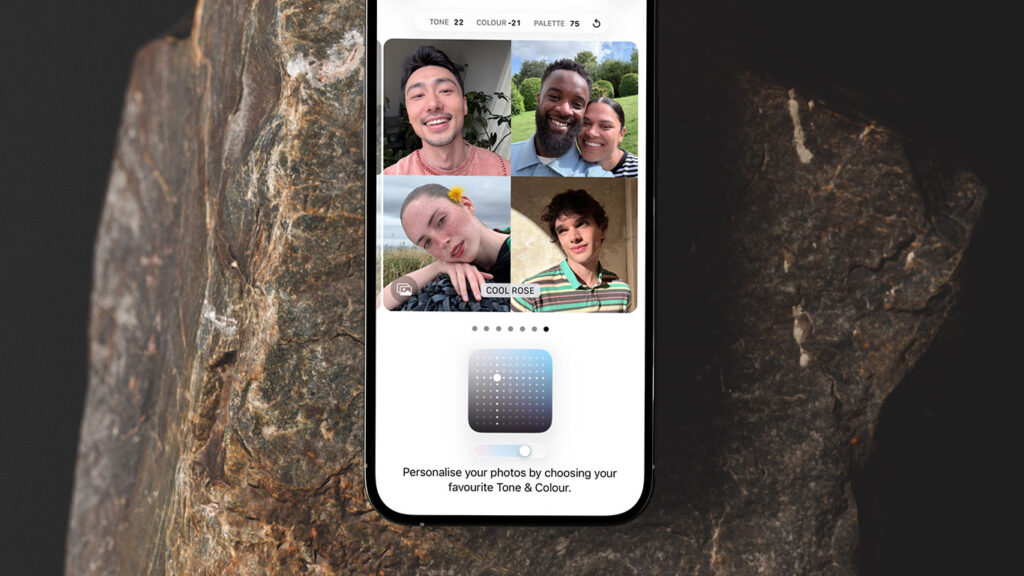
Swipe through the previews to choose between Standard, Amber, Gold, Rose Gold, Bright, Neutral, or Cool Rose. Most emphasize subtle undertones, while Bright stands out for enhancing skin tones and boosting vibrancy across the whole image.
Tap any preview for a closer look. Once you’ve found one you like, tap Use to confirm, or Customize to fine-tune things.
Customizing your look
Customization gives you a control pad that can be swiped in all directions. Move it up and down to adjust Tone (shadows), left and right to adjust Color (saturation), and use the slider to tweak Palette (intensity).
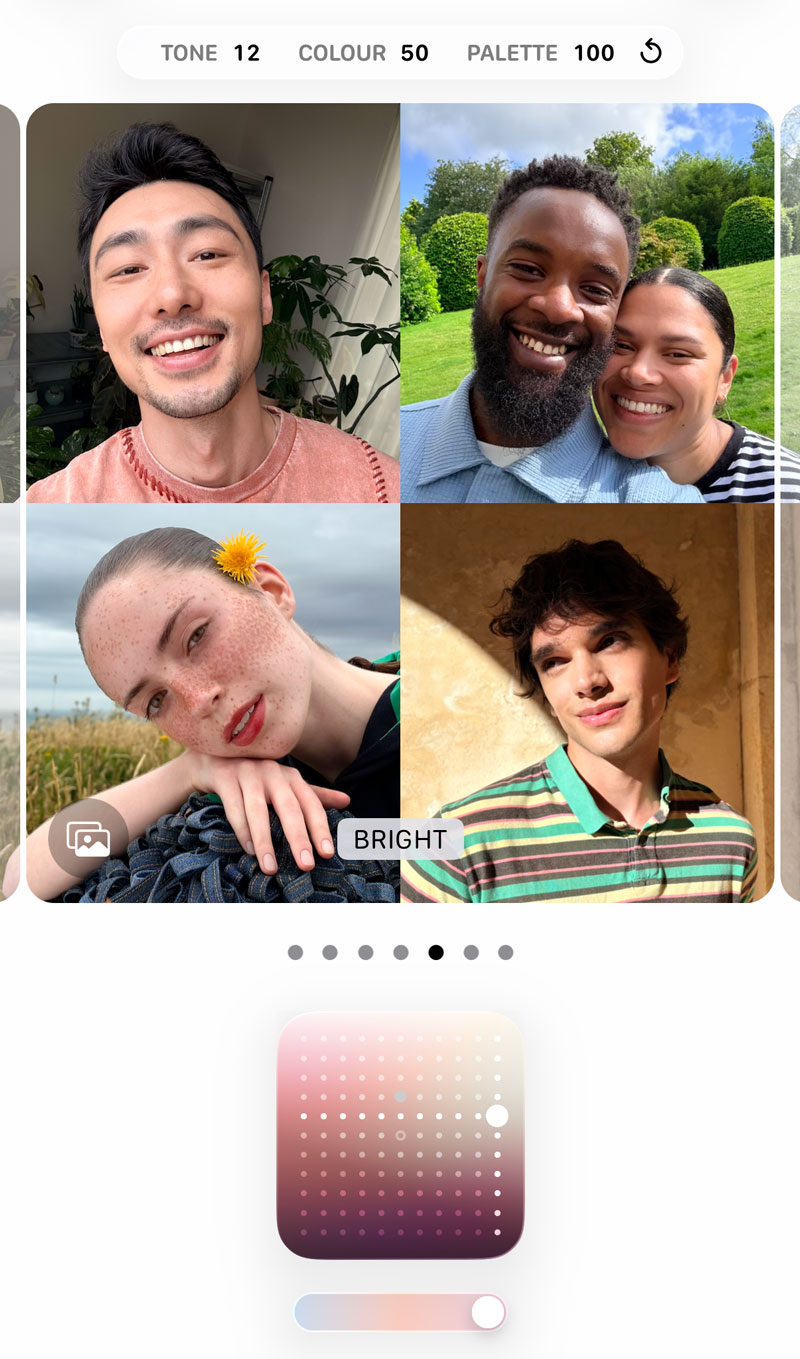
Because Apple’s computational photography is doing the heavy lifting, these changes are more nuanced than simply sliding saturation or contrast in the Photos app. Once you’re happy, tap Save – your choice will apply automatically to every new shot.
Adjusting while shooting
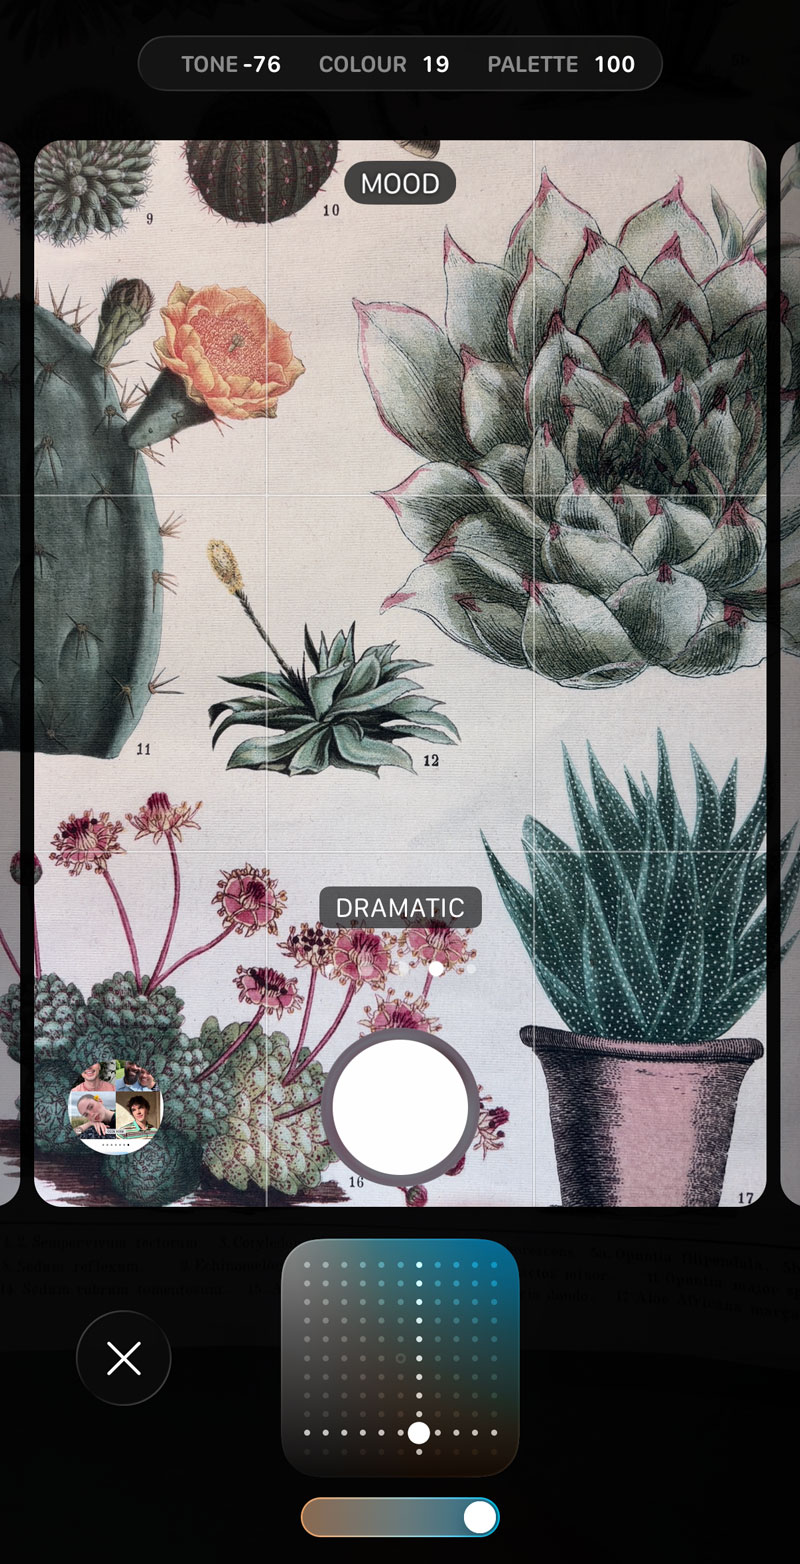
You don’t have to stick with one look forever. In the Camera app, tap the menu button (top-right) and select Styles for a live preview. Swipe between the defaults or use the control pad to experiment on the fly.
Keep swiping and you’ll also find additional “mood” styles. These behave more like Instagram filters but can still be adjusted with the same Tone, Color, and Palette controls.
By default, any changes here last only for your current shooting session. If you’d rather have those changes stick, go to Settings > Camera > Preserve Settings and toggle on Photographic Style.
Editing afterwards
Even if you change your mind later, nothing is permanent. Open any photo in the Photos app, tap Edit, and select Styles. From here, you can swap styles or adjust Tone, Color, and Palette just like when shooting.
Note that you can only make these adjustments to photos that were taken on a compatible iPhone. The Styles button won’t appear on older snaps from the library that may have been taken on earlier devices.