

Have you ever wanted to capture something happening on your iPhone or iPad’s screen to save it as a video?
Apple’s built-inscreen recording feature is a versatile tool for capturing tutorials, troubleshooting issues, gameplay highlights, or fleeting content like disappearing stories. Here’s how to set it up and use it effectively, plus a few tips to enhance your recordings.
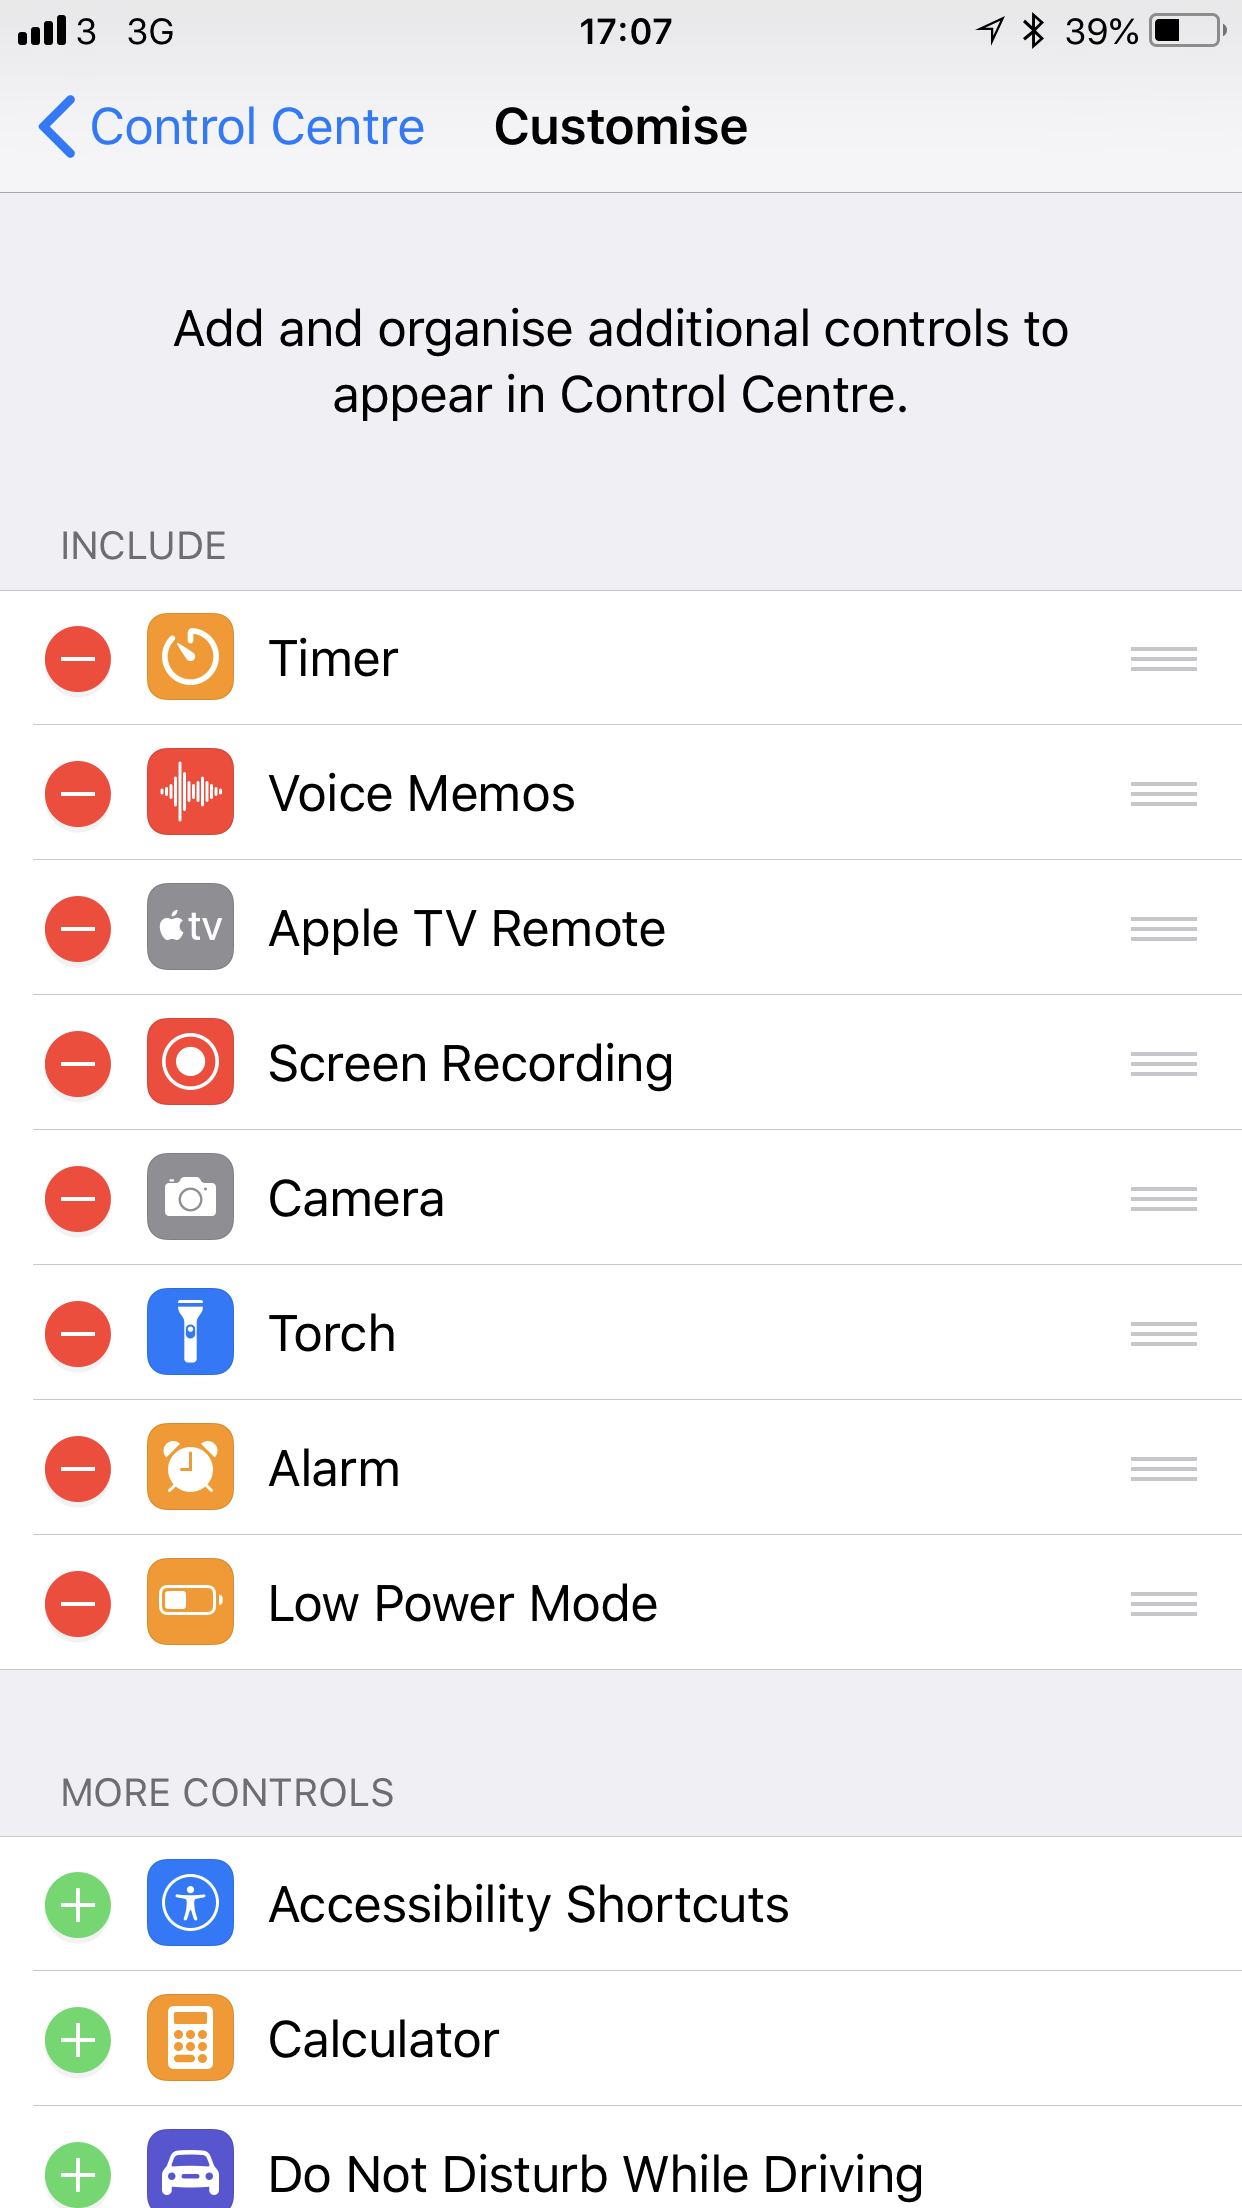
First, make sure screen recording is accessible via Control Center. Go to Settings, then Control Center, and tap the +next to Screen Recording to add it to your quick-access tools. While you’re there, you can declutter Control Center by removing controls you don’t use.
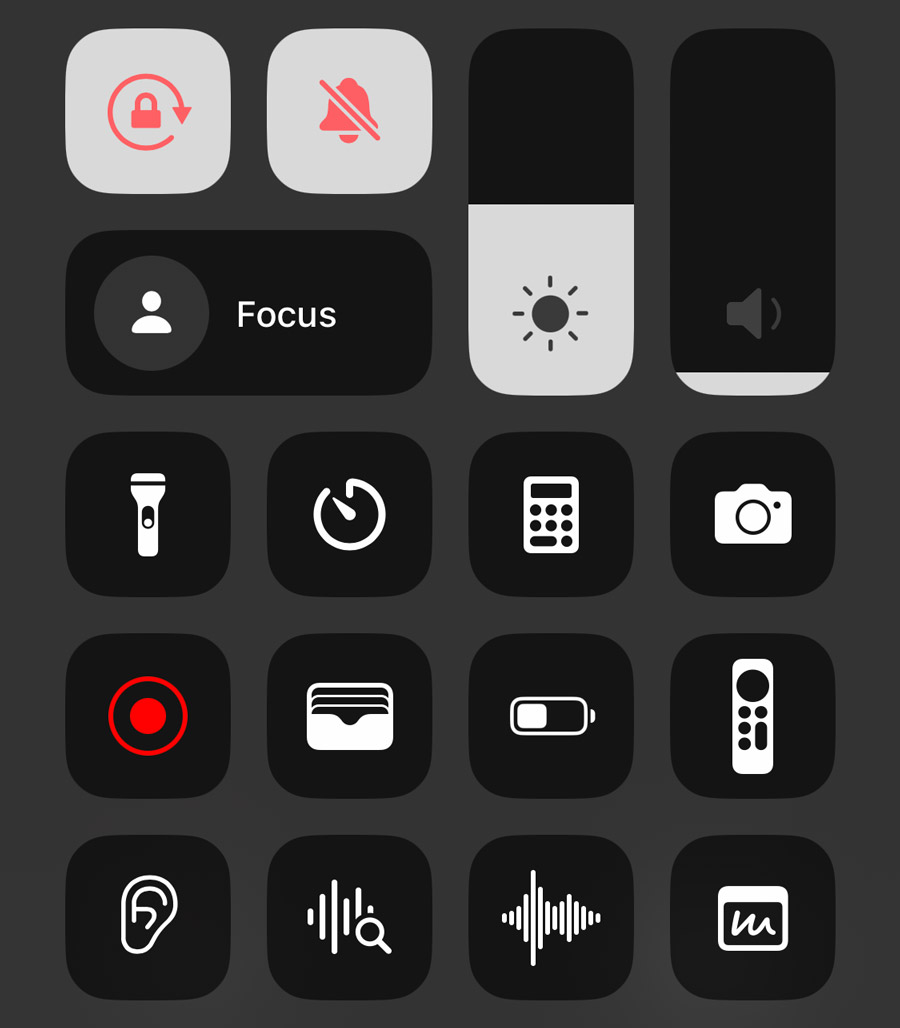
To start recording, swipe down from the top-right corner of your screen to open Control Center. Tap the Record button (two concentric circles), and a 3-second countdown will give you time to navigate to the desired screen. Once recording starts, the status bar (or Dynamic Island) will turn red. To stop, tap the red status bar or return to Control Center and hit Stop. Your recording is automatically saved to the Photos app.
If you’d like to add voice commentary or background audio, you can enable the microphone. Long-press the Record button in Control Center, toggle Microphone On, and then begin recording. This is especially useful for narrating tutorials or adding context to captured content.
To tidy up your video, open the recording in the Photos app, tap Edit, and adjust the start and end points using the timeline handles. Once trimmed, hit Done to save your polished clip. Simple!