
We’ve discussed the best third-party scanning apps before on these pages, but the simple fact is, Apple has made it increasingly easy to scan and organize documents within iOS. No extra apps required.
So how is it done? And does it matter which of the techniques you use? Here’s a brief overview of document scanning on iOS.
Notes or Files?
The first thing to explain is that there are two main ways to scan documents in iOS: through the Notes app, or the Files app.
Apple initially made document scanning possible in the Notes app way back in iOS 11. As that suggests, this is a handy tool for adding real-life documents into your notation workflow. With this tool, you can copy and paste real text as if it were digital, highlight and annotate scanned in documents, and even sign them. This is the method to use when you need to interact with the contents of the document itself.
Then, in iOS 13, Apple enabled document scanning within the Files app. This is intended as a simple way to instantly turn physical documents into PDFs, and quickly save them into a folder (whether local or cloud-based) or app of your choosing. It’s the preferred scanning method if your goal is to digitize and organize the document, with no pressing need to do anything specific with the content.
How to scan using Notes
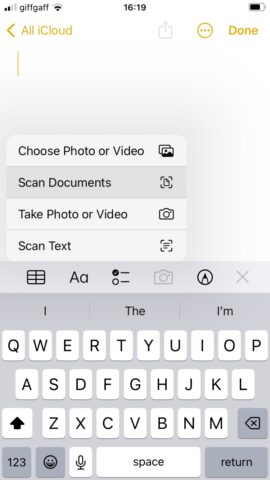
Open the Notes app and either open or start a new note. Now tap the camera icon just above the keyboard, followed by Scan Documents.
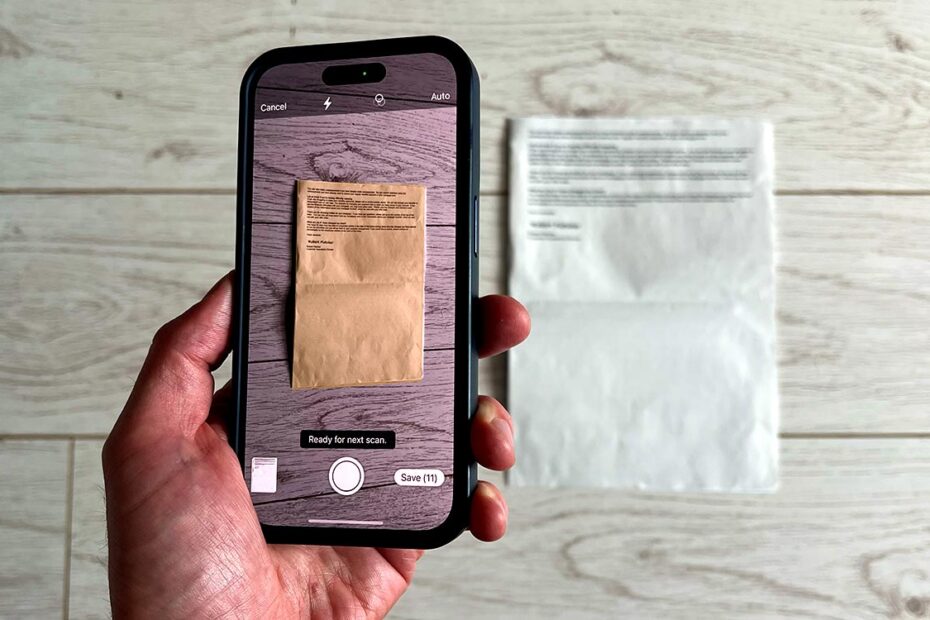
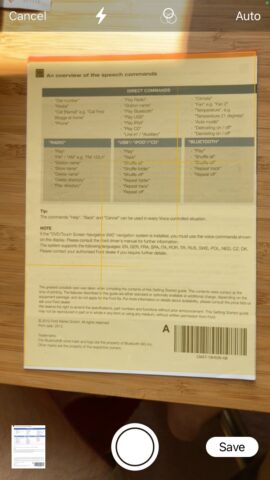
Point your iPhone’s camera at the document in question. Your iPhone should now automatically detect and scan the document. If it doesn’t, tap the shutter button as if you were taking a picture of it (which, effectively, you are). Drag the corners until they fit the page, then tap Keep Scan.
Now tap Save, or continue adding documents. Your scan will have been added to the note, where the text can be selected, copied, and marked up as with any ordinary PDF.
How to scan using Files
Open the Files app and tap the Browse tab along the bottom of the screen. Tap the … button in the top right corner, then select Scan Documents. Follow the method outlined above to scan your document.
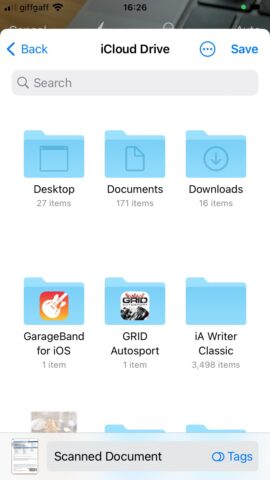
You should now be taken back to the Browse screen. Navigate to the folder you wish to save your document into (iCloud Documents, Desktop, Pages etc.). You’ll note the added option to add colored tags to your scanned document, making this method ideal for organizing multiple scanned documents, or adding them into a collection of existing tagged documents.
Finally, hit the Save icon in the top right corner. Your document will instantly appear in that location as a PDF.
Ultimately, it all comes down to your preferred method of organization.