
AssistiveTouch is a great part of iOS that helps users perform a variety of functions without having to press or push down on buttons.
However, the tool isn’t only useful for impaired users. It provides a range of functions that might apply to a wider range of iOS users. Most notably, replacing a broken Home button.
Replacing a broken Home button with Assistive Touch
Though the new Home button on the iPhone 7 is effectively ‘solid state,’ i.e. it has no moving parts and is not susceptible to breaking in the same way. When you push down on this new Home button, haptic feedback provides a vibration simulating a click.
If the Home button breaks, it’s a software issue, not a hardware problem, and AssistiveTouch is unlikely to help.
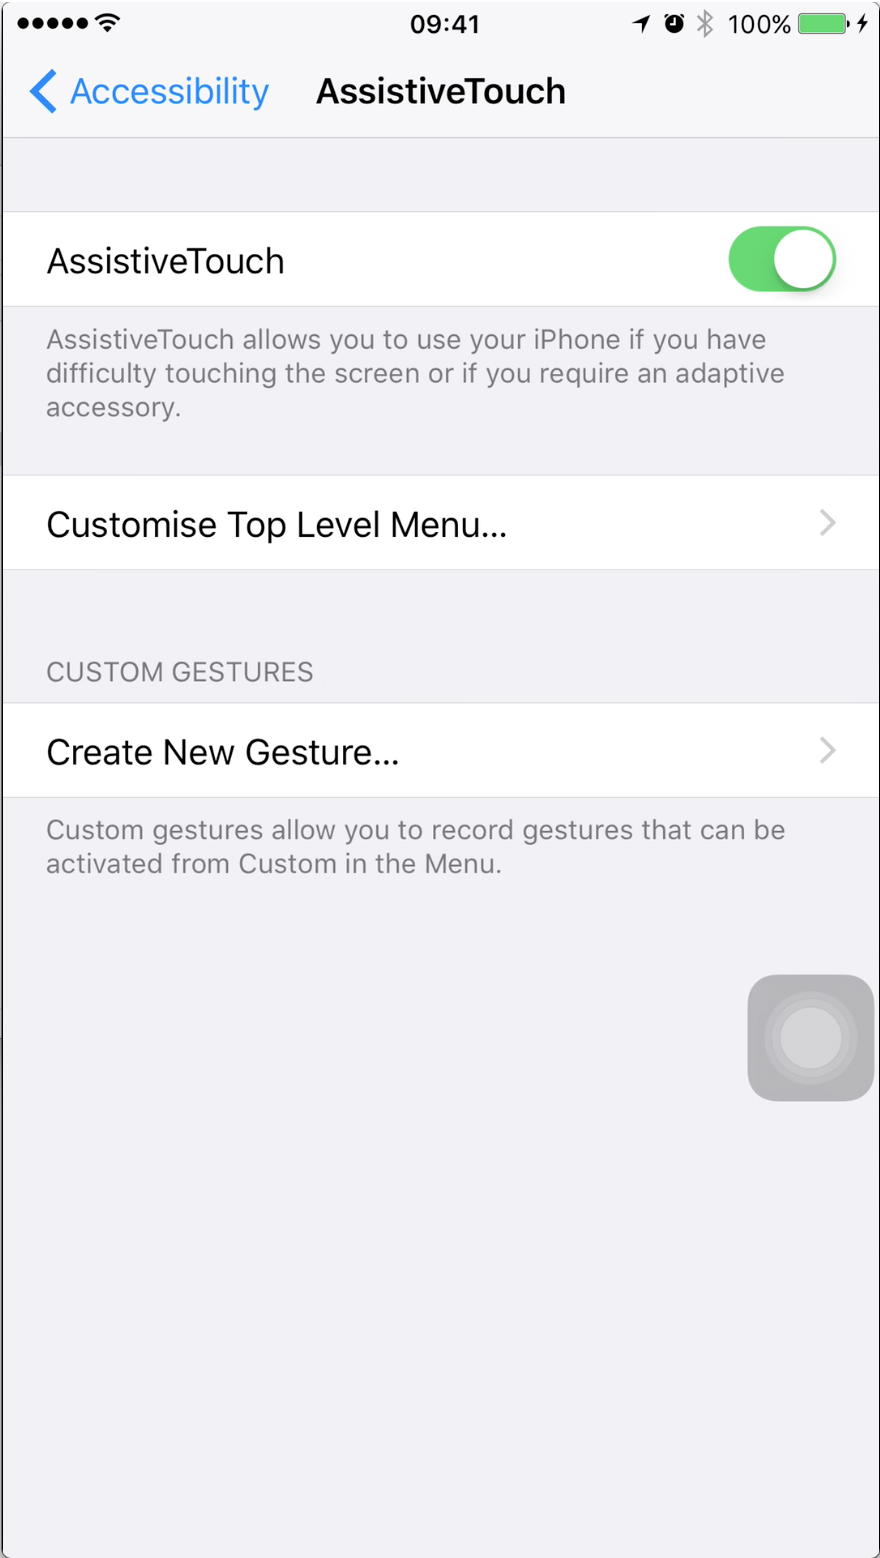
Of course, many iPhone users don’t have the latest devices and replacing a broken Home button with an on-screen, touch-operated Home button is the answer. To do this, first enable AssistiveTouch:
1. Launch the Settings app and tap General.
2. Tap Accessibility, then AssistiveTouch.
3. Toggle the AssistiveTouch switch to on.
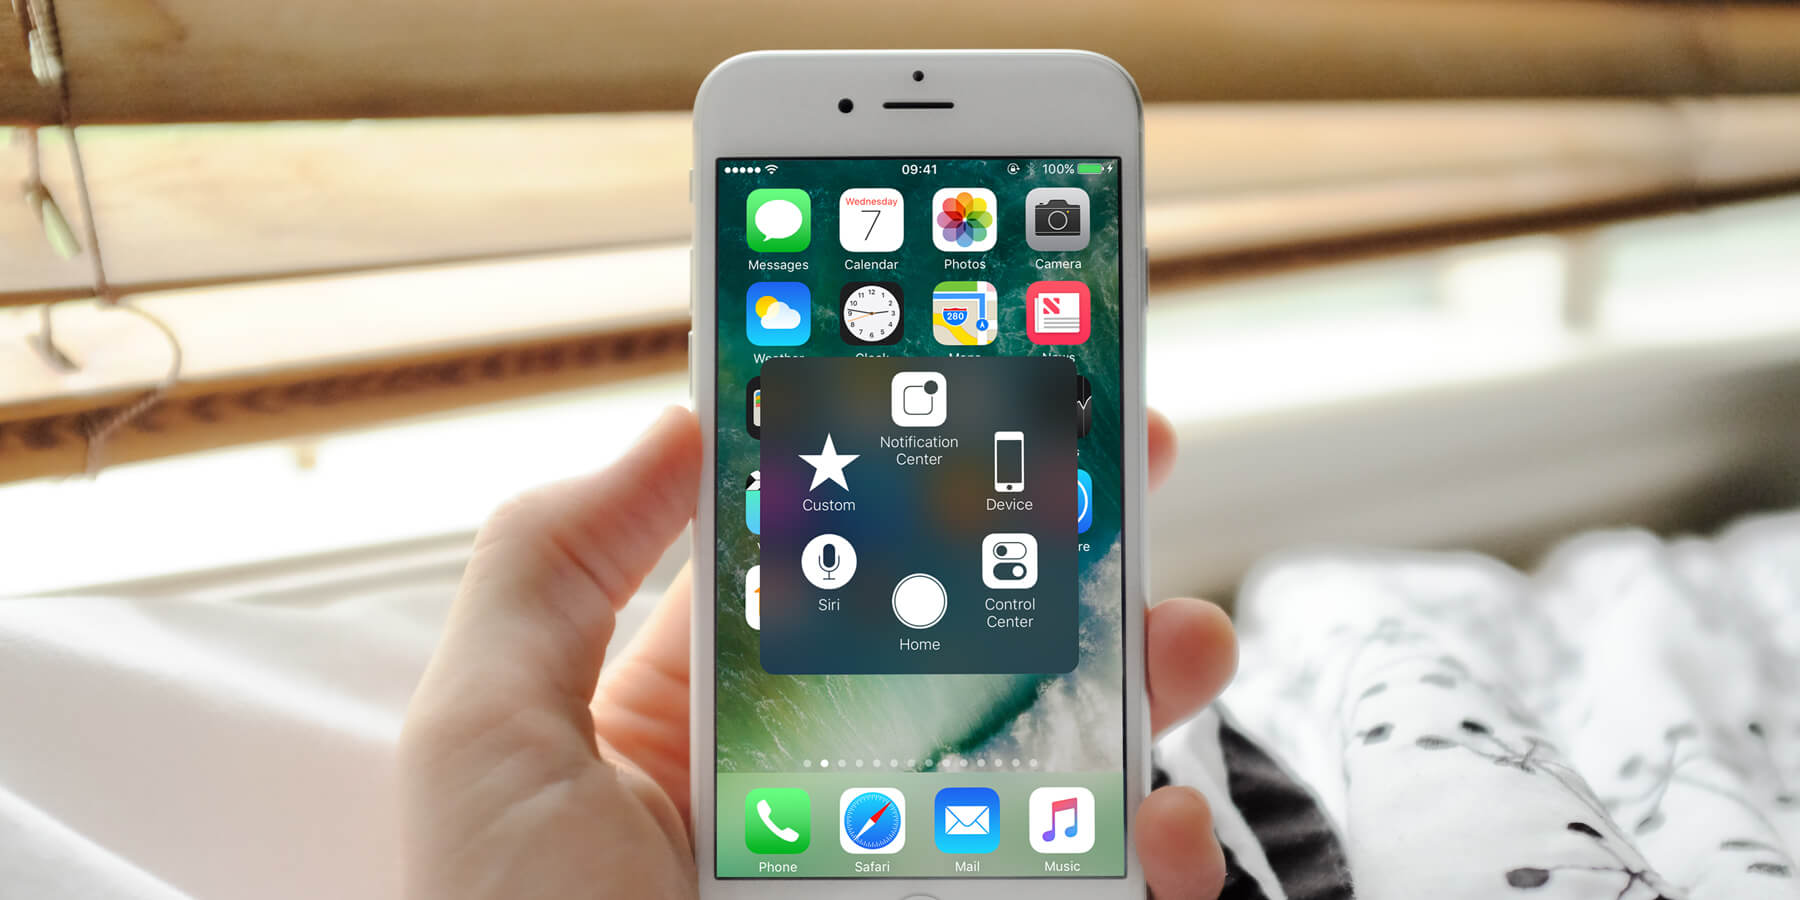
Toggling AssistiveTouch will add a floating button to the screen
This adds a floating button to your screen, which you can see below. It fades into transparency after a couple of seconds, but tapping it wakes it up again. You can also move this to a different position on the screen by holding a finger on it and moving it around.
Tapping it will expand the AssistiveTouch menu. Along the button is a ‘Home’ button. Tapping this from anywhere on the iPhone will return you to the Home Screen.
Expand the menu for options. Tapping Home will return you to the Home screen without pressing the Home button
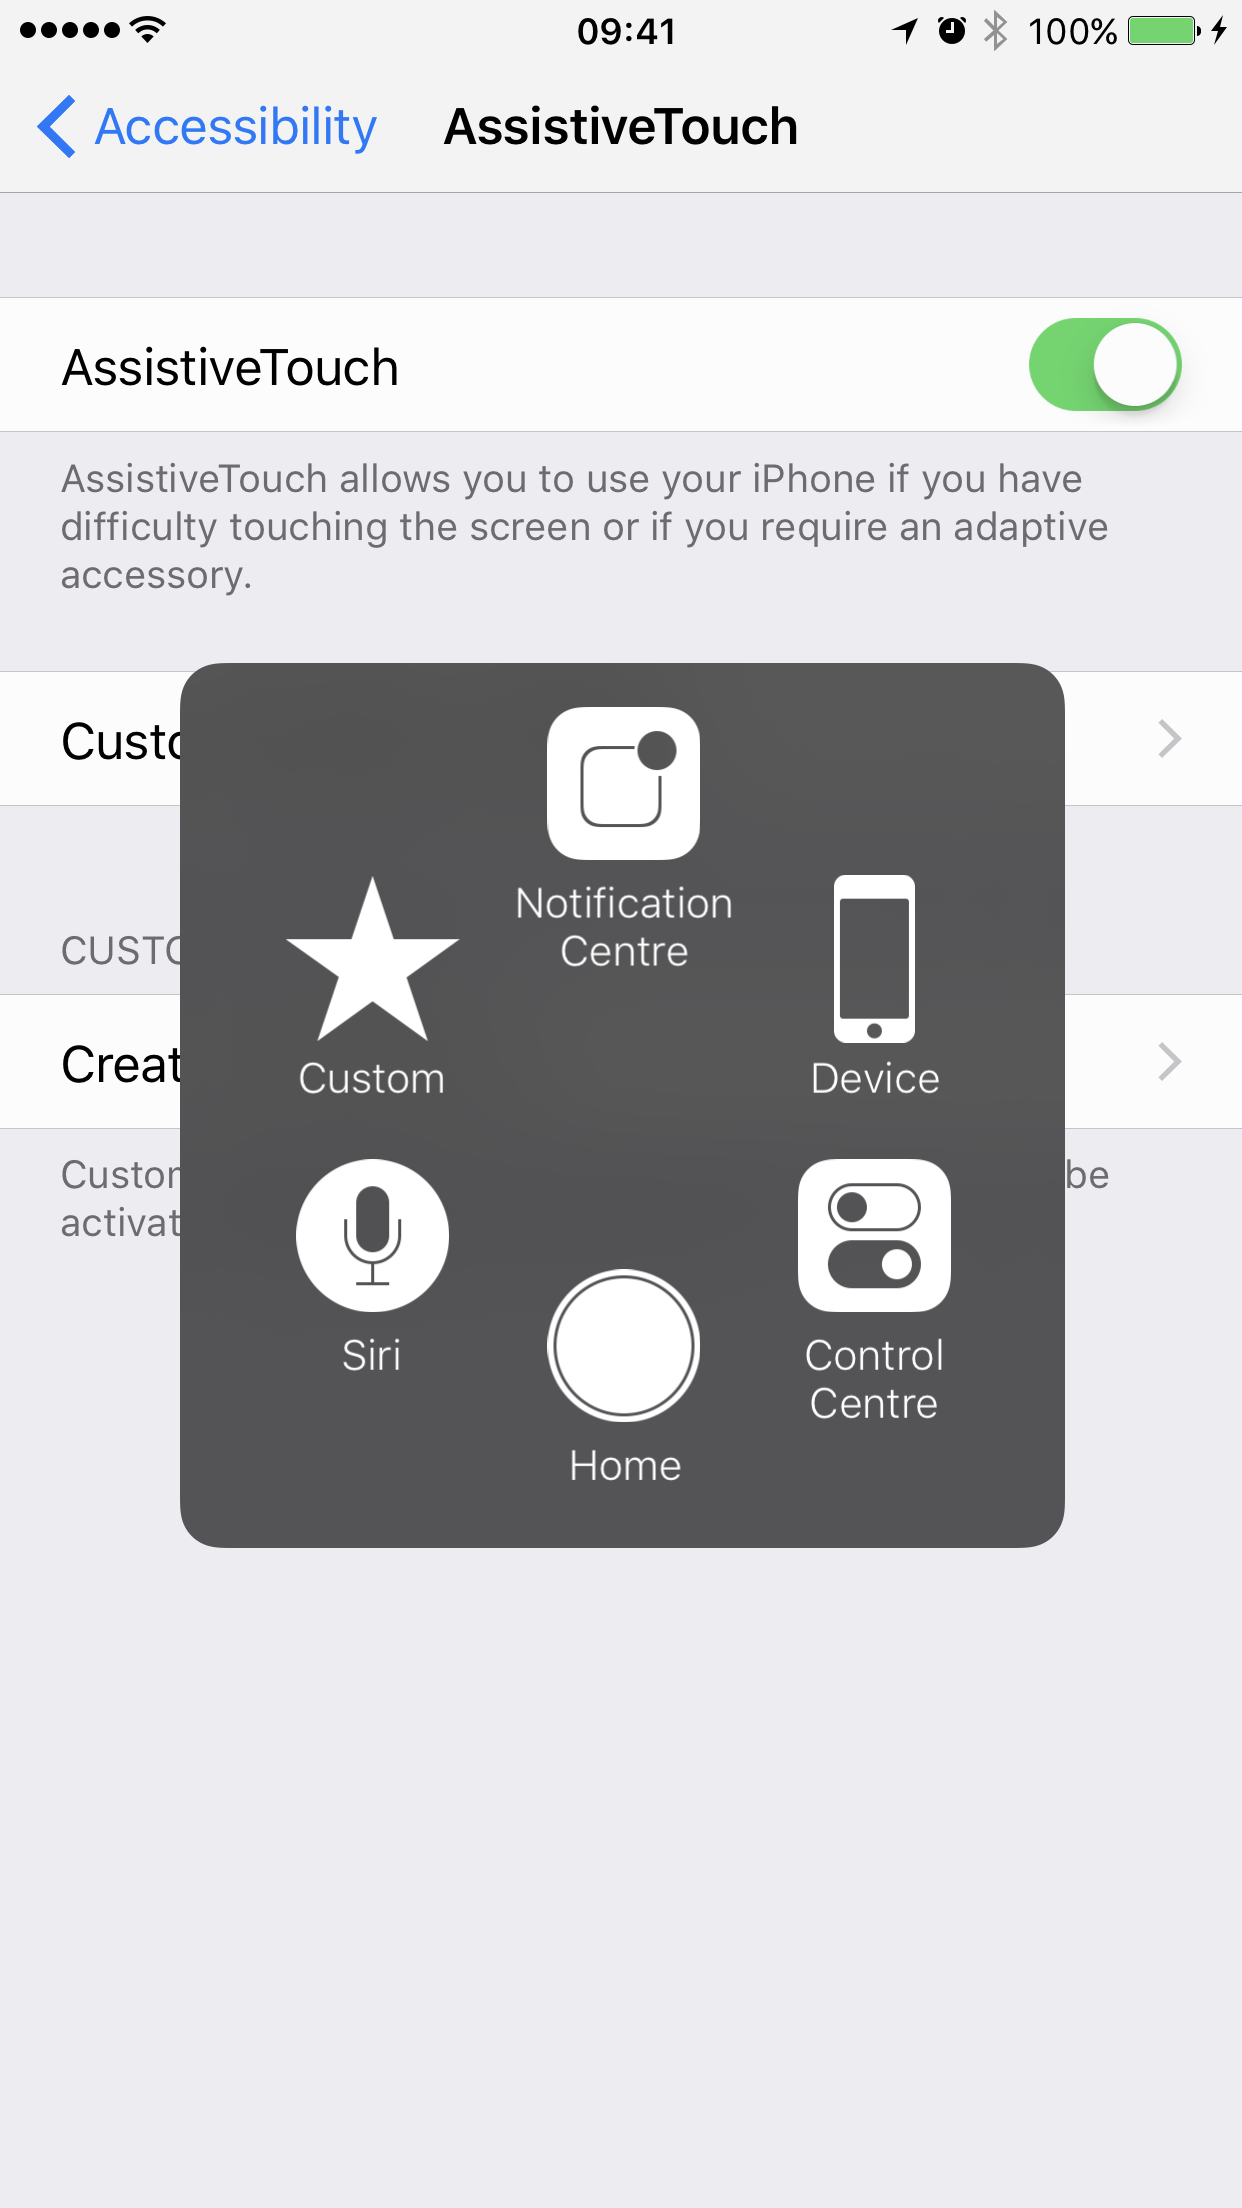
What other options are there?
But that’s not where the options end. In iOS 10, there are a huge number of options for controlling the phone, including 3D Touch and volume options. First, let’s go anti-clockwise from the top.
1. Notification Center – this quickly pulls up the Notifications panel, usually accessible by swiping down from the top of the screen. This option is useful for those that can’t, or don’t want to use swipe gestures.
2. Device – this opens up another AssistiveTouch menu with further control options including Lock screen, Rotate screen, Volume Up, Volume Down and Mute. This helps users control most of the functionality usually performed by the physical buttons on the device.
‘More’ takes you to the next menu and provides more options for interacting with the device that would usually require more physical interaction, such as ‘shake;’ which is generally used to ‘undo’ an action, Multitasking, which brings up the App Switcher view that usually requires a double tap of the Home button or using 3D touch on the left-hand edge of the screen, and finally, ‘Screenshot,’ which saves an image to your Camera Roll that usually requires a user to hold down the Home button and on/off button at the same time.
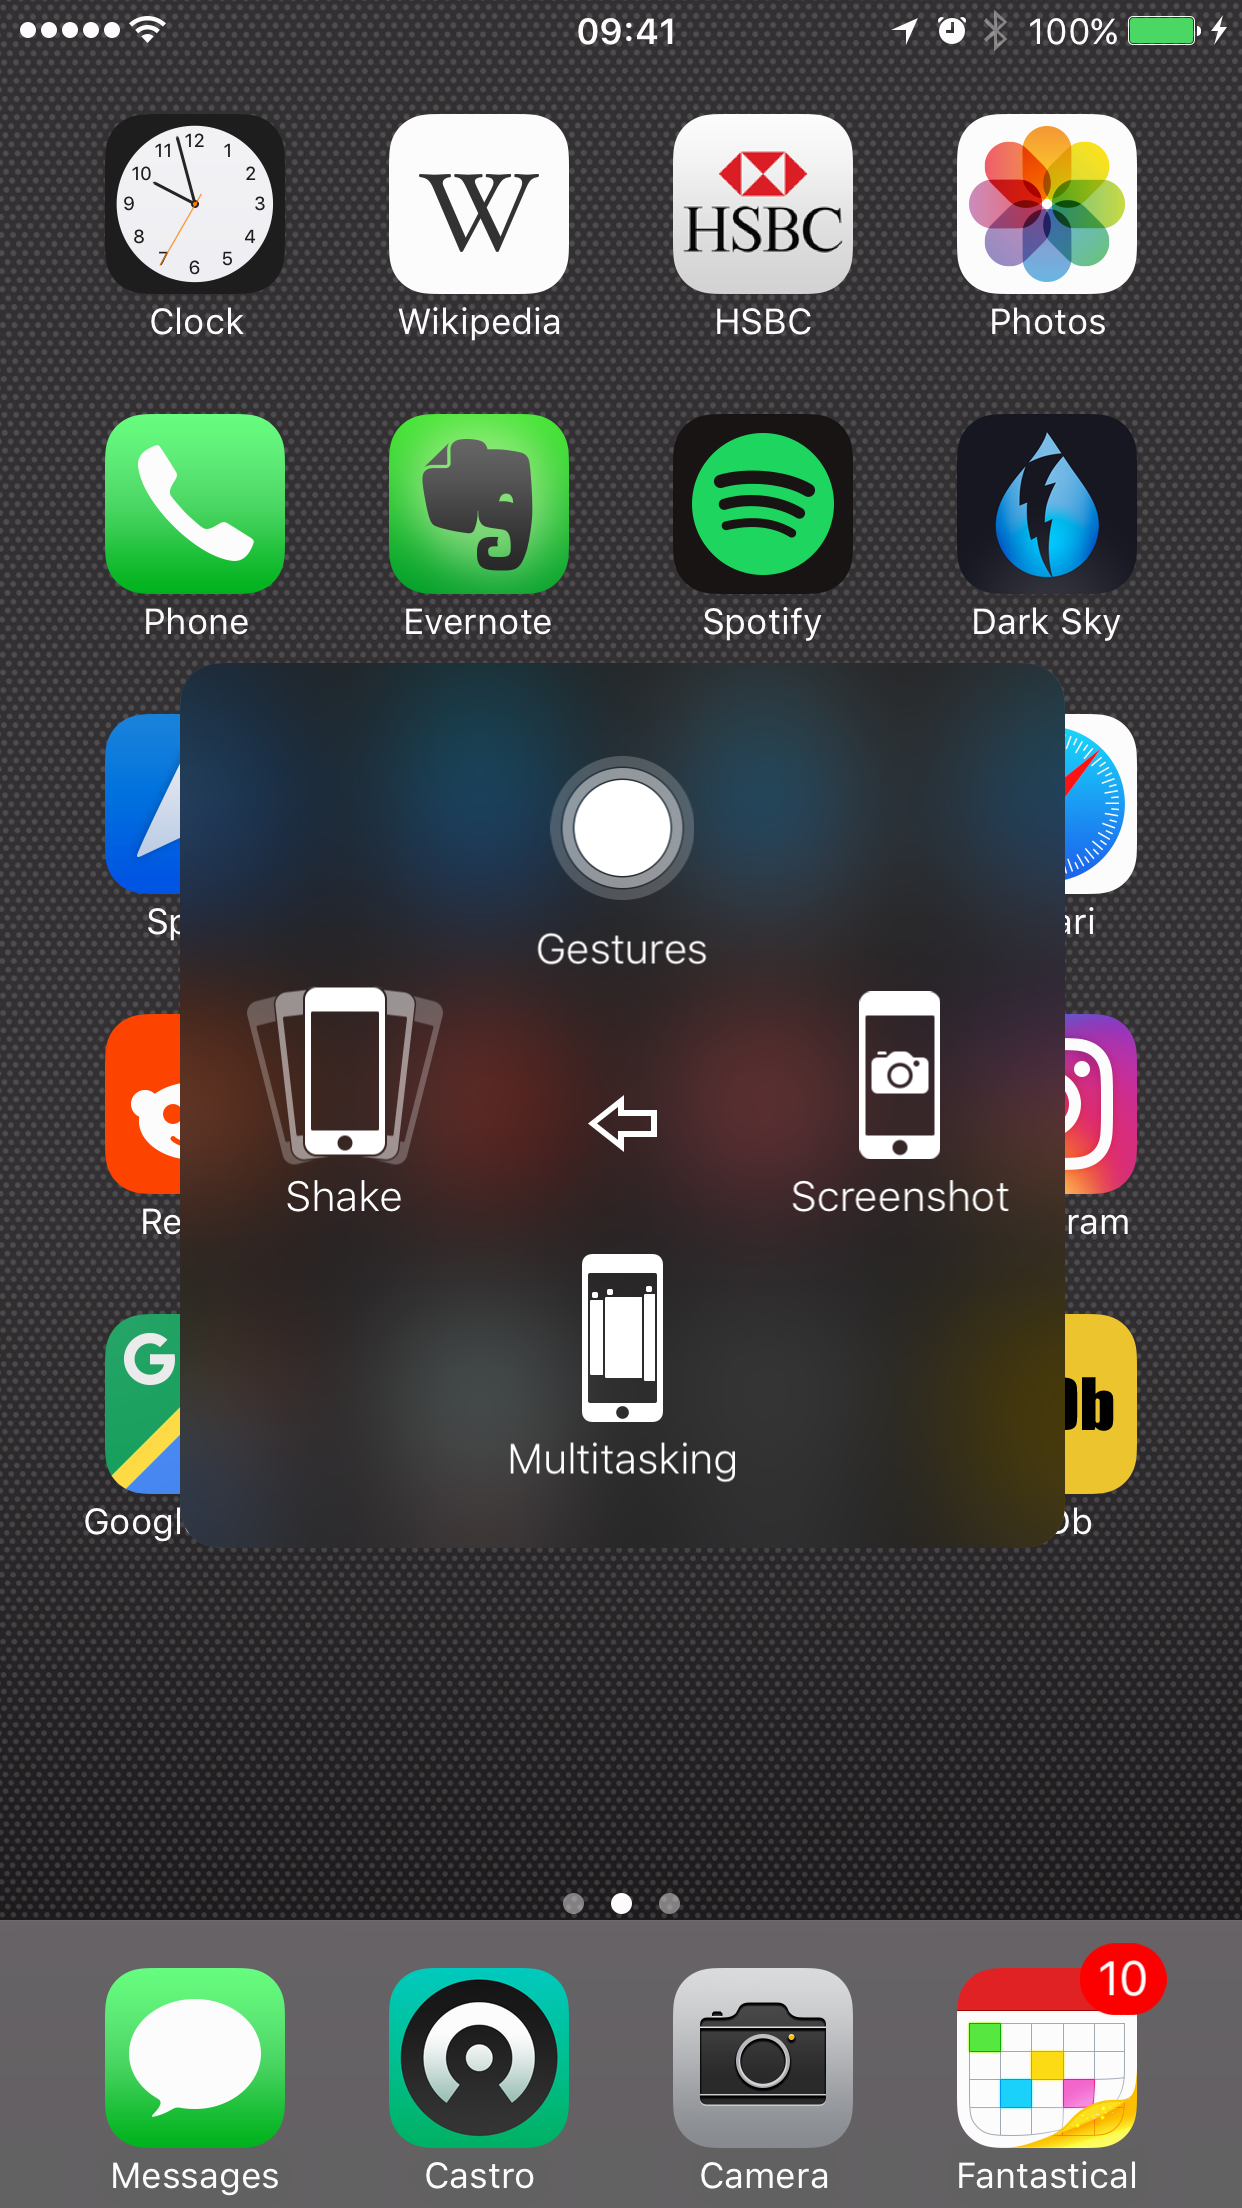
There are a number of menus to access through AssistiveTouch
It also includes ‘Gestures’ which allows users to make multi-finger gestures using just one finger. This goes from 2 fingers to 5. Much of this functionality is for iPad rather than iPhone. For example, swiping with four or five fingers on an iPad will allow you to quickly swipe between apps.
3. Control Center – this is an easy one. It simply opens the view usually accessed by swiping up from the bottom of the screen. Here, you can turn Bluetooth and Wi-Fi on and off, control audio and more.
4. Siri – some might struggle to activate Siri, which usually requires holding down the Home button until it appears. Using AssistiveTouch, you can access Siri without pressing the Home Button.
The final option, is ‘Custom…’
How to customize the Assistive Touch menu
There are other options as well; ones which aren’t necessarily used as frequently, but might be used more than others. By default, this menu contains controls for Pinch the screen without having to use two fingers, 3D Touch operation, meaning you can slide an icon onto an app and without pushing down harder on the screen to reveal an app’s Quick Actions, and Double Tap, allowing users to double tap something by sliding the icon onto an item without having to physically double tap the screen.
Access an app’s Quick Actions without 3D Touch
However, there are five other boxes where you can create your own gestures.
Tapping on one of these will open up a screen where you can make a series of taps, pushes or 3D Touches which will then be combined into a single, multi-touch gesture.
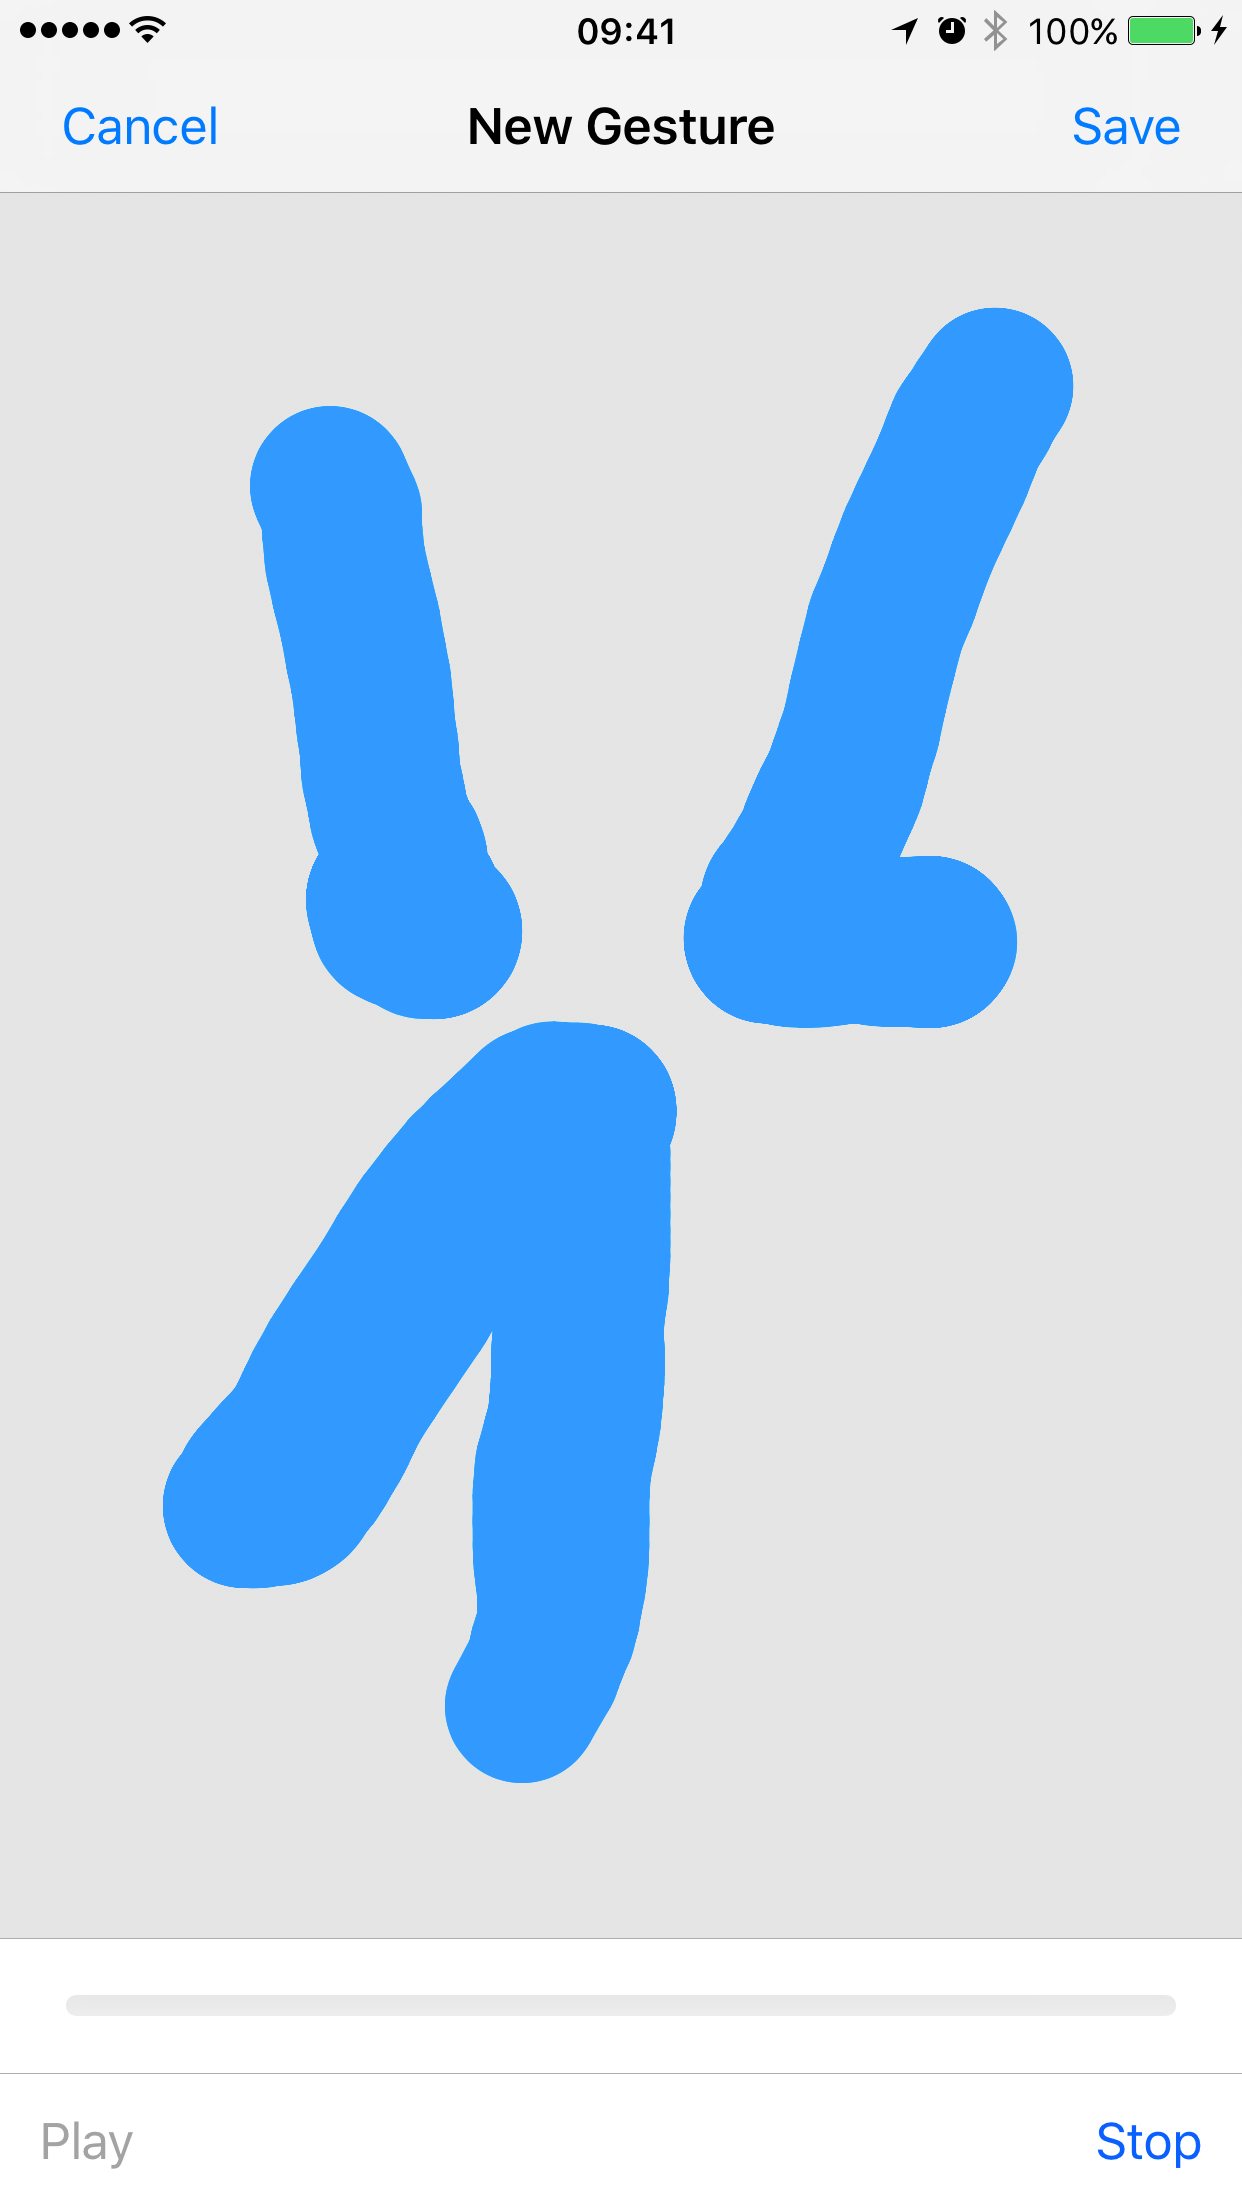
Make your own custom gestures. Though we don’t really know if this one will prove useful…
It’s rare that a user might need to do this, but it could prove useful if repetitive actions were needed, or if the user doesn’t possess the ability to use multiple fingers in a gesture.
Going deeper, it could prove useful for repeated actions in games, or scrolling in apps. Or, simply, for any other iOS commands Apple hadn’t thought to put in the AssistiveTouch menu.

New gestures can be added to the Assistive Touch menu