
It’s 2023, and Apple STILL doesn’t let you make vertical videos in iMovie. Despite the proliferation of short portrait videos online, the app limits your projects to a 16:9 horizontal format. Sure, you can make vertical videos with Apple’s other editing app, Clips, but iMovie remains better suited to certain types of projects. So what’s the solution?
A quick fix
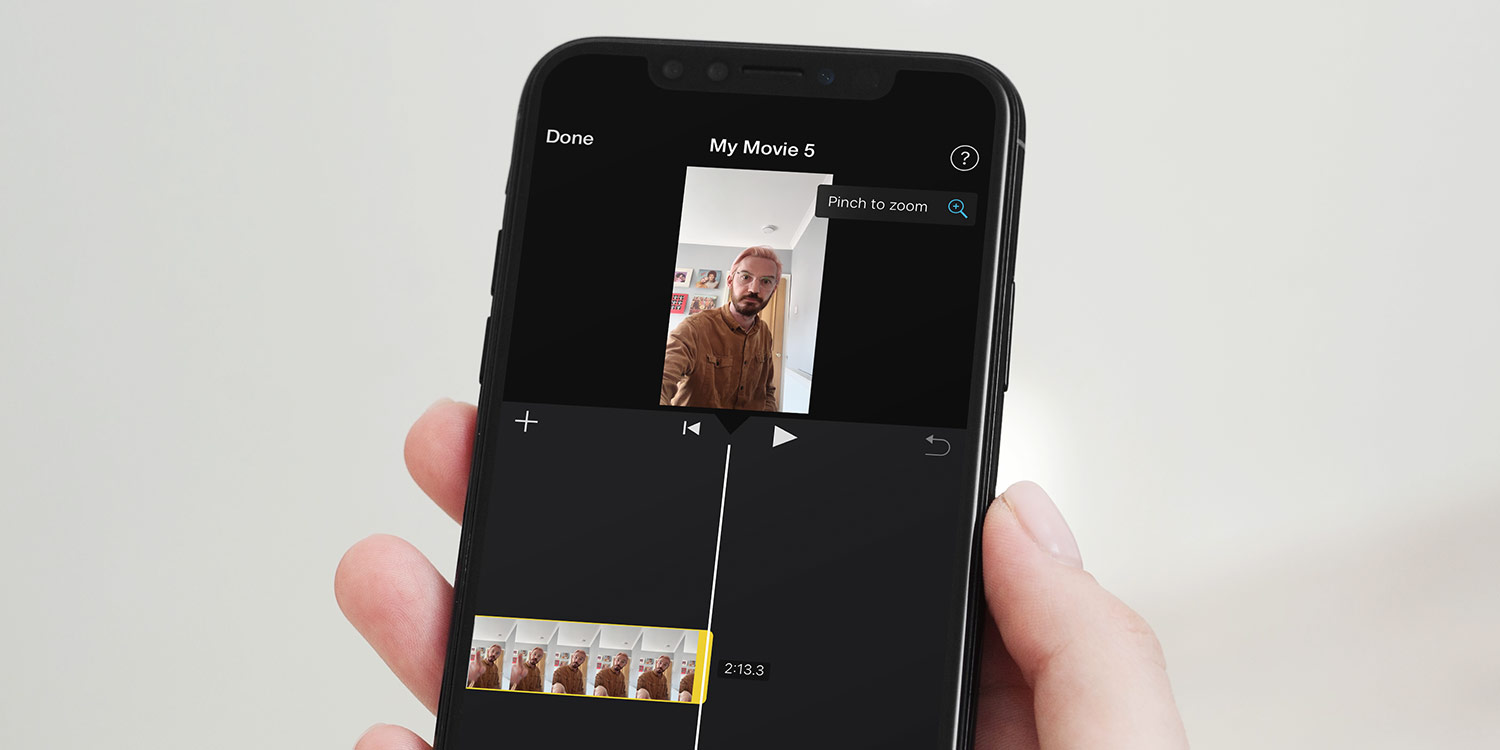
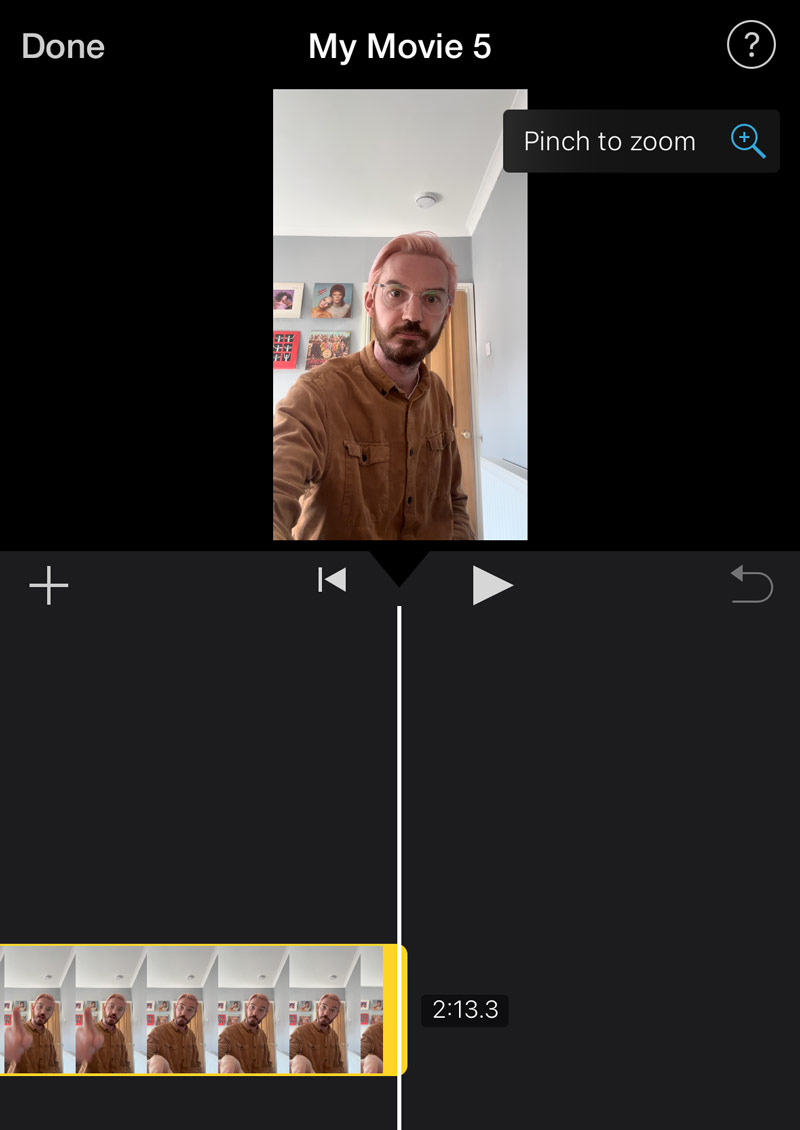
A popular workaround is to center your vertical clips and crop out the black bars on either side later. You can try this by selecting a clip and hitting the magnifier icon to enable pinch-to-zoom mode. Zoom every clip so it sits full height and bang in the middle of the frame. Then export your finished movie and remove the black bars using the crop tool in the Photos app.
This method works, but it’s fiddly and sacrifices video quality. Instead of utilizing the full scope of the video frame, you’re cropping to a much lower resolution. You’ll lose more than two-thirds of the total pixel count, making the finished video much blurrier than it ought to be.
A quicker, better fix
Here’s another option. For each clip, simply use a two-finger rotation gesture on the video preview at the top. Release once you see the arrow symbol appear, and iMovie will rotate your video by exactly 90 degrees. Now it fills the entire frame. Repeat for each clip in your project.
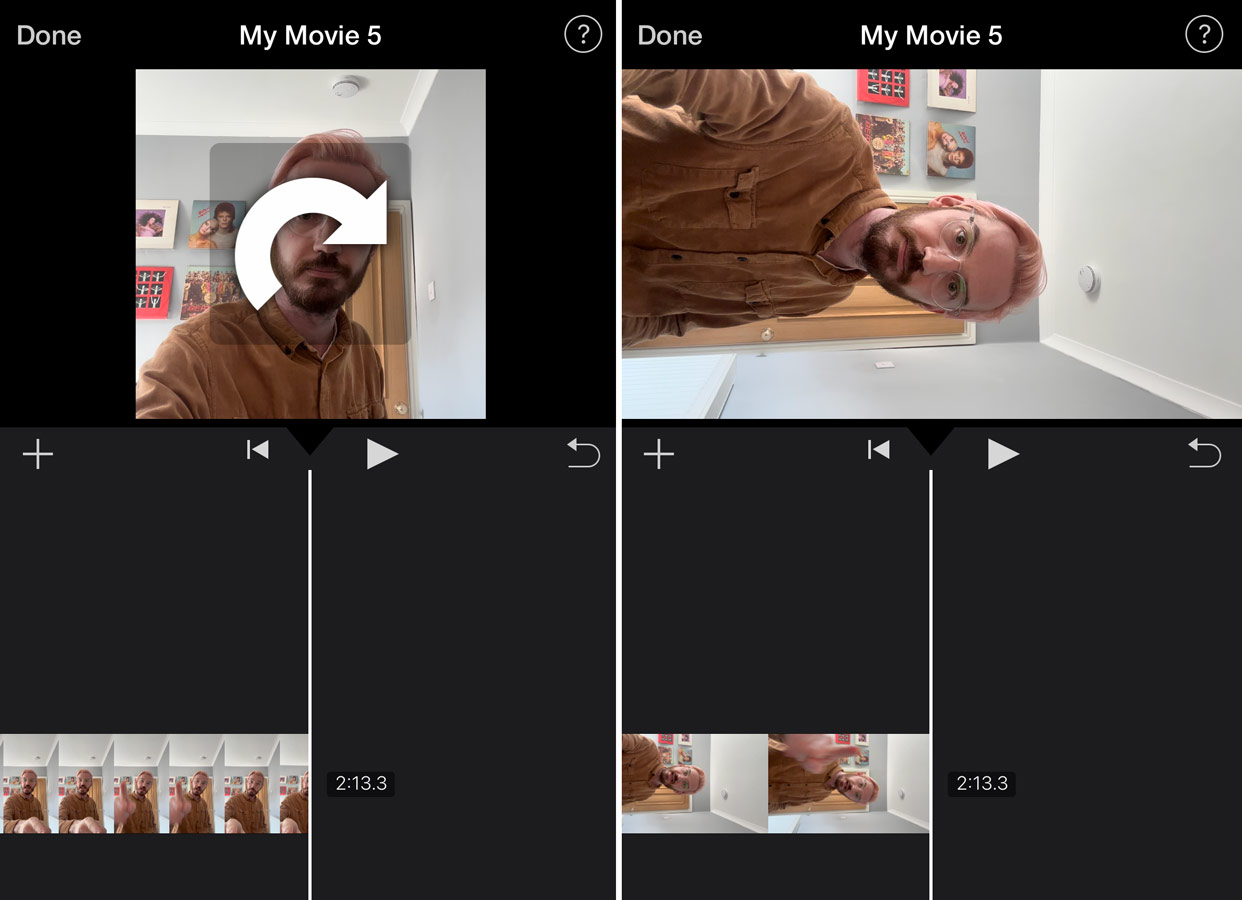
Sure, everything’s sideways, which can be annoying when editing your project. But this approach means you can export a finished movie at full resolution, with (slightly) less fiddling. If you don’t like twisting your neck to see what’s going on, try making all your cuts and edits first. Then rotate each clip right at the end when you’re happy everything else is done.
Press Done > Share > Save Video to export the finished movie to the camera roll.
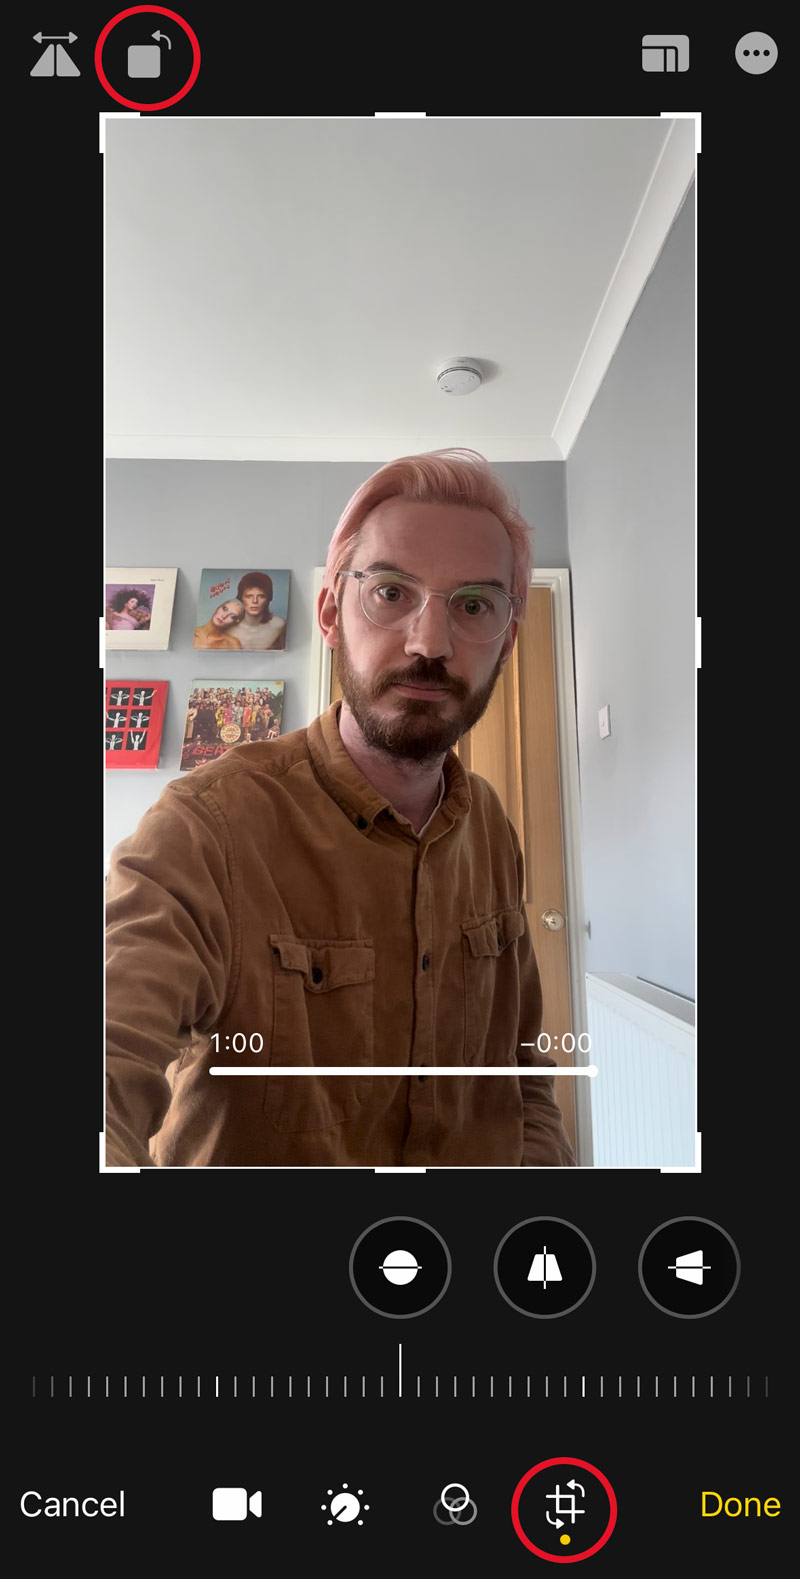
Finally, pop into Photos and hit Edit > Crop > Rotate to put everything back to its original orientation. Done!