

Apple’s iCloud is a great service. Users can store backups, documents, photos, and more in the cloud. This means they don’t take up precious storage space. So, why would you want to backup to iTunes instead, you might ask?
The answer is it’s not an ideal situation. To rely on an internet connection to access a copy of what’s on your device may not be fit for every situation. Backing up to iTunes will keep a full copy of everything backed up to either your PC or Mac – that includes all your apps. If you backup to iCloud, the backup only has data about which apps were present. The device will then download them for free from the App Store once connected to Wi-Fi.
The problem with this method is your device can’t retrieve any apps that are no longer on the App Store. This became relevant after Apple announced it would clear out old apps from the App Store. In November, it ramped up its efforts, removing three times as many as usual. Users that still use those that’ve gone could lose access in future if they’ve only backed up to iCloud. Backing up to iTunes would ensure the user would always have access to that app. The likelihood you’re still using an app that’s out of date or meets Apple’s criteria for removal is low. But Apple’s guidelines for removal aren’t clear, and you can never be sure.
For those that don’t want to back up to iTunes, here’s a quick rundown of setting up a simple iCloud backup:
1. Connect to a Wi-Fi network using your device.
2. Tap Settings, then scroll down until you reach iCloud – tap on this.
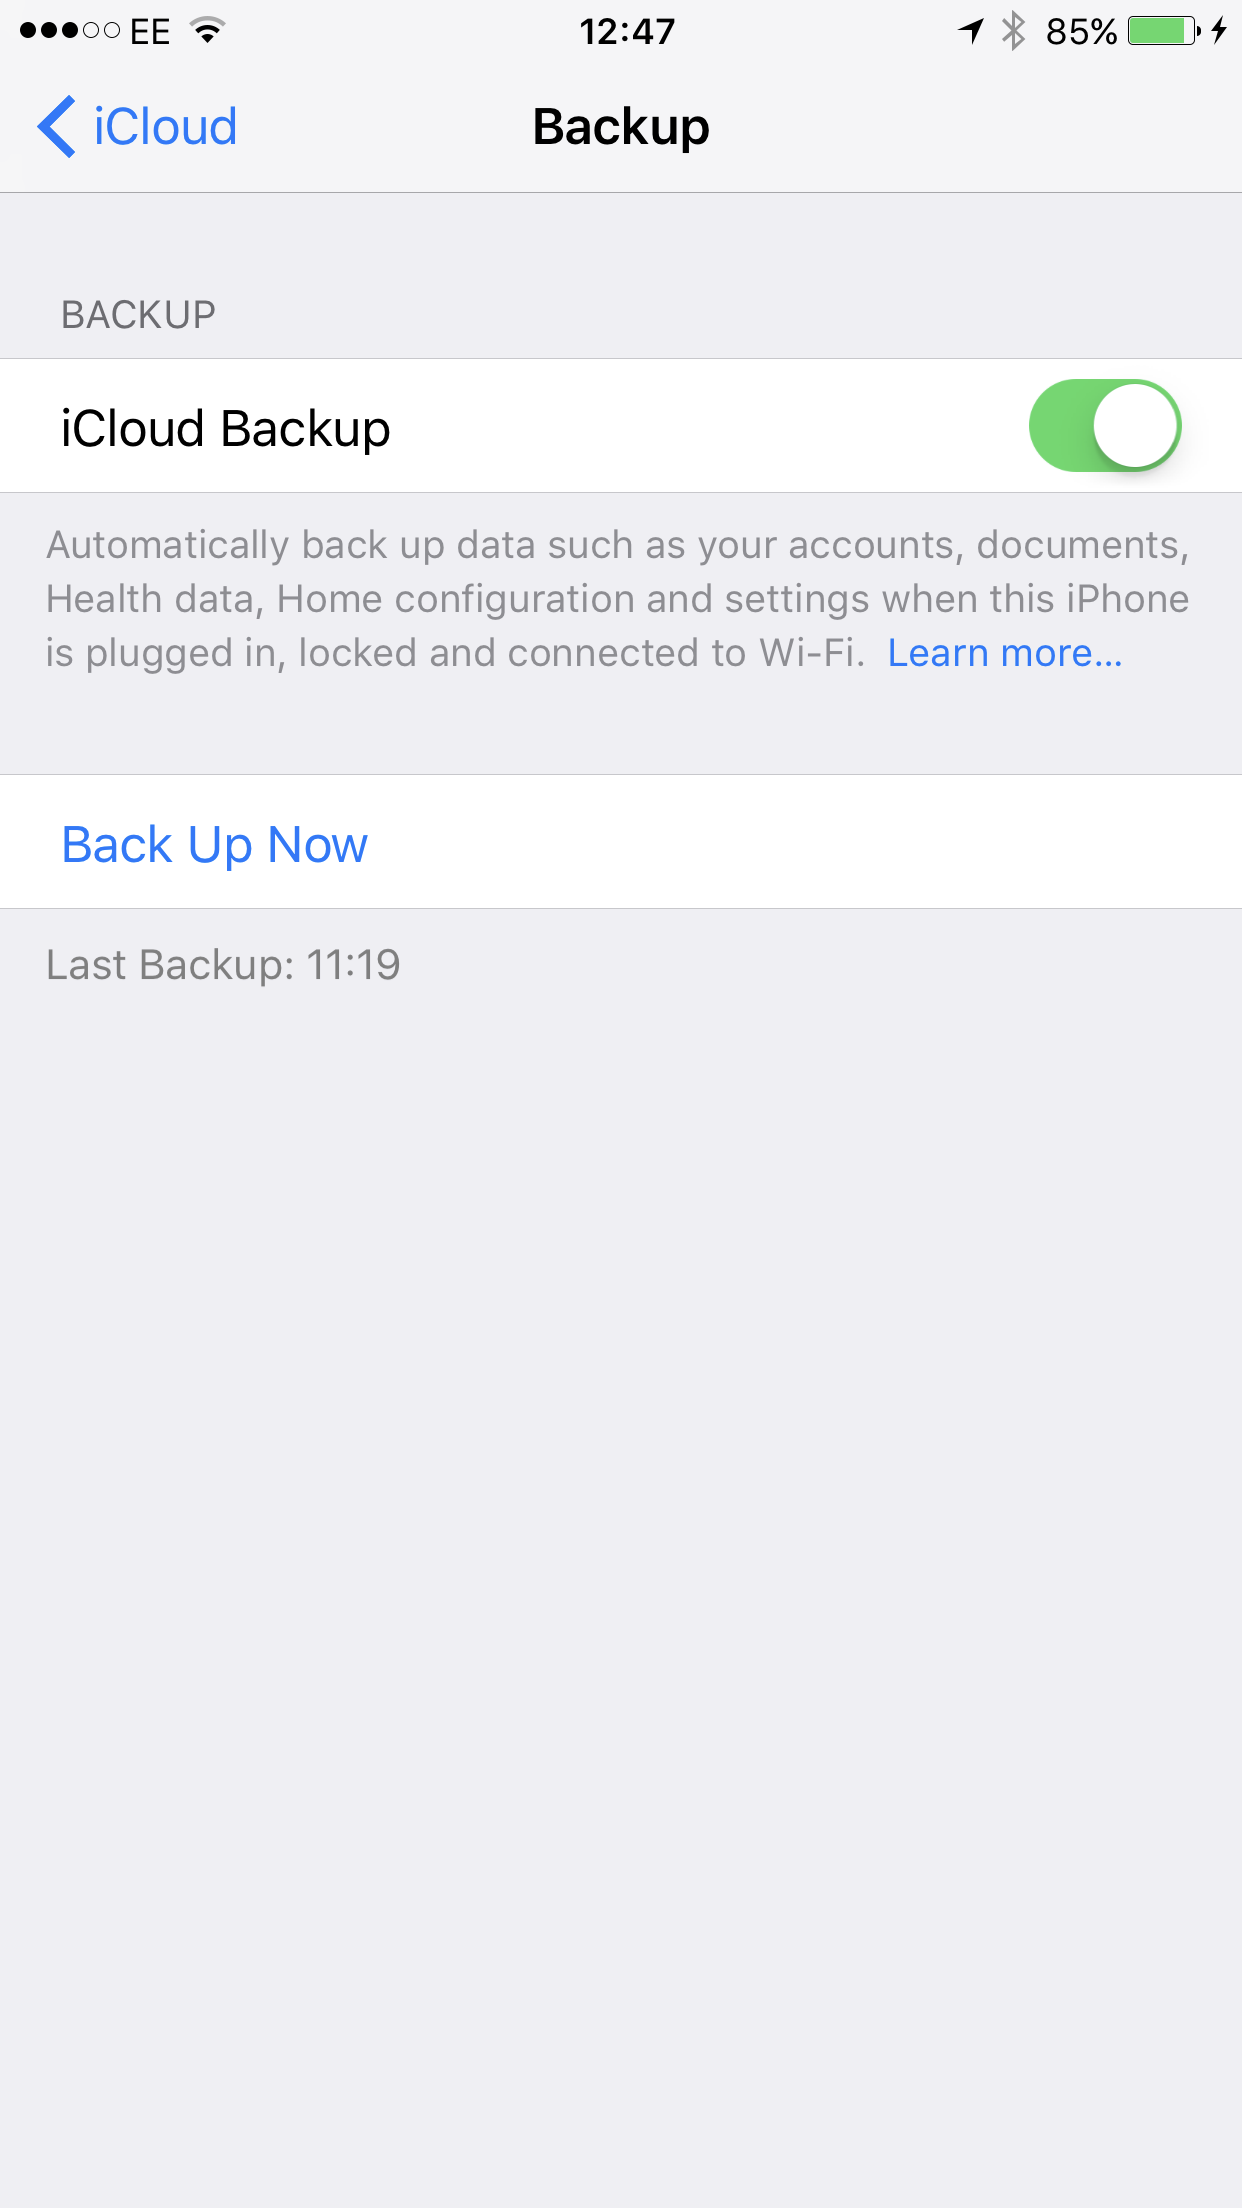
3. Scroll down again, hit Backup and ensure the iCloud Backup toggle is on.
4. Tapping Back Up Now will create a backup to a user’s iCloud account. Users receive 5GB of iCloud space for free, generally enough for an iPhone backup. Note: Ensure you stay connected to Wi-Fi until the process finishes.
This will also automate back up so you don’t have to think about it. Your device will update if its connected to both a power source, and Wi-Fi. As long as there’s enough space in your iCloud account, it will backup everyday.
So, back to iTunes. This was always the traditional method of backing up your device, pre-iCloud. You’d have to connect your device to either a PC or Mac running iTunes, using a cable. Though iCloud arrived with iOS 5, these methods remain different. An iTunes backup will ensure a full copy of your device exists on your machine.
This could include full apps, documents and, importantly, photos. Though you can upgrade your iCloud storage (Settings > iCloud > Storage > Manage Storage,) many users will stick with the free model. To stay under the limit, Photo backup often gets switched off. But, they can be stored on your computer as part of an iTunes backup.
Furthermore, non-Apple purchases aren’t included in an iTunes backup. Music and video that wasn’t bought from Apple isn’t stored in iCloud and requires a full backup.
Here’s how to backup your device via iTunes:
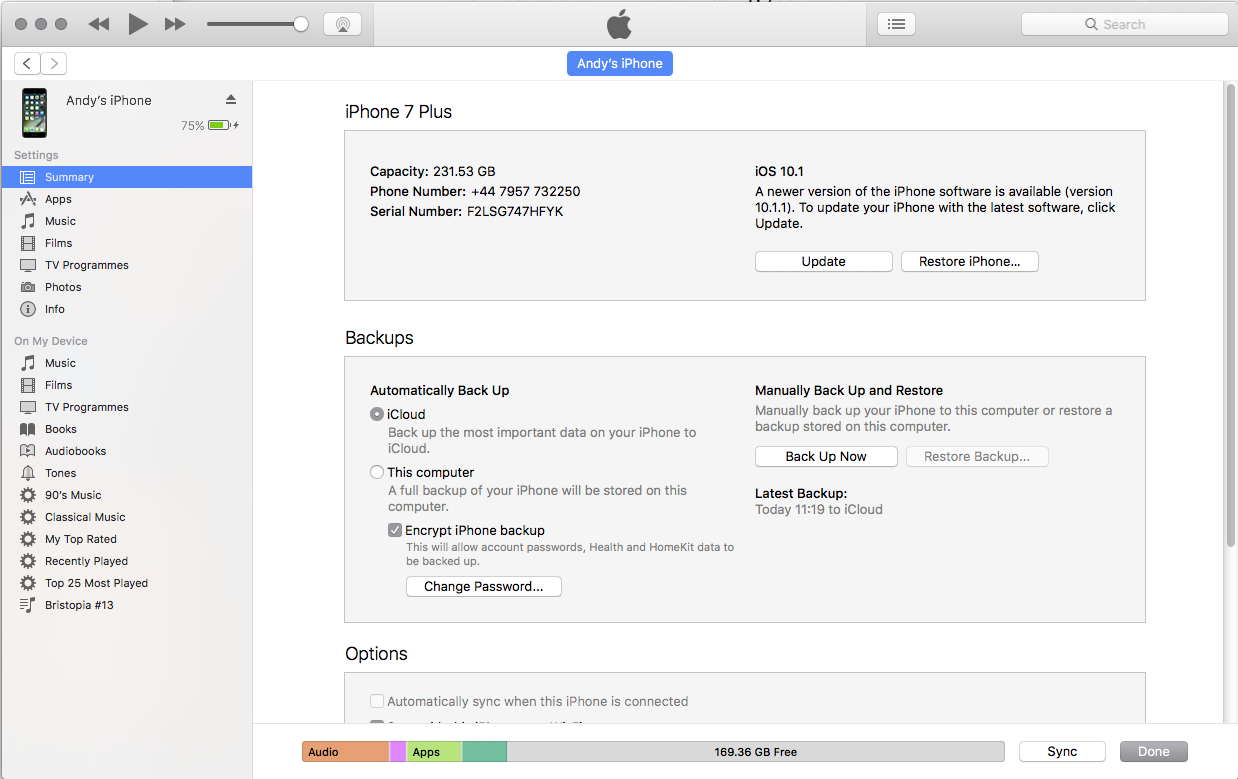
1. Connect your device to a computer using a compatible USB cable and open iTunes on the computer. Then click on the small icon that represents your device on the menu bar.
2. Under Automatically Back Up, decide whether you want to select Encrypt iPhone backup. This is necessary if you wish to save passwords and Health data.
3. Under Manually Back Up and Restore, click on Back Up Now.
This will create a backup on your computer. Providing you’re not pushed for space on your main computer, this is a great option. Of course, nothing beats the convenience of iCloud, so we recommend doing both. You’ll likely back up manually to iTunes less, but you can store more. iCloud is an easy plan B, but it’s a plan B so good you may never need to use plan A.