
Evernote recently updated to a simplified, more agile version 8.0 – here’s how to get started
Evernote is one of those apps that’s really revolutionized the way mobile users create and store information. If can hold anything – notes, audio clips, photos, bills, receipts – anything. And it can all sync between your iPhone, and if you use them, an iPad and desktop. Your notes are even accessible from any computer with a browser by signing in at Evernote.com.
We’ll admit, it can be a bit overwhelming. But we’re here to give you a quick introduction to the note-taking behemoth and to make it as easy as possible to get started.
It can end up being a bit of a dumping ground, especially as you can use your camera to quickly scan things, and notes to your account via browser plugins and through iOS share sheets. But there are ways to make it more manageable and organized. Plus, the search functionality is excellent.
Evernote has a free tier, which will be good enough for most users and certainly enough to get started. We’ll cover the three pricing tiers at the end of this guide.
Get started with Evernote
The Evernote app is free from the App Store. On launch, you’ll need to either provide your email address and create a password – or, sign in using a Google account. If you have a Gmail address then you already have this and you might find it easier than remembering another password.
Signing up is nice and easy
It will ask what level of Evernote you want to use; Basic, Plus or Premium. Choose Basic for now as you can always upgrade later. Once you’re signed in, you’ll be taken to the main screen, which provides a list of all your notes and previews of each. Of course, at this early stage you haven’t created any notes so the feed is populated with a number of articles from Evernote. These can all be edited as a normal note – just tap on them to read and edit. If you want to get rid of them, simple swipe left on the article preview and tap the red trash icon.
The other elements to this view are the top menu bar, which indicates you’re viewing ‘All Notes.’ Tapping on this will let you switch notebooks, but, of course, we haven’t created any yet so we’ll get to them later. In the top right corner sit three dots, this lets you customize how notes are presented on this page.
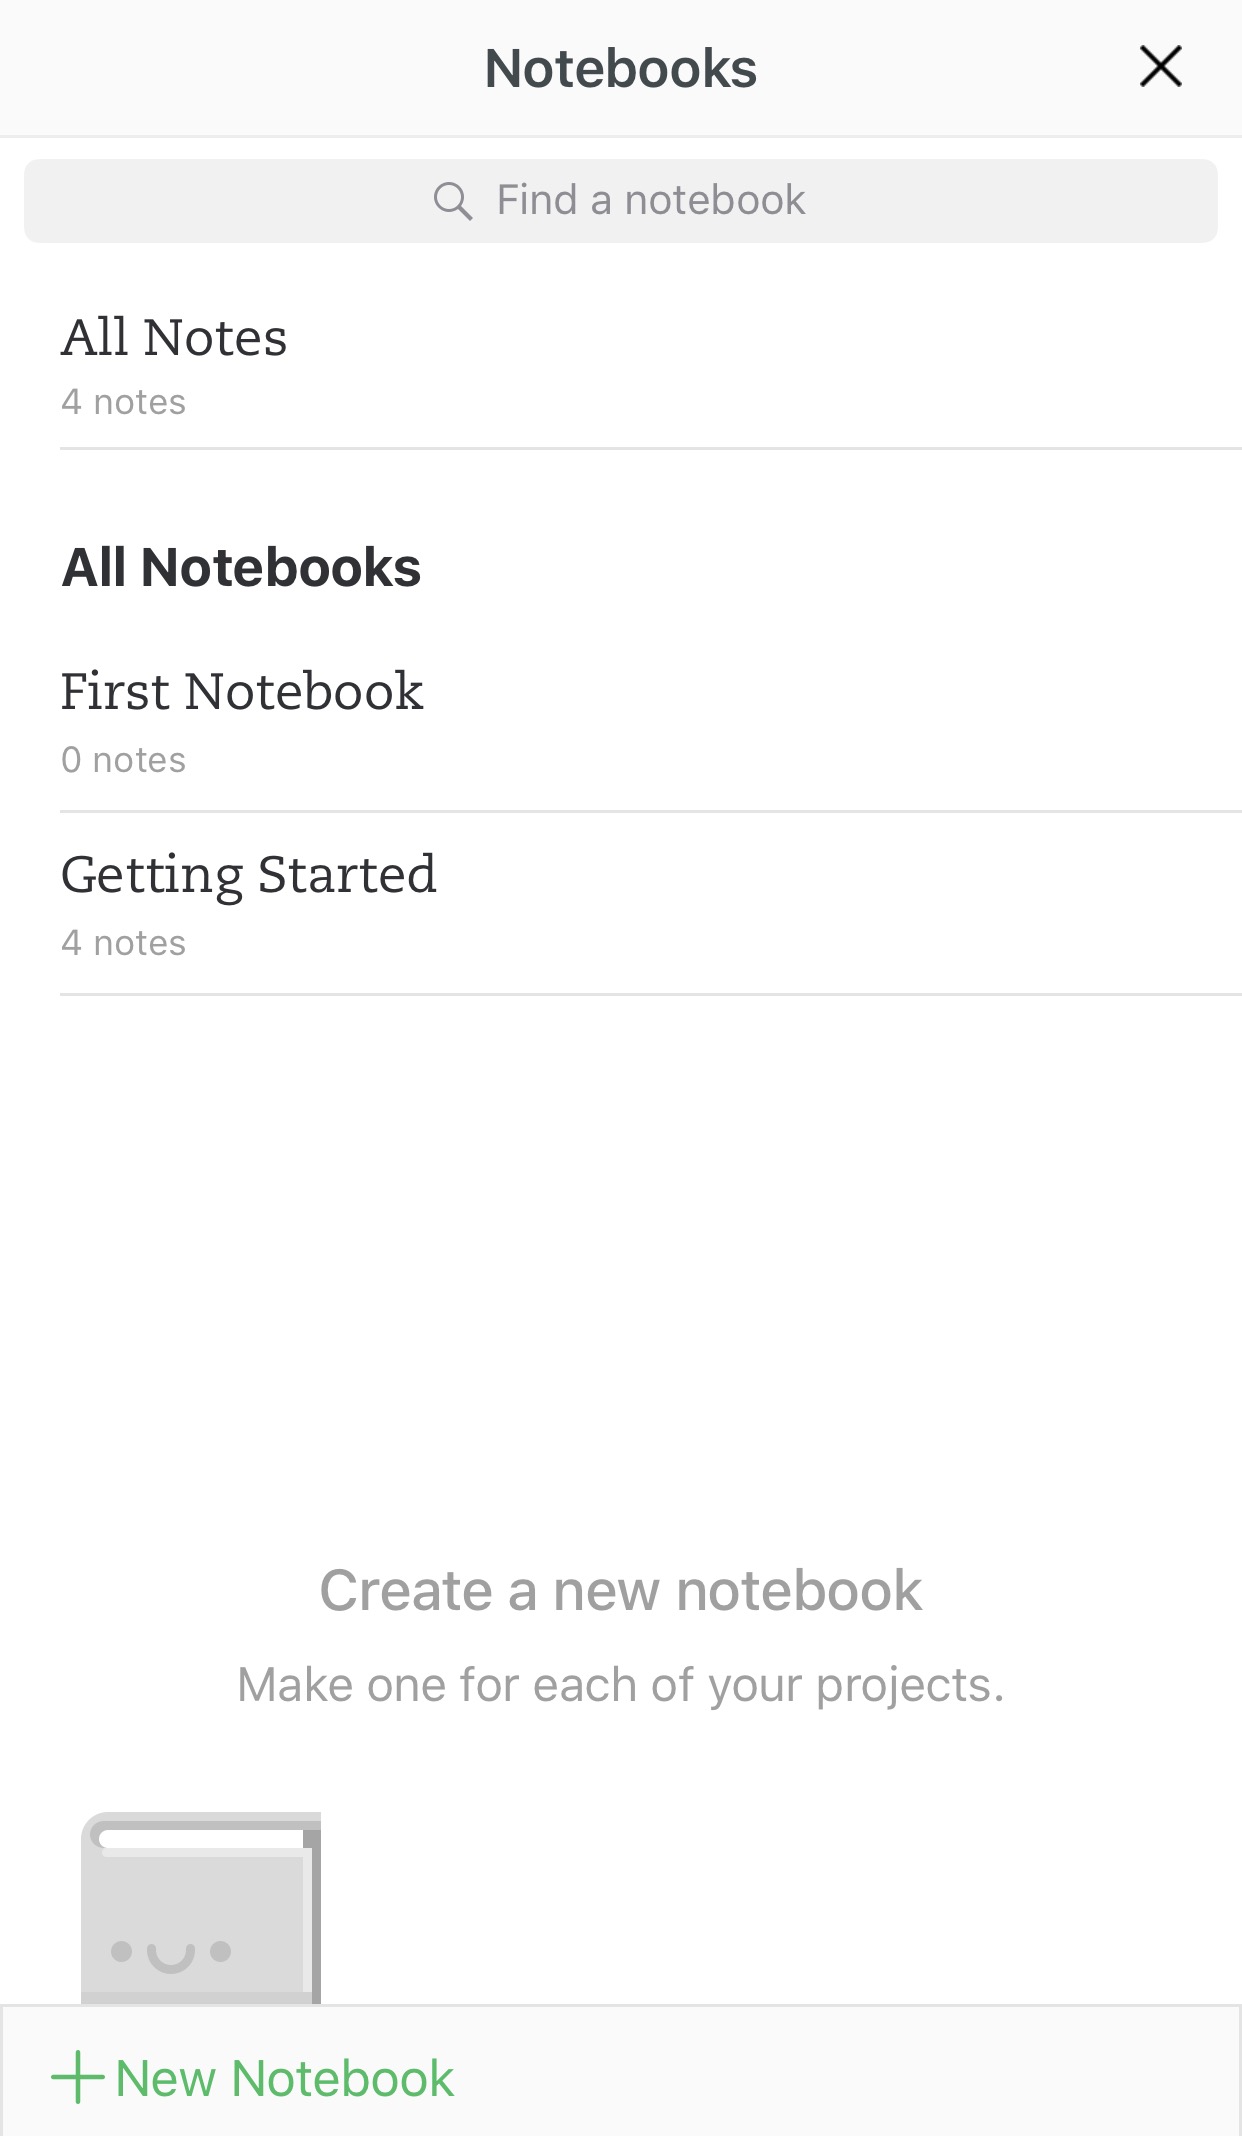
Tap on ‘All Notes’ to change the notebook you want to view
There’s also a bottom menu bar. This is where you can quickly view, search, access favorites, manage your account, and, of course, in the center – add a new note.
Tapping on this plus icon will instantly open a new note when you can start typing. However, notes can take various forms. Holding your finger on the button rather than tapping will open further options as per the buttons shown: audio, photo, or reminder.
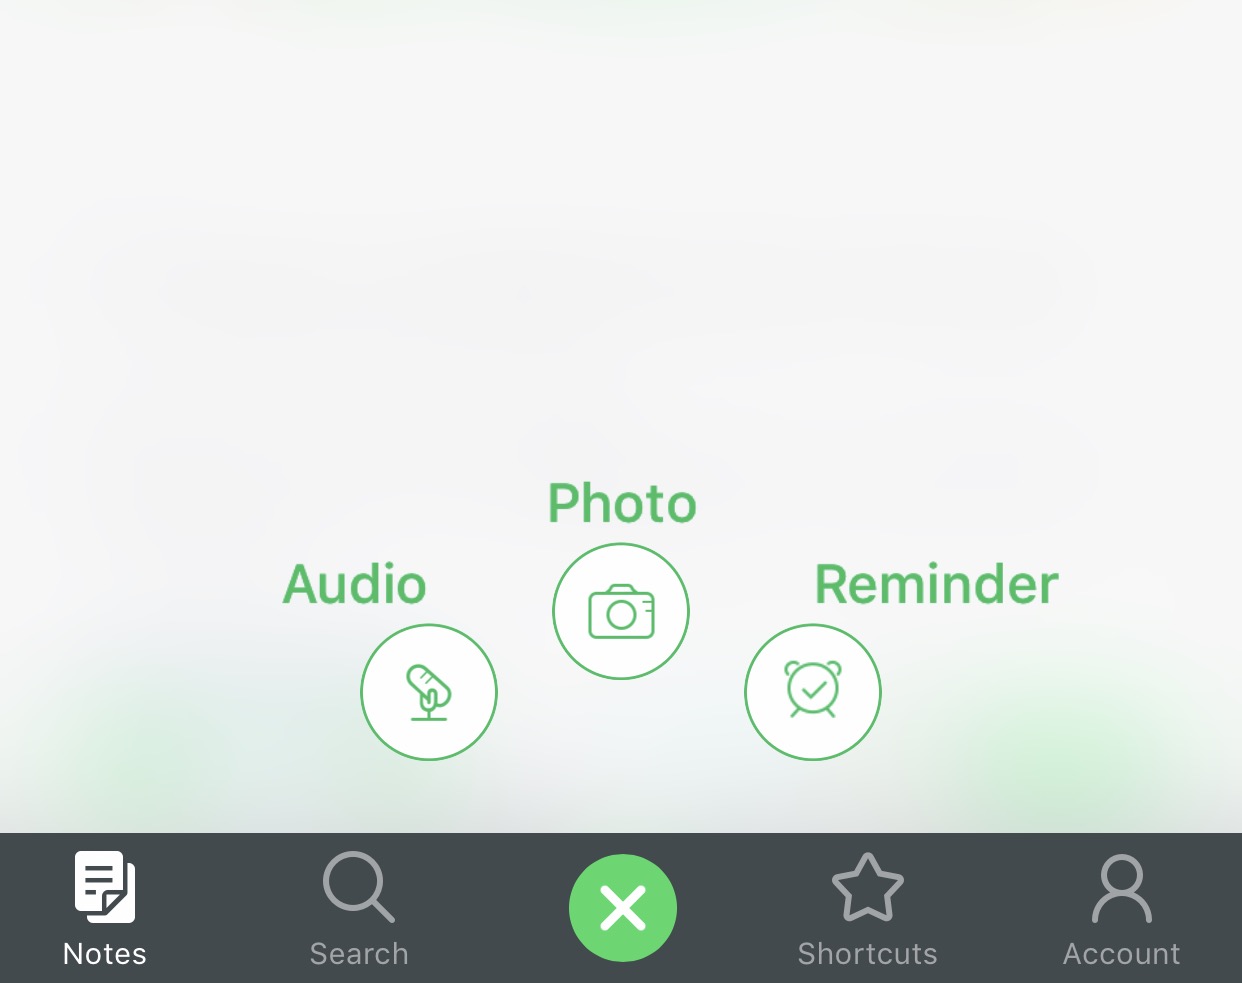
Easily start a new notes
However, Evernote is flexible, and so these are simply designed as starting points. If you want to later add a list to a text note, you can, for example. Via your iPhone’s microphone, audio snippets are another optional component of any note.
For faster access to Evernote, you can also start a new note from the Today view widget. It’s also possible to send items to Evernote via the iOS Share sheet. Visit a website you want to remember in Safari? Tap the Share Sheet icon (the arrow in the square box on the bottom menu bar) and enable and tap the Evernote icon.
To add the widget go to your iPhone’s home screen, swipe right, scroll to the bottom of the screen and tap ‘Edit,’ then add Evernote to your Today view.

The Today View widget will give you quick access to Evernote
Organize your thoughts
By default, Evernote places all of your notes within a notebook called ‘First Notebook’, but this solitary notebook won’t be enough for long. You’ll therefore need to get to grips with organizing your thoughts.
You can create new notebooks at any time, and move notes between them. Notebooks can be organized into ‘stacks’ (folders, essentially), while individual notes can have tags assigned to them. For example, you could have a ‘Home’ stack that contains the notebooks ’Shopping list’, ‘Manuals’ and ‘Recipes’. Tags can then be used for ad-hoc grouping of notes across multiple notebooks.
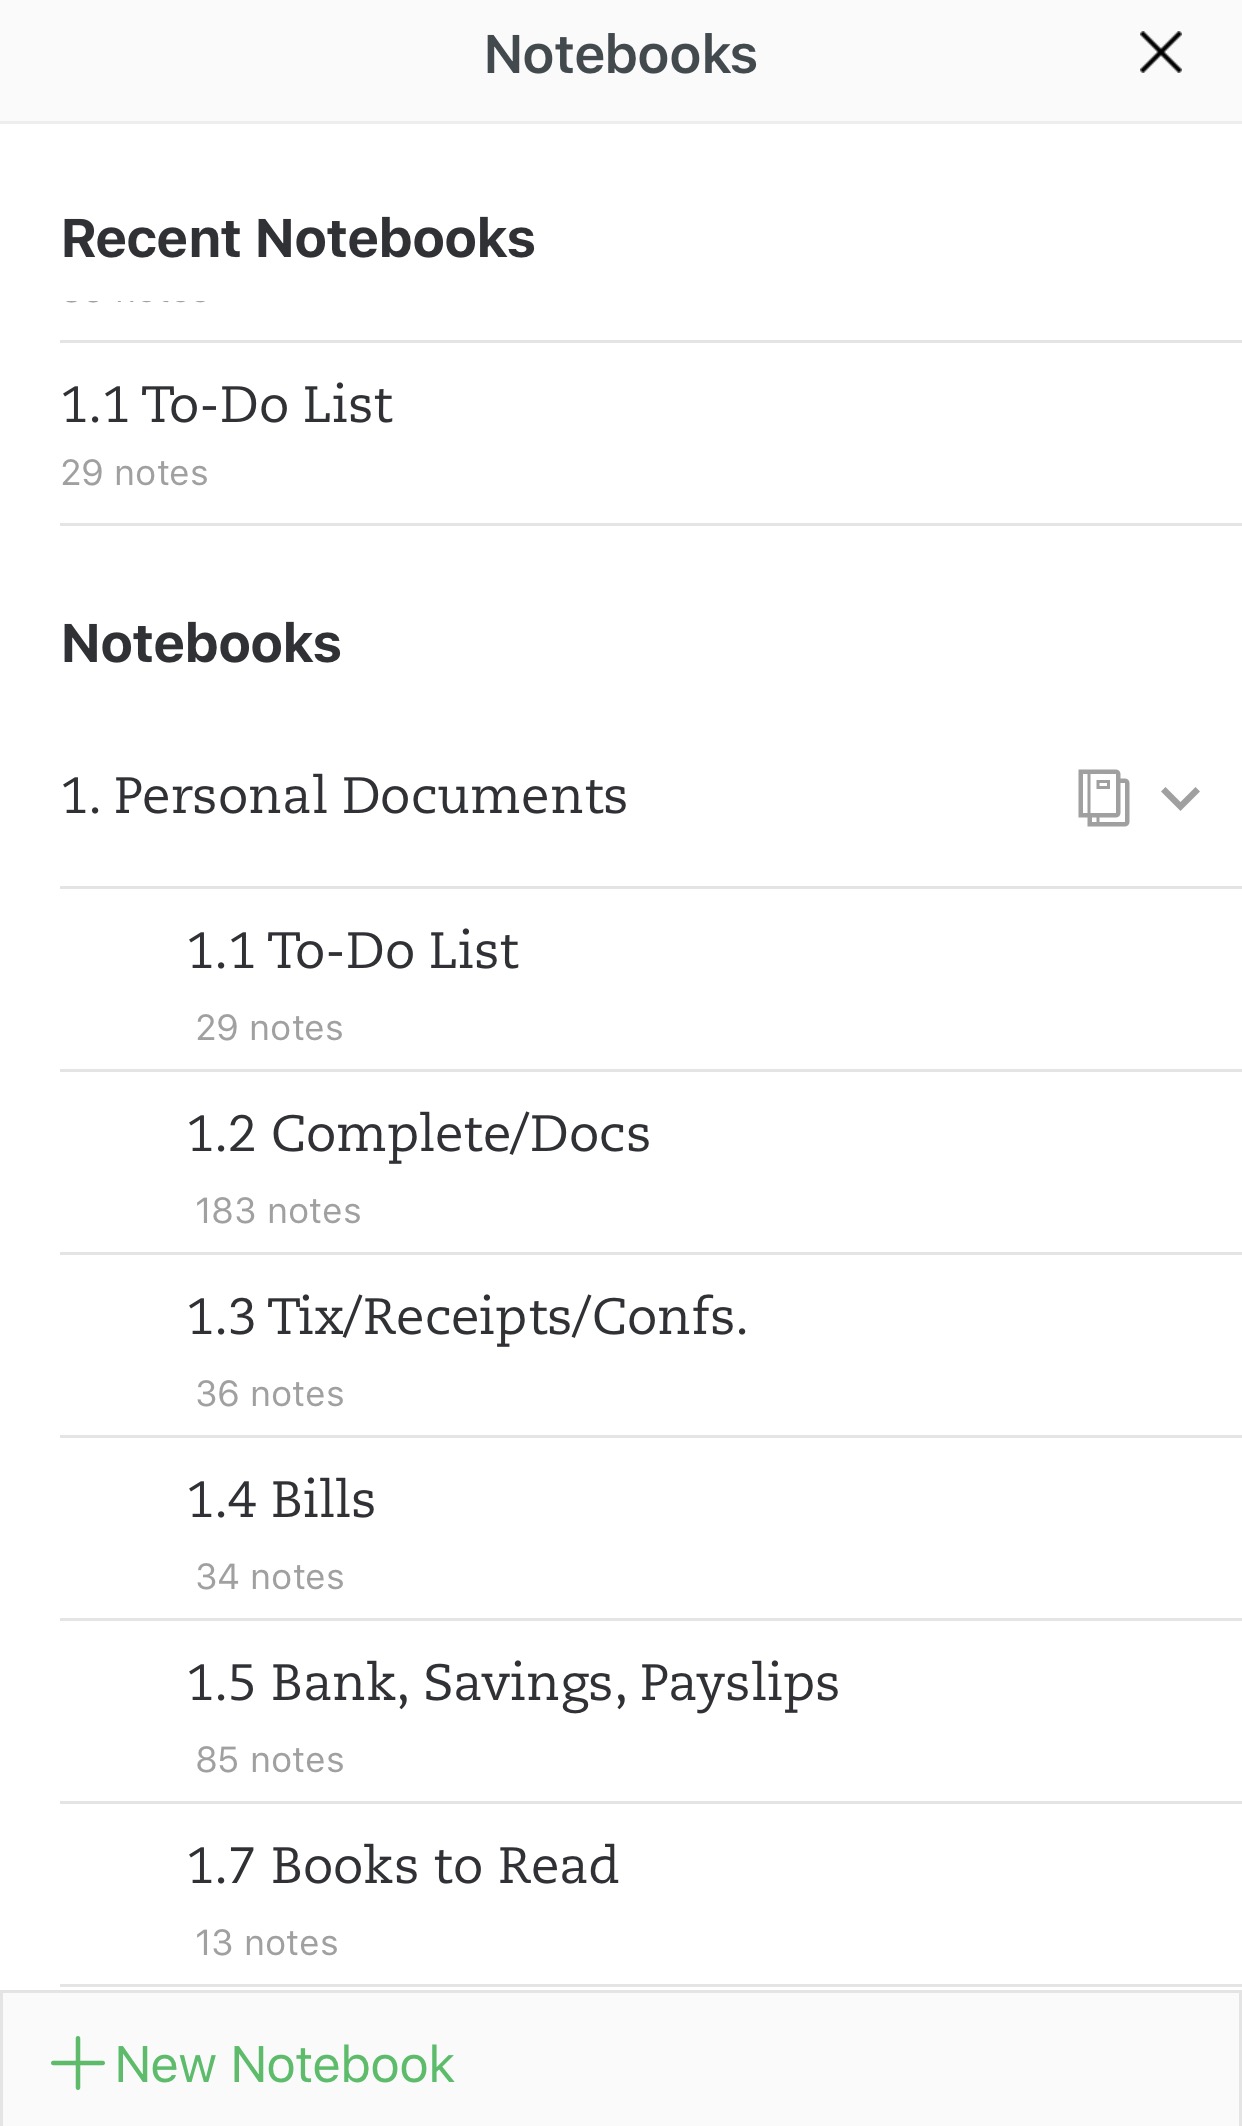
A more detailed stack of Notebooks from a longer-term user
Each Evernote power user will offer their own take on how best to deal with notebooks and tags, but a good rule of thumb is to not go overboard on how many you have of either. Tags especially should be kept to a relatively low number that you can readily remember and will often use, for things like locations, actions and people. For example, tags for family members can be handy, to quickly group items about a child, whether they’re filed in notebooks about school, home life, medical details, or elsewhere.
Tags can be added by tapping the ‘i’ icon at the top of a note.
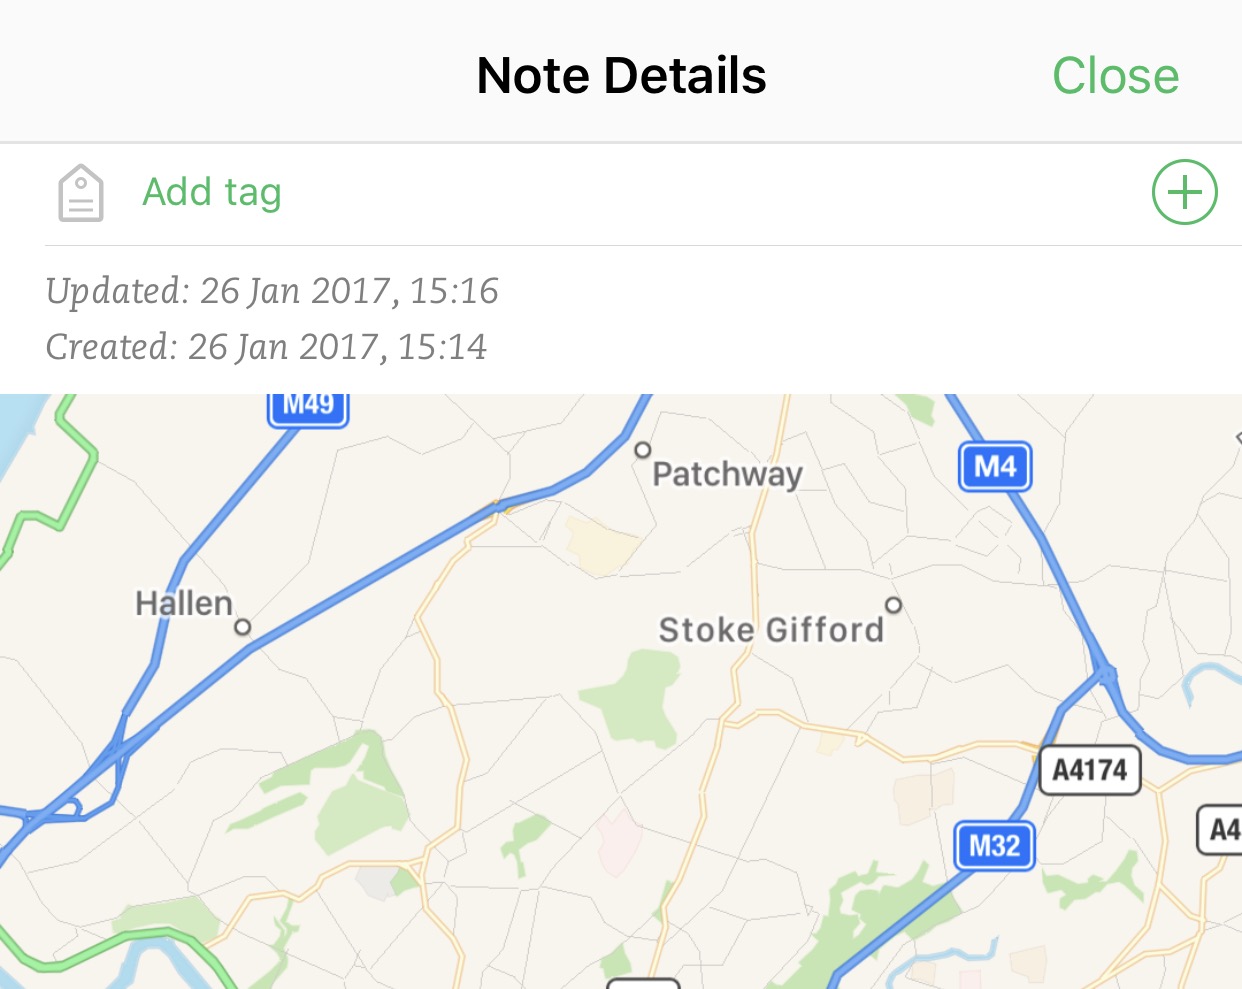
Tapping the ‘i’ lets you add tags to collect notes under one heading. It also gives details on the location of where the note was made
Another good tip when you get into Evernote is to use shortcuts for any item you want quick access to from the iPhone version’s main screen. You can of course also perform a search by tapping the magnifying glass. Start typing and Evernote will immediately filter its results list to match note titles, content and tags.
To create a shortcut to a note, either tap the three dots icon within a note then tap ‘Add to Shortcuts,’ or from Evernote’s Home screen swipe left on a note and tap the star icon. These shortcuts can be easily accessed on the main screen by tapping the star on the bottom menu bar.
Finally, each Evernote account gets its own unique email address. Anything you send to this — project notes, receipts, or just simple correspondence — is saved to your default notebook. You can instead define an email to go to a specific notebook by using @ before its name, and add tags using the # symbol. A reminder can be included, too, by using !.
These must come in the order: reminder/notebook/tags. By way of example, you could have: Car hire info !tomorrow @Spain #holiday.
To access your Evernote email address tap Account on the menu bar, then Settings > Evernote email address.
Practical applications
Once you have the basics down, it’s time to start thinking about what to do with Evernote. We’ve already mentioned how you can save web pages, but imagine the kind of content you might want to save: technical tips about iPhone use, reviews of interesting-looking games to later play, or recipes you fancy trying.
Evernote can become your surrogate memory for a slew of things you’re likely to forget: the types of light bulbs in your house; clothing measurements for yourself and family members; dimensions of rooms you’re planning on decorating or buying furniture for — something that could take the form of annotated photos along with text. You could use Evernote to jot down meals you’ve enjoyed, and refer back to this list during those times you need a touch of inspiration regarding what to cook.
With lists, create separate ones for groceries, to-dos and gifts. If any aspect of your life requires a very set routine (for example, locking up an office), that works well as a checklist too. At the other extreme, in terms of the type of note you can create, Evernote’s multimedia smarts can assist in other areas of your life. You can store PDF and web-page manuals for electronics you own, and use voice memos to dictate ideas for a new book or the melody of a new song.

Evernote is great for storing manuals and guides as well as quick thoughts
Naturally, many of these things can be done in other apps, but the point in Evernote is you need never wonder where this information is again, because it will be in one place, with notes cross-referenced across various notebooks using tags, and always readily available via a quick search on any device you own.
Storing documents is easy if they’re available online, but what about physical ones? That’s where your camera comes in. However, rather than have a series of images of single pages in a note, a third-party app might be worth getting. We use Evernote’s own Scannable app [Free]. It let’s you use your camera to automatically detect and capture documents, then collates them all into one document which can be sent directly from the app into Evernote. Easy peasy.
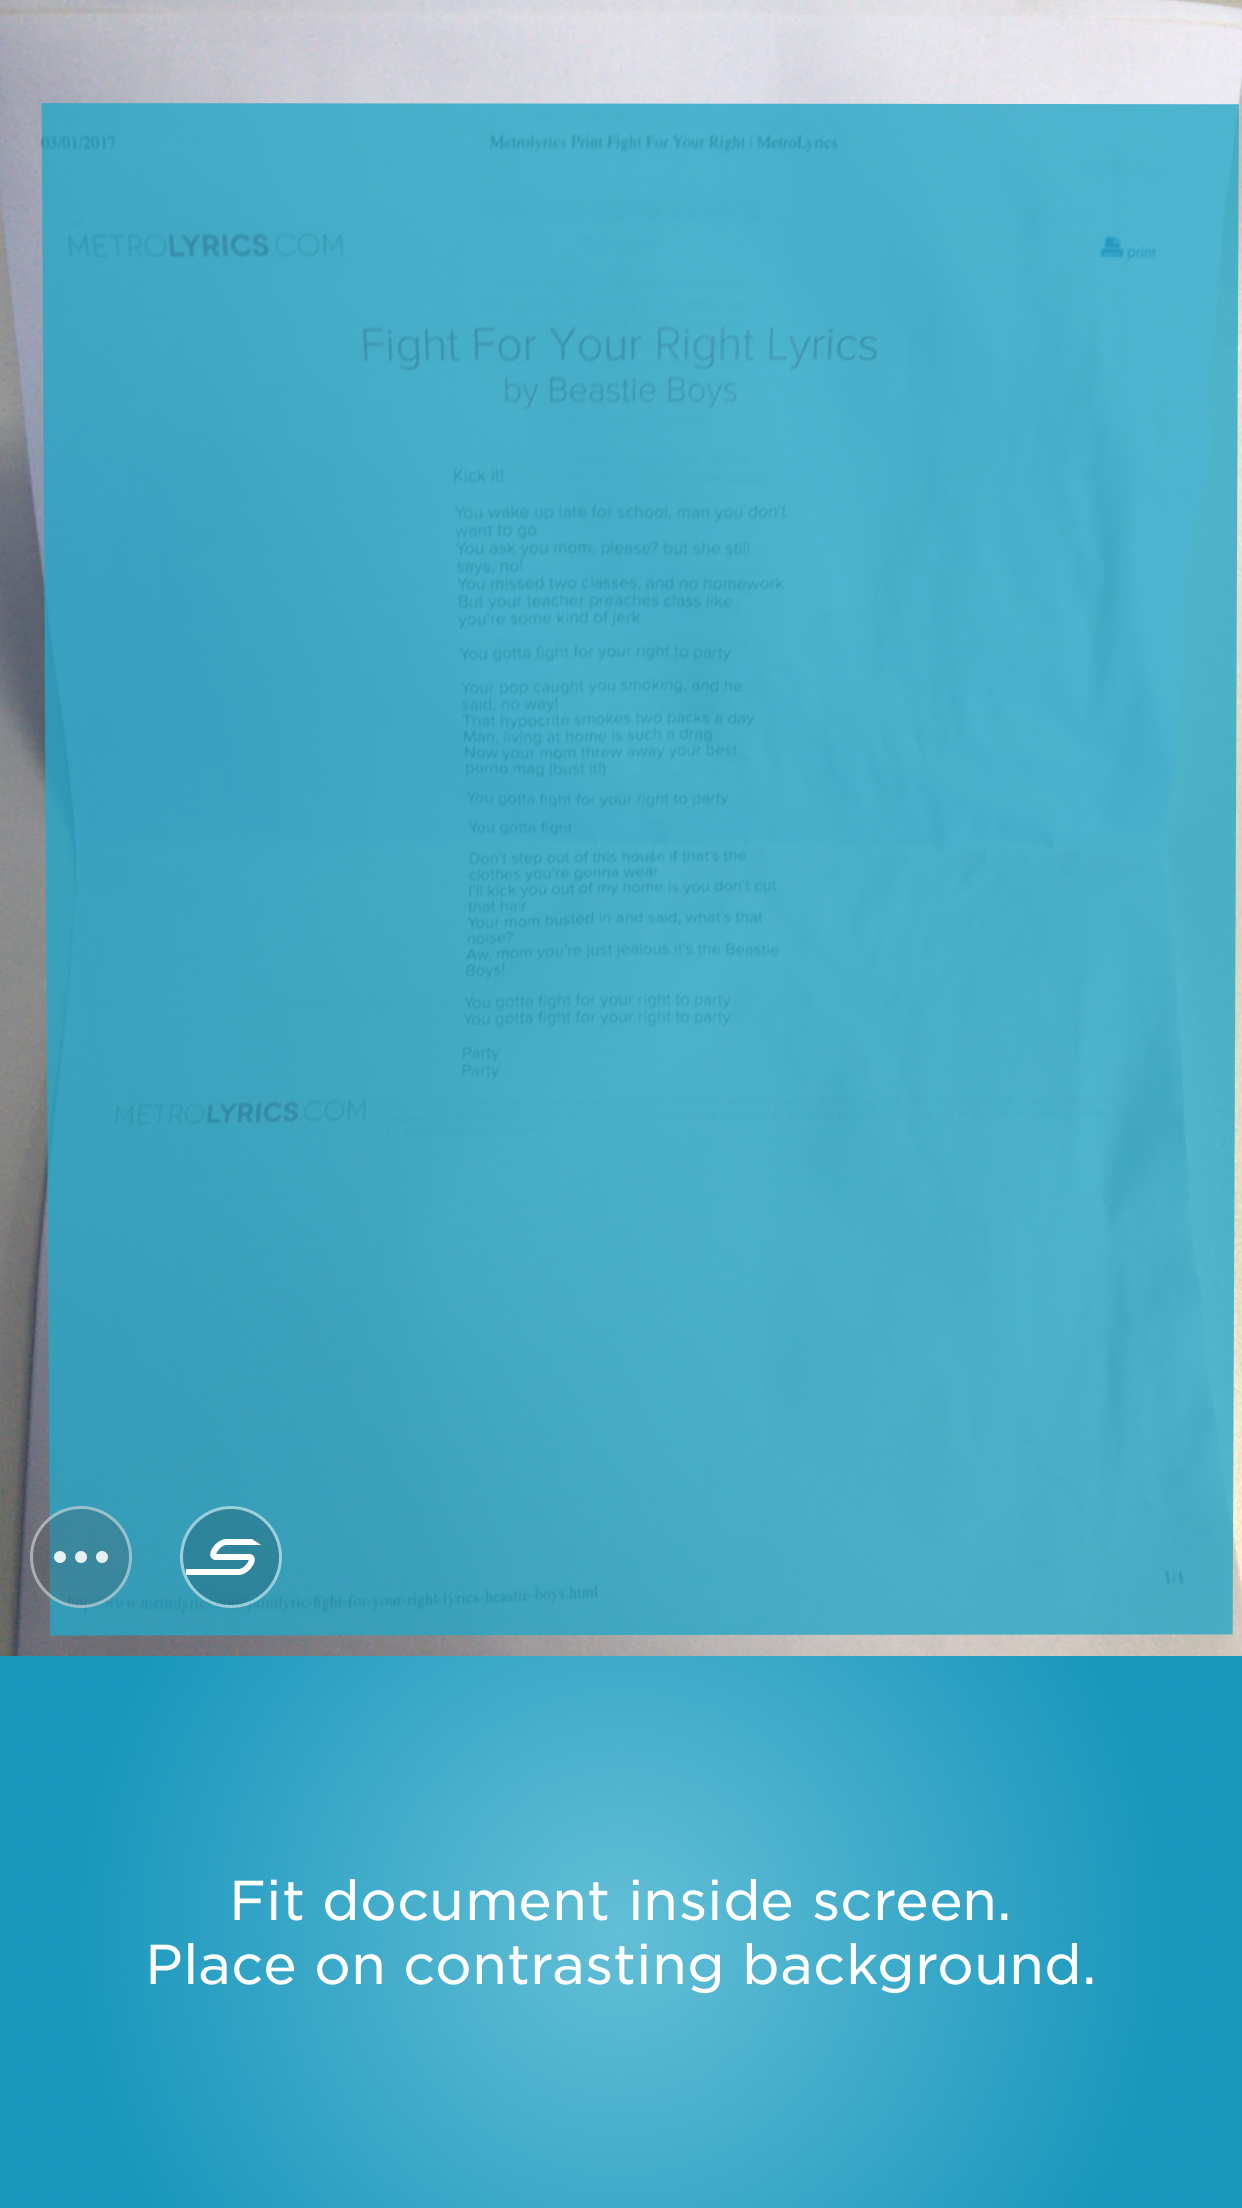
Use Scannable to easily digitize old documents and manuals. And Beastie Boys lyrics, apparently.
Evernote Premium
If you find yourself using Evernote a lot, you might decide to upgrade. Here’s the three pricing tiers:
Evernote Basic
This is the free tier. You can sync up to two devices – so, iPhone and maybe an iPad, or iPhone and a desktop version of Evernote. You get 60 MB of uploads per month.
Evernote Plus
$3.99/£3.99 per month or $29.99/£29.99 per year. With Plus you can sync on all your devices, upload 1 GB a month – great for audio and photo storage.
Evernote Premium
$4.99/£4.99 per month or $44.99/£44.99 per year. With Premium you can sync across all devices, upload a massive 10GB and gain access to a “deeper, more powerful search.”
Perhaps the most important is offline notebooks in both Plus and Premium. You can define specific notebooks that will be stored offline, meaning you can get at them even if you can’t access the web (for example, on a flight, or just in places with spotty data connectivity).
Additionally, on the top tier you get the means to annotate PDFs and scan business cards, text search within attached PDFs and Office/iWork files, and a ‘presentation’ mode that turns notes into full-screen presentations.
Another aspect in which you can ‘go pro’ is in the sense of being a more pro user. Evernote can be linked to other apps by utilizing services like IFTTT. Available ‘recipes’ (workflows) include automatically saving flagged items on social networks to Evernote, and archiving content from read-later services.
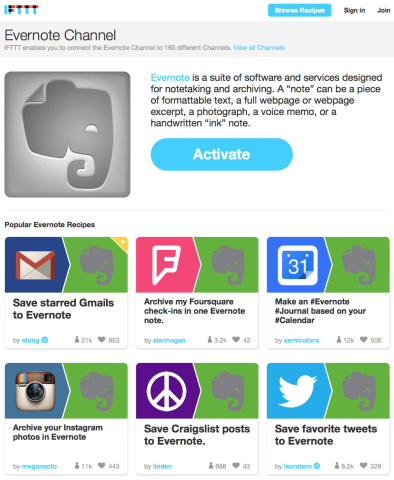
IFTTT can make Evernote even more useful.
But really we’d say it’s those first steps that are most important. During those early moments, we admit Evernote doesn’t seem too exciting. A spartan app with a few notes barely hints at the potential on offer, and it may seem inferior to simpler, sleeker apps for performing similar tasks. But over time, it builds to become a huge repository for all of the information that’s important to you, indexed and fully searchable on any platform you care to install Evernote on — including your iPhone. And that is why it’s a must-install.
See it in action
Finally, if you want to see the app in practice, it’s worth checking out Evernote’s introduction to version 8.0 video. Watch it below:
Keep reading! A guide to Apple’s new super-charged Notes app