
We’ve been writing about the iPhone camera and its various tricks for years. But in the last few years especially, Apple has added some really clever features that can help you improve your photography. iPhone cameras have come a long way.
So here are seven tips we think will power up your camerawork in an instant, whether or not you’ve bought the latest iPhone. How many of these are you already familiar with and how many will teach you new techniques? Follow these tips and you’ll be snapping masterpieces in no time.
Use Night Mode
Apple really upped its low-light photography game in 2019 with the addition of a dedicated Night Mode in the Camera. These days, you can capture better photos than ever before in poor shooting environments. (If you have an older device, you can get similar results using third-party apps.)
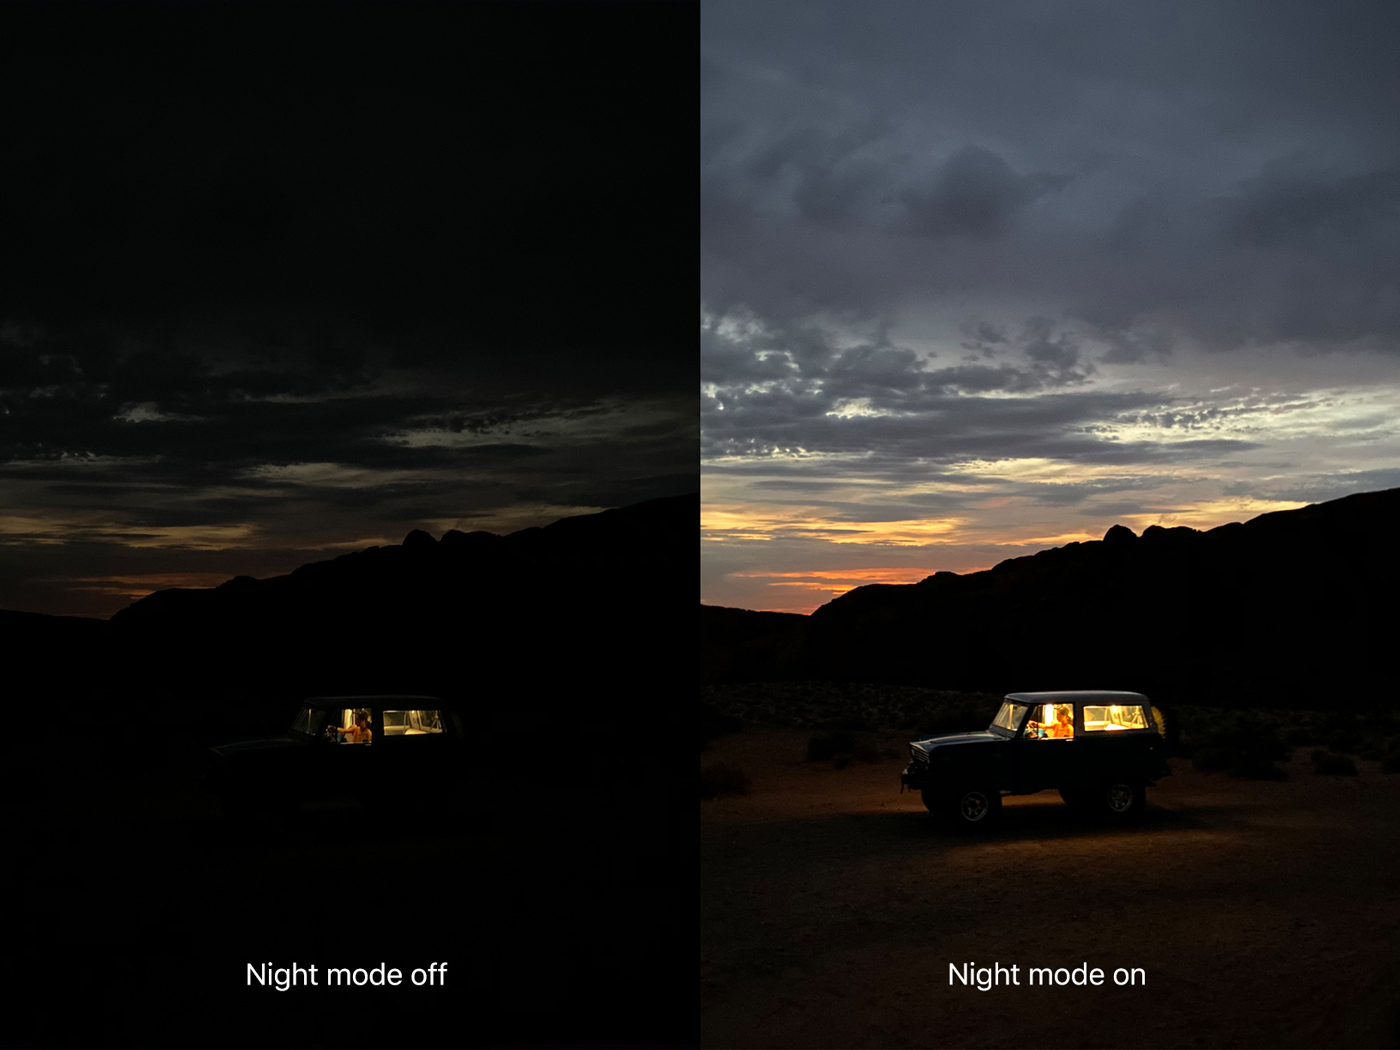
Night Mode works automatically, keeping the shutter open longer than usual to drink in light before using advanced computational voodoo to stitch together a relatively bright photo with minimal noise. It’s automatic, but it’s not idiot-proof – there are a few important things to know to ensure you’re getting the most out of your night shoots.
Read more about how Night Mode works
Get a pro-level app
Serious photographers can work wonders with the iPhone, but its built-in Camera app is still relatively basic. For anyone hoping to get a little more juice out of their handset, Halide Mark II is our preferred pro camera app. It’s easy to use – but with tons of depth – and brings DSLR-level manual control to the iPhone’s built-in camera.
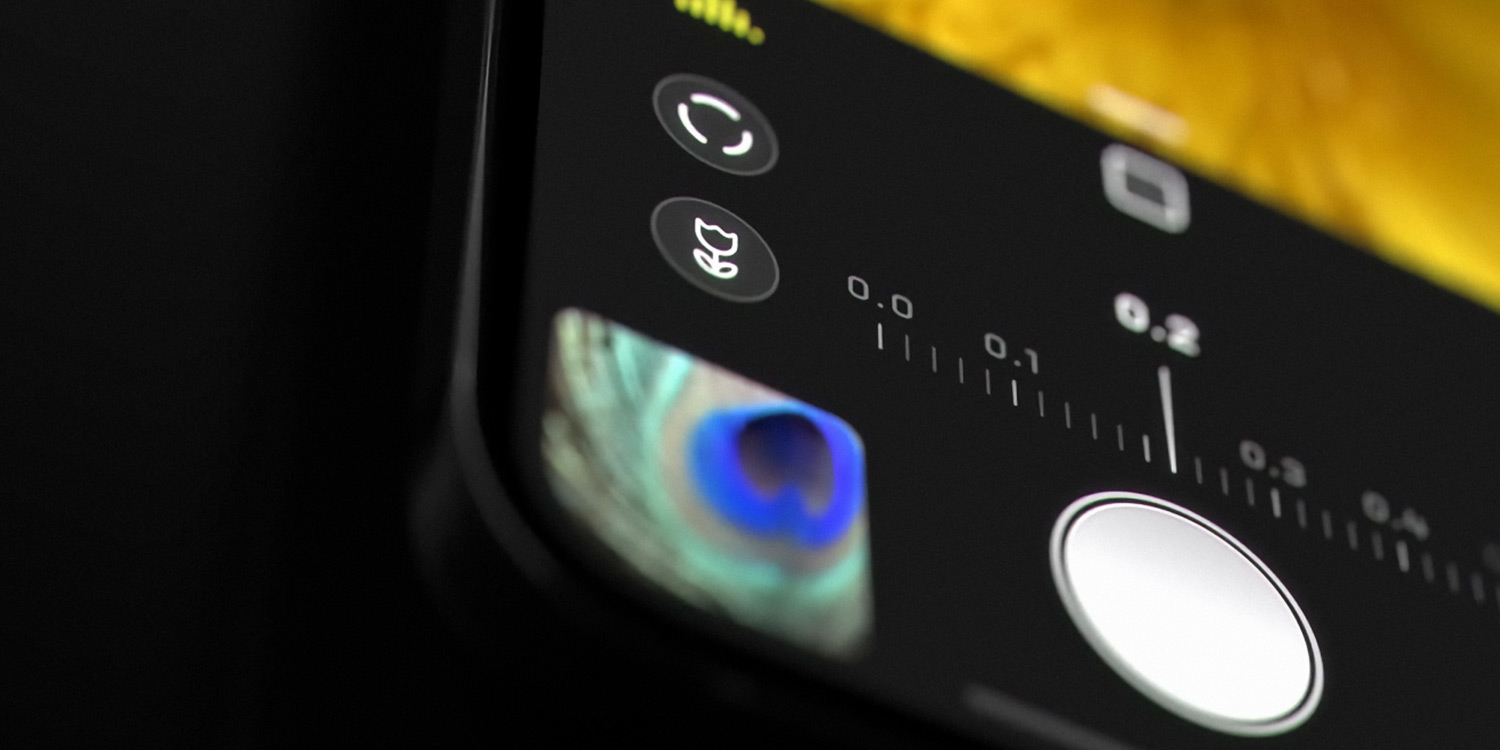
One of the best things about Halide is how it takes flagship features of the latest iPhones, recreates them – usually with even more precision – and offers them to older devices too. Case in point? Macro mode, which by default is only available using the ultra-wide camera on the iPhone 13 Pro or later. Halide extends close-up photography to work with any iPhone camera and offers manual focus to the millimeter too.
Read our full review of Halide Mark II
A second chance to frame your shot
You may have heard of a feature in the Camera called Capture Outside the Frame.
This feature makes the Camera capture a little more than you can see in the viewfinder. This allows users to re-crop their photos after the event even outside the bounds of the original composition. This can really come in handy when you don’t have time to capture the ideal shot at the time, or if you accidentally lose an important element just off the edge of the frame.

Most people are used to cropping in their photos after the fact, but Capture Outside the Frame actually allows you to crop out. Make the most of it to recover photos that weren’t quite right the first time around!
Read more about the privacy implications of this setting
Watch Apple’s technique videos
Even if you have the basics down, you might find something you didn’t know amongst these three videos, which cover slo-mo timing, overhead shooting, and black and white photography. How many people already knew about the hidden leveling marks for getting a perfectly flat overhead shot, we wonder?
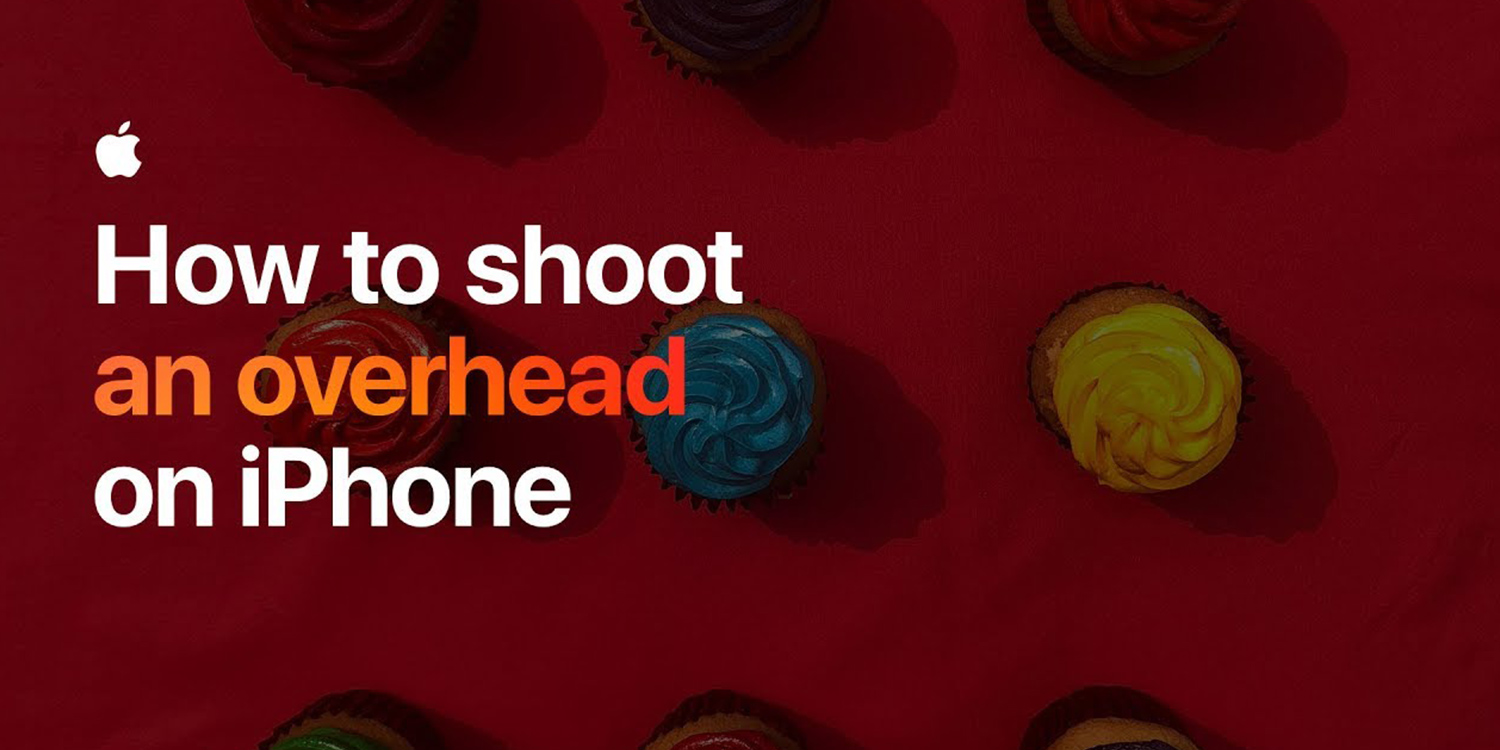
Although each clip focuses on a particular camera feature, the videos also give best practice shooting and composition tips that many users will find helpful. The tutorials are targeted at iPhone users but all these techniques work on iPad, too.
Watch all of Apple’s photography technique videos on YouTube
Adjust depth of field
iPhone users have long been able to take DSLR-style photos via the Camera app’s Portrait Mode function. This defines a stark contrast between detailed foreground and out-of-focus background, helping the subject to stand out. Shot correctly, it’s quite a powerful look, as you can see in the photo below of my cat, Eggs.

But did you know that changing a virtual “f-stop” means you can control the blurriness of the background after the fact. Open Photos, tap Edit and look for the ‘f‘ button along the top menu. A slider will appear below the photo. Slide this left to right to increase and decrease the f-stop number, altering the amount of background blur.
Read more about Portrait Mode focus editing
Sell your work
Licensing your photos can be a nice little side earner. Generally, this involves uploading your best images to a marketplace, and hoping they’ll appeal enough to people in editorial and design industries. Should your work be downloaded, you’ll earn some cash.

Be mindful the amount you can get paid for each sale varies wildly. For example, popular service Shutterstock pays from as little as 25 cents per download. The more ‘boutique’ EyeEm will give you 50% of a sale, which ranges from $20 for a social network license through to $250 for print.
In fact, EyeEm is a good place to start if you want to sell your photos, even if you subsequently move on to other services. It’s simple and sleek, with a smart iPhone app for uploading images. It also offers missions – little projects by brands to get you thinking and snapping. Be careful to read the terms in each case, though, and realize many of the prizes are showcases or the chance to win kit, rather than hard cash.
Read more about earning money from your photos
Bonus: keep learning!
Our tips above are a good foundation – but if you’re hungry for more iPhone camera guides, or want to learn general photography principles, there’s no better resource than a full-fledged online course. Give our affiliate partners at iPhone Photo Academy and iPhone Editing Academy a look for the best education around!